
Nothing beats the smell of a frozen pizza turning into something you actually want to eat. But if you've ever wondered how to bake frozen pizza in toaster oven with crispy crust, you already know the catch. The box gives directions for a full-size oven.
Your toaster oven runs hotter, closer, and faster.
Manufacturer specifications show most toaster ovens reach 425°F in 3 to 5 minutes. That's a big advantage over a standard kitchen oven. As of 2026, many models also include convection fans and air fryer settings, so the right workflow depends on your gear.
This guide walks through that decision branch by branch.
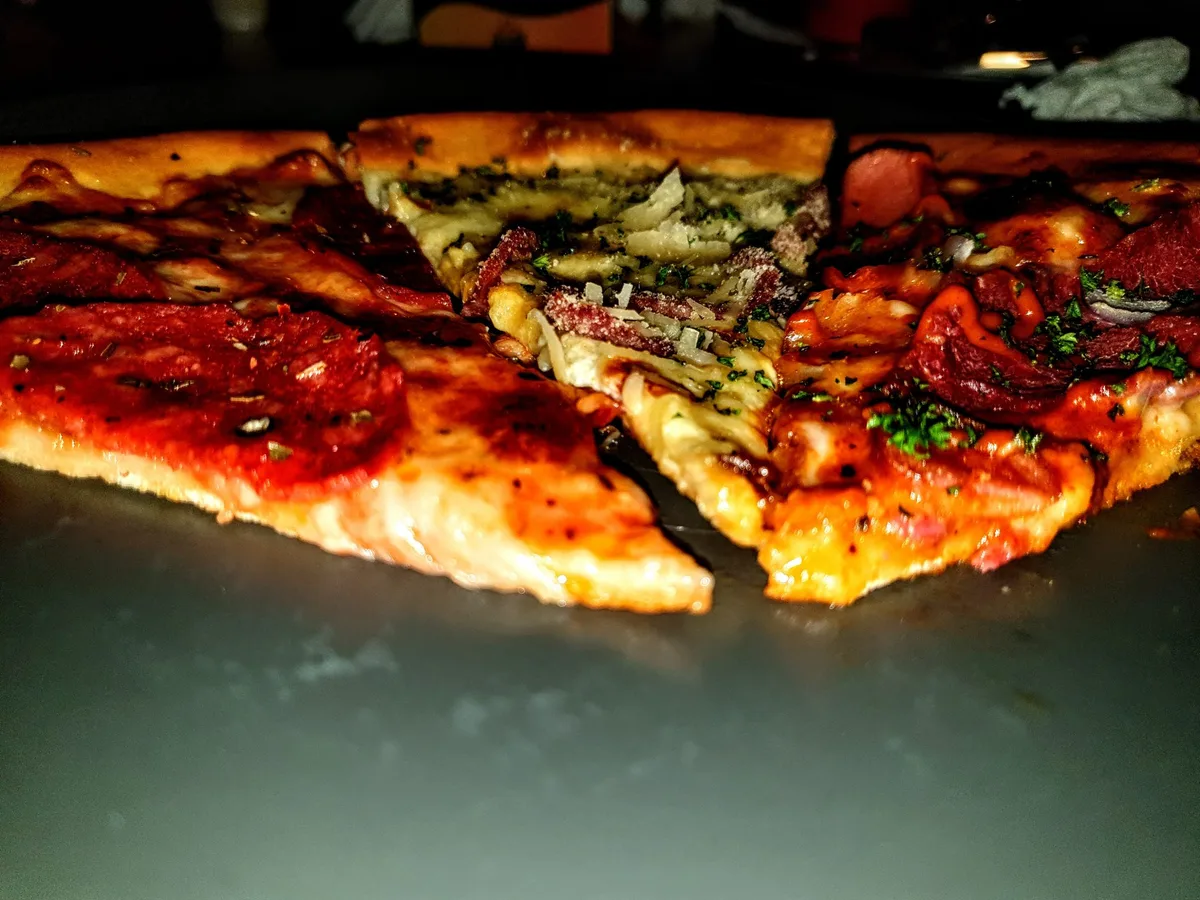
Image source: Openverse / Abdur Rahman Emon
The Real Problem: Why Your Crust Comes Out Soggy
Soggy pizza crust happens when moisture gets trapped underneath. The bottom of the pizza steams instead of bakes. In a full-size oven, the large heating element and wide open space do the work.
In a toaster oven, the element sits close to the pizza, the chamber is tiny, and the moisture has nowhere to go.
Most people hit the same wall. They follow the box, put the pizza on the included tray, and hope. The tray blocks direct heat, and steam collects under the crust.
The cheese might melt, but the bottom stays pale and floppy.
Our research points to two big variables. The first is the surface under the pizza. The second is the rack position.
Get those right and everything else falls into place.
Quick Answer Key Insight: What Actually Makes a Crispy Crust
Bake the pizza directly on the middle rack at 400°F to 425°F for 8 to 14 minutes. Preheat for 5 minutes. For thin crust, use the rack.
For thick crust, use a pan. Rotate halfway through. The crust crisps when moisture escapes and the bottom element stays hot.
That one paragraph covers most situations. But the details matter. The right rack spot changes with pizza thickness.
The right surface changes with your oven. And the bake time changes with wattage.
The good news is that the process is consistent. Once you understand how heat moves through a toaster oven, you can adapt any frozen pizza.
Core How It Works: Toaster Oven Heat Physics in Plain English
A toaster oven has two heating elements. One sits at the top, one at the bottom. The bottom element is your main tool for a crispy crust.
It radiates heat straight into the underside of the pizza.
With a full-size oven, radiant heat spreads across a large area. In a toaster oven, the element is close to the food. That's why things brown faster.
It's also why burning happens fast if you walk away.
Convection changes the game too. A convection fan pushes hot air around the chamber. That evens out the heat and helps moisture escape.
Manufacturers say convection can reduce bake times by 20 to 30 percent. That's a huge difference, and it's the difference between a soft middle and a crunchy edge.
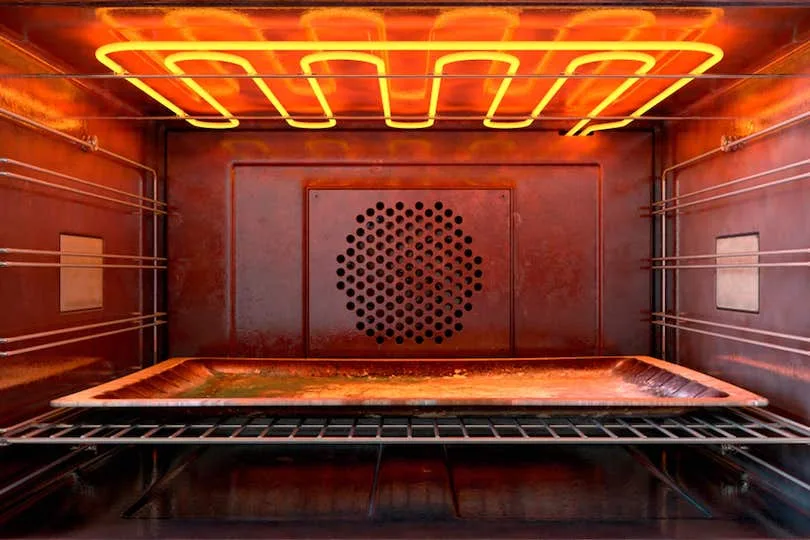
Image source: Web (Bing) / pepuphome.com (Web image (fair-use with source credit))
The fan also stops hot spots. Some toaster ovens have one side that runs hotter. Rotating the pizza halfway handles that.
If your model has a convection setting, use it. If not, compensate by turning the pizza more often.
Rack vs. Pan vs. Foil: Your Crisping Surface Options
This is the decision that makes or breaks the crust. The surface under the pizza controls how much direct heat reaches the bottom.
| Surface | Best for | Why it works |
|---|---|---|
| Wire rack | Thin crust, standard frozen pizza | Allows air and heat to hit the bottom directly |
| Metal pan | Rising crust, deep dish | Supports the dough while it bakes from the inside |
| Foil | Emergency use only | Traps moisture and creates steamed spots quickly |
| Perforated crisper tray | Any pizza | Holes let hot air reach the crust while holding the shape |
Parchment paper sits somewhere in the middle. It works for quick pizzas, but it blocks some heat. If you use it, keep it flat and small.
Don't let it hang over the edges.
The "right" choice depends on the pizza. Thin crust needs maximum airflow. Rising crust needs support so it doesn't collapse.
A pan can also catch drips before they hit the crumb tray, which saves cleanup.
Choose Your Branch: A Fork for Pizza Thickness
Frozen pizza brands fall into a few shapes. Each one needs a slightly different workflow.
Thin crust. This is the easiest one to crisp. Place it directly on the rack. Set the temperature to 425°F.
Check it around 8 minutes. The bottom should feel dry and the edges should look golden.
Rising crust. This needs more time and more support. Use a metal pan or the included tray if it's oven-safe. Set the temperature to 400°F.
Expect 12 to 15 minutes. A rising crust also needs a lower rack position so the dough bakes through before the top burns.
Deep dish and stuffed crust. These are heavy. Put them on a pan. The middle needs time to warm all the way through.
Use the low rack position and give it the full cook time. The downside is that the top can brown too fast. If that happens, lower the temperature by 10 degrees next time.
The main rule is to match the surface and rack to the pizza's weight. Light pizzas go on the rack. Heavy pizzas go on a pan.
This single choice solves more soggy crust problems than any temperature change.
Step-by-Step Workflow: Bake a Frozen Pizza in a Toaster Oven Like a Pro
Here is the full process. It works for most toaster ovens between 1200 and 1800 watts.
Step 1: Preheat. Turn the toaster oven to 425°F and let it run for 5 minutes. The heating elements need to reach their full cycle before the pizza goes in. This step is non-negotiable.
Step 2: Pick the rack position. Use the middle rack for thin crust. Use the low rack for thick or rising crust. The goal is to keep the top element away from the cheese while the bottom element does the crisping.
Step 3: Remove all packaging. Take the pizza out of the box and plastic wrap. Check whether the cardboard tray is oven-safe. Many aren't.
If there's any doubt, trash it.
Step 4: Place the pizza. Set it directly on the wire rack for thin crust. Use a pan for heavier pizzas. If the pizza is larger than the rack, cut it in half.
Two smaller pieces bake fine.
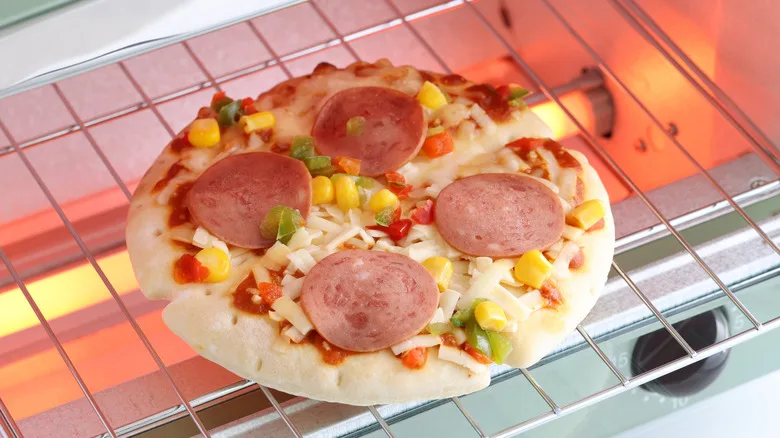
Image source: Web (Bing) / foodie.com (Web image (fair-use with source credit))
Step 5: Set the timer. Start with less than the box says. A typical frozen pizza takes 8 to 14 minutes in a toaster oven. Your oven runs hotter than a full-size model, so the box time is usually too long.
Step 6: Rotate halfway. At the 4 to 6 minute mark, turn the pizza 180 degrees. This evens out hot spots and gives you a more uniform crust.
Step 7: Check for doneness. Look for bubbling cheese, a golden edge, and a dry bottom. If the toppings are done but the crust is pale, leave it another 2 minutes and check again.
Step 8: Rest before slicing. Let the pizza sit for 2 minutes. This sets the cheese and keeps the crust from tearing. Slicing too early can make a crisp crust go soggy.
This workflow is flexible. If your oven has a convection fan, drop the preheat time to 4 minutes. If the pizza is smaller, reduce the timer.
The checks matter more than the exact numbers.
Dorm Room and Mini-Oven Workarounds
Not everyone has a full-size toaster oven. Small dorm models can still make a decent pizza. You just need to work around their limits.
First, always check your model's wattage. A low-wattage oven takes longer to brown. Wattage matters more than brand, so look at the tag before you start.
Dorm fridges and outlets can also share circuits, so give the oven its own socket.
Second, if the pizza doesn't fit, don't fight it. Cut it in half with a knife while it's still frozen. You can also buy mini pizzas designed for small ovens.
They're cheaper and they fit better.
Third, use the middle rack if there is one. Some mini ovens only have one position. That's fine.
Just rotate the pizza more often. Steam has less room to escape, so you may need to prop the door open with a wooden spoon for the last 2 minutes. This lets moisture out and helps crisp the crust.
Finally, clean the crumb tray first. Grease from an earlier batch can smoke and give the pizza an off taste. A clean oven makes a real difference.
Common Mistakes and How to Fix Them
Everyone messes up a toaster-oven pizza at least once. Here are the mistakes that show up most in our research.
Skipping the preheat. Cold elements mean longer cook time and less crisp. Fix it by always preheating for 5 minutes.
Using foil as a surface. Foil traps steam and creates a soggy bottom. Fix it by going with the rack or a pan.
Cranking the heat too high. High heat browns the cheese before the dough cooks. Fix it by staying in the 400°F to 425°F range.
Not rotating the pizza. Hot spots are real in small ovens. Fix it by turning the pizza halfway.
Following the box time too closely. Full-size oven instructions don't translate. Fix it by checking earlier and adding time only if needed.
Letting the fan blow toppings around. Convection can push pepperoni off the pizza. Fix it by using the bake mode instead of the air fryer mode if that happens.
These are simple fixes. Each one removes a layer of unpredictability.
Safety and Cleanup: Don't Smoke Out Your Kitchen
A toaster oven gets hot fast. Keep it on a heat-safe surface with clearance on all sides. Don't stack anything on top.
And never cover the vents while it's running.
The biggest issue is melted cheese and grease hitting the crumb tray. This happens with almost every pizza. The grease burns and smokes.
The fix is to use a pan or a tray when your pizza is greasy, or to clean the crumb tray before each bake.
Oil catches fire when it gets hot enough. It's rare in a toaster oven, but it can happen if grease builds up. Keep an eye on the oven and pull the plug if you see smoke coming from the tray.
The USDA food safety guidelines recommend heating any meat toppings to 165°F. Pepperoni and sausage on a frozen pizza should hit that mark. Use a food thermometer if you're unsure.
Cleanup takes 2 minutes. Let the oven cool completely. Pull out the crumb tray and wipe it down.
Catch the drips before they bake on. The rest of the oven just needs a quick wipe.
Toaster Oven Upgrades: When Your Gear Holds You Back
Sometimes the oven isn't the problem. The surface you bake on is the problem. A perforated pizza crisper tray is the easiest upgrade.
The holes let hot air reach the bottom of the crust while still supporting the pizza. It makes a noticeable difference with thin crust.
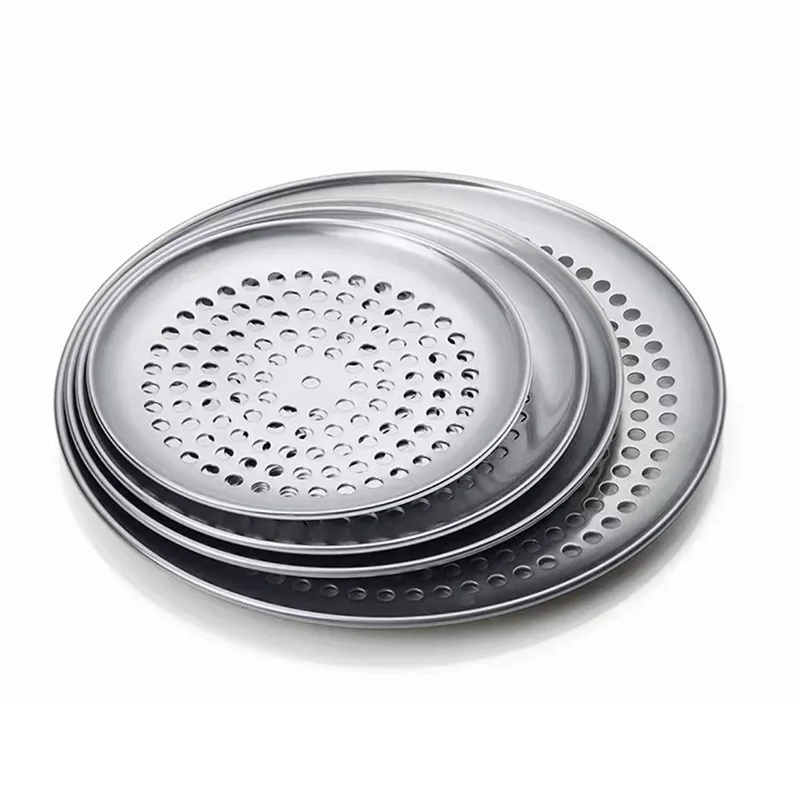
Image source: Web (Bing) / tsingbuy.en.made-in-china.com (Web image (fair-use with source credit))
Convection models also help. A fan dries the surface and speeds up browning. If you're shopping for a new oven, look for one with a convection setting.
Many newer toaster ovens also double as air fryers. That's a convenient combination. You can read more about the difference between these modes and why the fan changes how hot air moves around food.
Wattage matters too. A higher wattage oven bakes faster and more evenly. Lower wattage models work fine, but they need longer bake times.
You can also check how much power your oven draws if you're comparing models.
Energy Star certified models cut power use without sacrificing heat output. That's worth a look if you bake often. The energy cost for a single pizza is small, but daily use adds up over a year.
FAQ: Quick Answers Snappy
Why is my pizza still doughy in the middle?
The heat isn't reaching the center before the top browns. Lower the rack, lower the temperature to 400°F, and add a few minutes of bake time. For thick crust, skip the wire rack and use a pan.
Should I bake on foil or directly on the rack?
Bake directly on the rack for the crispiest result. Foil traps steam and makes the crust chewy. Use a pan only for rising crust and deep dish.
Can I reheat leftover pizza this way too?
Yes. Preheat to 375°F and bake the slice directly on the rack for 4 to 6 minutes. The crust turns crisp again.
Don't use the microwave or you'll lose the texture.
What temperature is best for frozen pizza in a toaster oven?
Use 425°F for thin crust and 400°F for thick crust. The lower temperature keeps the dough from burning before it cooks through.
Is a toaster-oven pizza actually better than microwave?
For texture, yes. A toaster oven gives you a crisp bottom and a better melted cheese finish. A microwave steams the crust and leaves it soggy.
Final Decision Guide: Your Best Path by Pizza Type and Oven
Use this as a quick map.
| Pizza type | Surface | Rack | Temperature | Time |
|---|---|---|---|---|
| Thin crust | Wire rack | Middle | 425°F | 8 to 10 minutes |
| Rising crust | Metal pan | Low | 400°F | 12 to 15 minutes |
| Deep dish | Metal pan | Low | 400°F | 14 to 18 minutes |
If speed matters most, skip the pan and use the rack. If an even bake matters most, preheat longer and rotate once. If you own a low-wattage oven, add 2 minutes to those times and check early.
The whole process comes down to one idea. Give the bottom heat and let moisture escape. Do that, and your toaster oven will turn out a pizza crust that snaps when you bite it.