
You know the drill: you wipe down the stainless steel exterior of your toaster oven, step back to admire your work, and there it is. Smears. Water spots.
Fingerprints in a new pattern. It's enough to make you wonder if the thing is permanently cursed.
The good news? Learning how to clean stainless steel exterior of toaster oven without streaks isn't about buying fancy products. It's about matching the right cleaner to the mess and, more importantly, wiping with the grain instead of against it.
Manufacturer specifications confirm that most stainless steel toasters use a brushed finish with a visible linear grain. That grain is the secret to getting a spotless, professional-looking shine every time.
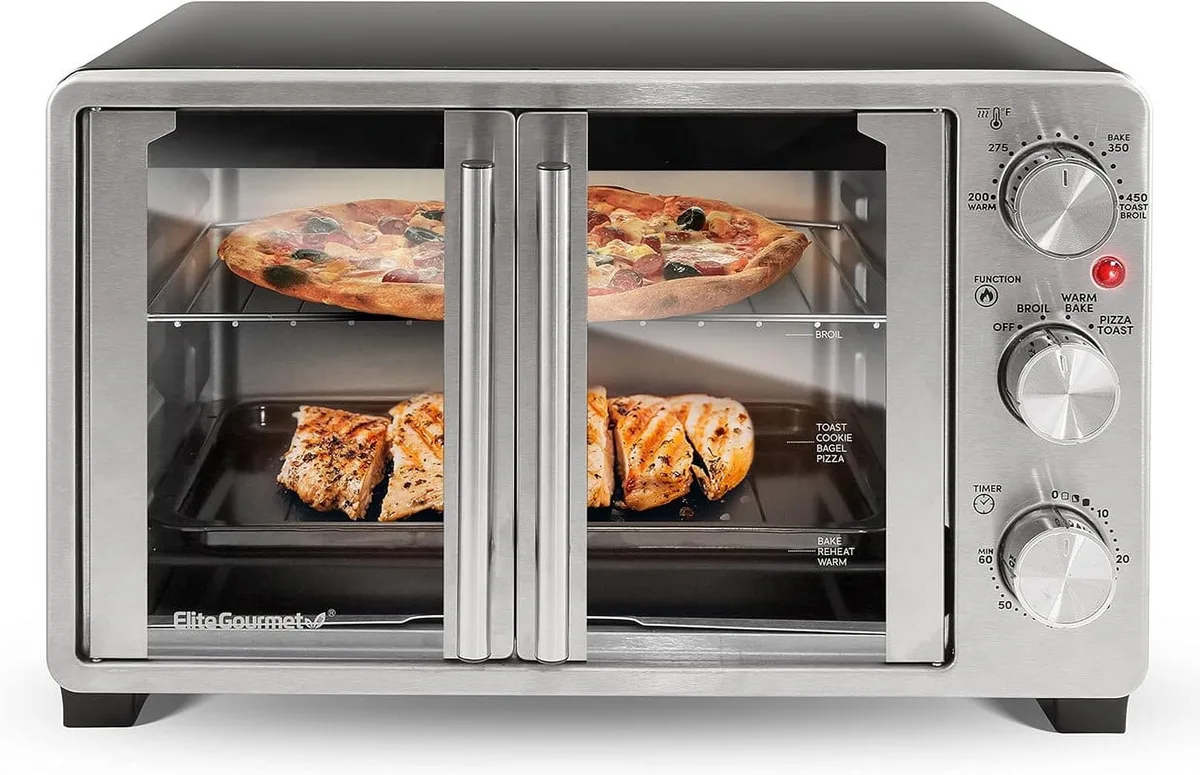
Image source: Web (Bing) / telescopictube.com (Web image (fair-use with source credit))
Quick Answer
Cleaning stainless steel exterior of a toaster oven without streaks takes two cloths. Use mild soapy water. One cloth removes grime.
The other dries and buffs. Wipe along the grain. Avoid paper towels because they leave lint.
A clean microfiber cloth is your best friend.
Why Toaster Ovens Are More Prone to Streaks Than Other Stainless Steel
A toaster oven lives a harder life than most stainless steel appliances. It sits right next to your stove, so grease vapor from frying and roasting lands on the surface every single time you cook. That oily film traps dust, and when you spray on a cleaner, it turns into that cloudy, smeared mess you keep fighting.
The American Cleaning Institute recommends wiping stainless steel with a mild detergent and drying it immediately to prevent water spots. That advice is solid, but it leaves out one crucial detail specific to these machines: the brushed finish.
Most toaster ovens use a satin or brushed texture with tiny parallel lines called the grain. If you wipe in circles, you push residue against that grain, forcing it into the microgrooves where it dries into streaks. It's the same logic no matter which countertop appliance you're cleaning.
Pick a full-size toaster oven or a dedicated air fryer oven, and the surface still demands directional wiping.
As of 2026, manufacturers still don't apply a protective clear coat to these exteriors. That means harsh chemicals, abrasive pads, and even elbow grease can permanently dull the finish. Treat the surface like a piece of brushed metal, not a countertop.
What You Need: The Right Cloths, Cleaners, and Sprays
Honestly, you probably have most of this in your kitchen already. The biggest upgrade is swapping paper towels for microfiber. A soft cotton cloth works too, but microfiber lifts oil instead of pushing it around.
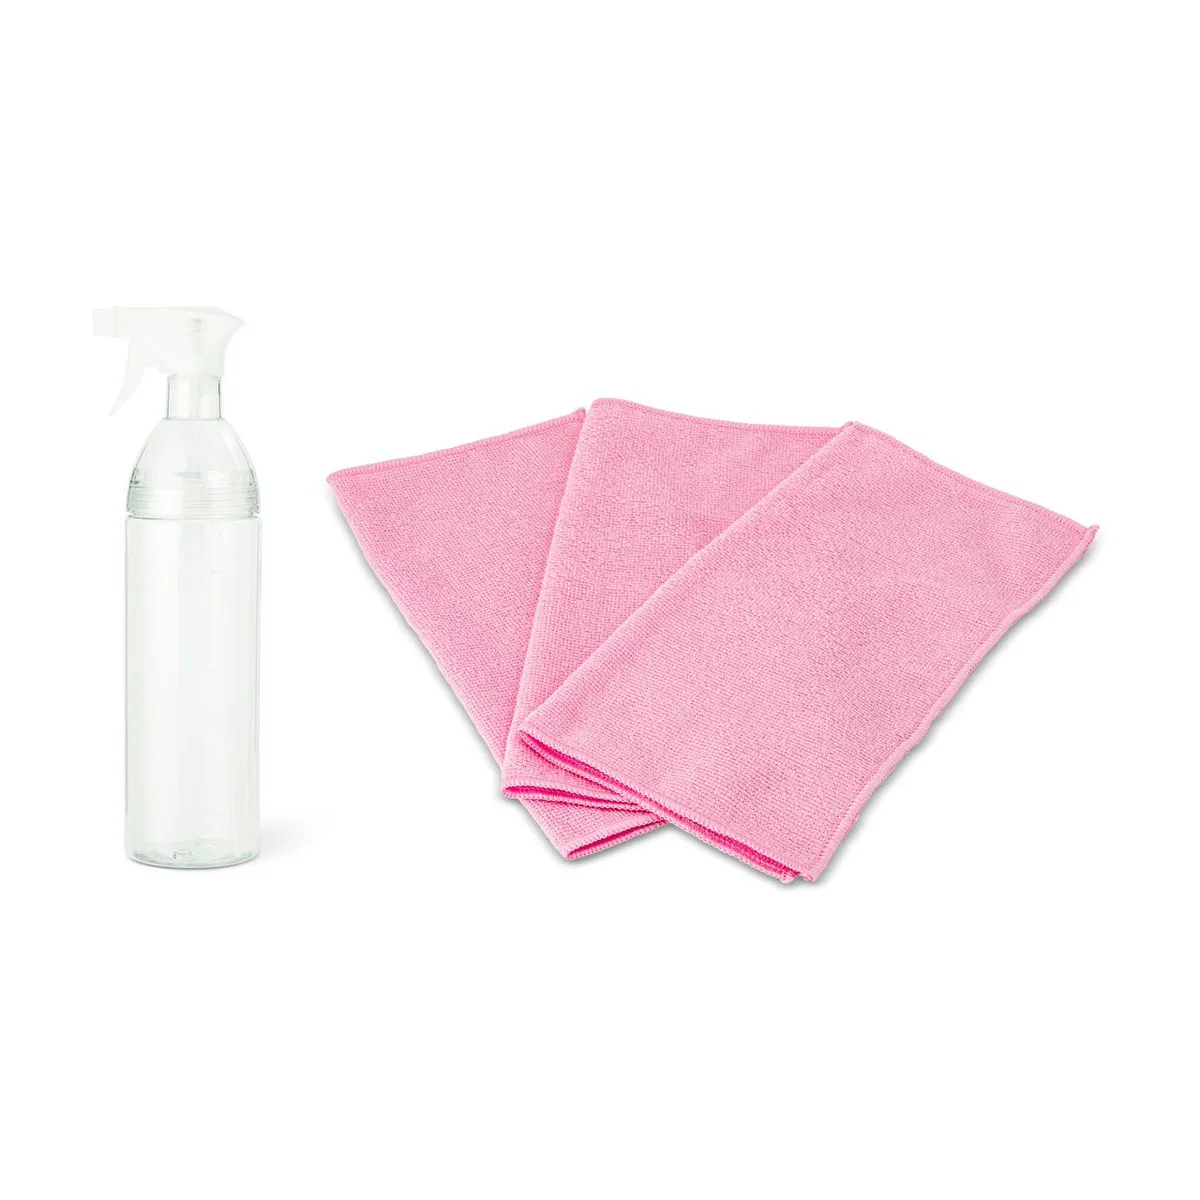
Image source: Bing (Web (fair-use with source credit))
| Tool | Best For | Notes |
|---|---|---|
| Microfiber cloth | Final dry buff | Use one for cleaning, one for drying |
| Soft cotton cloth | Applying cleaner | Old t-shirts work fine |
| Warm water | Daily smudges | Use distilled in hard-water areas |
| Mild dish soap | Grease film | A drop in a cup of water is plenty |
| White vinegar | Stubborn fingerprints | Mix 1:1 with water |
| Baking soda | Baked-on food | Make a paste with a little water |
| Spray bottle | Mist solution | Spray the cloth, never the metal |
Stay away from steel wool, scouring pads, and abrasive powders. They scratch the grain, and those scratches become permanent traps for oils and dirt. You'll end up with more streaks, not fewer.
Step 1: Unplug, Cool, and Clear the Surface Safely
Start with a cool machine. If the toaster oven just finished cooking, wait at least 15 to 30 minutes. Unplug it completely before you touch the exterior with anything wet.
This isn't just a safety precaution, it also prevents water spots from forming when heat pulls moisture out of the cleaner too quickly.
Clear the area around the toaster oven. Move cutting boards, dish towels, spice jars, or anything else leaning against it. You'll need room to work, and you don't want cleaner accidentally misting over nearby food prep surfaces.
Check your manufacturer's manual for model-specific warnings. Some brands use a coating that reacts poorly to vinegar, while others recommend only mild dish soap. If you've lost the manual, a quick visit to the official brand page gives you the safest instructions.
Unplugging also protects you from the small risk of water dripping into a control seam while the machine is still powered. If you're curious about how much electricity these countertop units actually pull, our wattage research covers the typical range.
Step 2: Assess the Grime Level on the Exterior
Before you pick a cleaner, look at the surface honestly. Different messes need different approaches, and the right decision here keeps you from over-scrubbing or leaving a soapy film behind.
Light Fingerprints and Daily Dust
If you just see a few smudges near the handle, skip the heavy artillery. Dampen a microfiber cloth with warm water, add a drop of dish soap, and wipe the full surface along the grain. Then dry and buff with a clean cloth.
That's usually enough.
This routine works best when you clean often. If smudges are back within a day or two, your toaster oven has an oily film that water alone isn't lifting. Move to the next level of cleaning.
Grease Splatter and Baked-On Food
Grease splatter around the tray slot and top vents needs a little more muscle. Use a 1:1 vinegar and water solution or a mild stainless steel cleaner. Spray onto the cloth, not the appliance, so liquid doesn't pool in seams or drip into the control panel.
For dried-on spots, mix baking soda with water to form a thick paste. Apply it with a soft cloth, let it sit for two to five minutes, then gently rub along the grain. Rinse with a damp cloth and dry immediately.
Cloudy Spots and Water Stains
White mineral spots usually mean hard water. Use distilled water for your final rinse to stop new deposits from forming. If the cloudiness sticks around, a tiny drop of mineral oil can hide shallow stains, but that's a temporary fix, not an everyday habit.
| Grime Level | Solution | Tools |
|---|---|---|
| Light fingerprints | Warm water + mild dish soap | Microfiber cloth |
| Grease splatter | 1:1 vinegar/water spray | Spray bottle + microfiber |
| Baked-on food | Baking soda paste | Soft cloth, wait 2-5 minutes |
| Water spots | Distilled water rinse | Microfiber, dry buff |
Step 3: Pick a Cleaning Solution Based on the Grime
The right solution depends on what you're dealing with. Light dust and smudges need almost nothing. Baked-on grease needs a little more muscle.
Match the cleaner to the mess, and you'll cut your wipe-down time in half.
Mild Dish Soap and Warm Water
This is your everyday cleaner. Add a drop of mild dish soap to a cup of warm water. Dampen a microfiber cloth, wring it out well, and wipe the exterior along the grain.
A drop is plenty. Too much soap leaves a thin film that dries into streaks. The goal is a barely damp cloth that still cuts through the day's grease film.
This method follows the same basic detergent guidance the American Cleaning Institute recommends for stainless steel. Always follow up with a dry cloth, though. That second pass is what locks in the shine.
Diluted Vinegar Solution
White vinegar handles tougher fingerprint buildup. It cuts through oil and evaporates quickly, which means less water residue. Mix equal parts white vinegar and water in a spray bottle.
Spray the cloth, not the toaster oven itself. Then wipe with the grain and dry buff immediately. One quick warning: test vinegar on an inconspicuous spot first.
Some manufacturers use a fingerprint-resistant coating, and vinegar can wear it down over time. When in doubt, stick to soap and water.
Baking Soda Paste for Stubborn Spots
Cooked-on residue near the vents or along the door handle needs something grittier. Mix three parts baking soda to one part water. You want a thick paste that spreads easily.
Apply the paste with a soft cloth and let it sit for two to five minutes. Rub gently along the grain, then wipe the area clean with a damp cloth. The paste breaks down baked-on food without scratching the finish.
Just don't press hard or scrub in circles.
Commercial Stainless Steel Cleaners
Store-bought stainless steel cleaners work well when you want a heavier-duty degreaser. Look for a non-abrasive formula. Apply it to a microfiber cloth, not the appliance, and work in small sections.
Skip the aerosol sprays. Overspray drifts onto nearby surfaces, and the propellant can leave a sticky layer. Foaming pump sprays give you more control.
If the cleaner leaves a residue, a dry buffing cloth fixes it in seconds.
Step 4: Wipe Along the Grain, Not in Circles
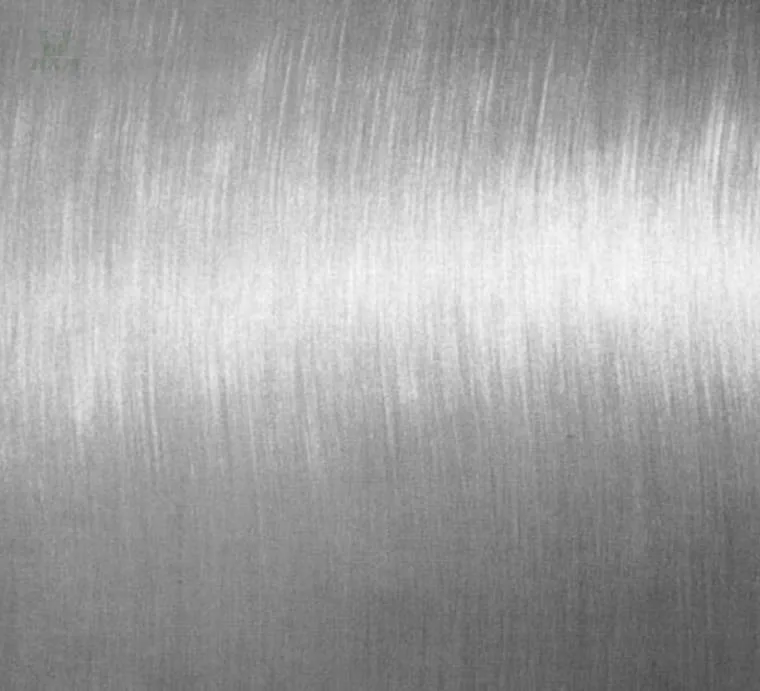
Image source: Bing (Web (fair-use with source credit))
Here's the single biggest mistake we see: circular wiping. On stainless steel, circles push cleaner and grease right back into the microgrooves. Those trapped particles form the swirl marks you keep trying to erase.
The fix is simple.
Find the grain first. Brushed stainless steel has fine parallel lines running across the surface. On a toaster oven, they typically run horizontally across the door and side panels.
Look closely under good light and you'll see them clearly.
Wipe in the same direction as those lines. Straight strokes, light pressure, no scrubbing. Think of it like running your hand over corduroy.
The cloth glides when it follows the grain, and it drags when it doesn't. That drag is where streaks are born.
Step 5: Dry-Buff for a Streak-Free Shine
Wiping off the cleaner is only half the job. The dry buff is what actually delivers the streak-free result. It's a separate step, not an afterthought.
Take a second clean, dry microfiber cloth. After the wet wipe, go back over the surface with a light polishing motion. Use short, overlapping strokes along the grain.
This picks up the last layer of moisture and evens out the finish.
Hold the cloth flat. Folded cloths concentrate pressure into a small spot and leave a patchy sheen. A flat section of cloth distributes pressure evenly across the steel.
Then angle the toaster oven toward a light source. If you see smears, hit them again with the dry cloth. The result should look like it just left the showroom floor.
Mistakes That Cause Streaks (and How to Fix Them)
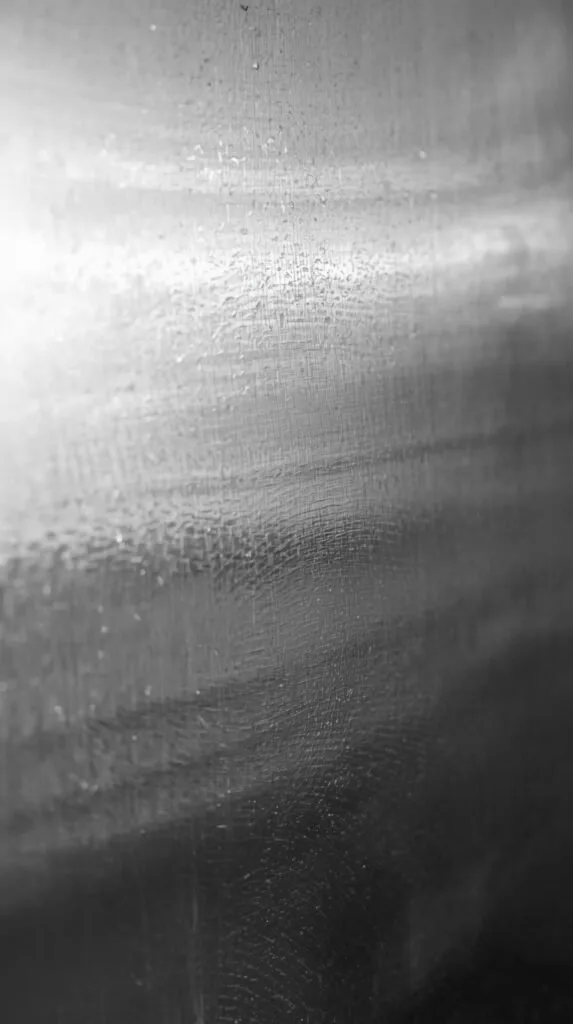
Image source: Web (Bing) / roomrevivalstudio.com (Web image (fair-use with source credit))
Streaks are almost always traced to one of a few avoidable habits. Here's a quick reference table for what goes wrong, why it happens, and the fastest fix.
| Mistake | Why It Happens | Fix |
|---|---|---|
| Paper towel lint | Fibers shred off and stick to the wet surface | Switch to microfiber |
| Too much cleaner | Leaves a soapy film that dries dull | Spray lightly, wring out the cloth |
| Circular wiping | Pushes grime into the grain lines | Wipe straight along the finish |
| Cleaning a hot surface | Cleaner evaporates before you can wipe it | Wait 20 minutes after cooking |
| Dirty or fabric-softened cloth | Oils the steel instead of lifting grease | Wash cloths without softener |
If you've already got a hazy layer of streaks, a dab of mineral oil can salvage the look. Rub a few drops along the grain with a microfiber cloth, then buff dry. That's a temporary fix, so don't expect it to last forever.
The real cure is switching to the two-cloth method.
Long-Term Maintenance: Keep the Toaster Oven Looking New
Consistency beats deep-cleaning marathons. A thirty-second wipe-down every few days prevents baked-on buildup from settling in. Keep a dedicated microfiber cloth next to your toaster oven and make wiping the door part of your normal kitchen routine.
Wash those cloths without fabric softener. Softener leaves a waxy residue that coats the fibers, and that residue transfers straight to your appliance. Same goes for dryer sheets.
A clean, plain-washed microfiber cloth is the cheapest streak prevention you own.
Don't forget the seams and vents. A dry cotton swab pulls out the dust and grease that a cloth can't reach. Do this once a week or so.
A clean exterior keeps the machine running cooler, and a toaster oven that runs cooler lasts longer on your counter. If you're torn between a full-size convection oven and a countertop toaster oven, our comparison shows how exterior finishes and maintenance needs differ at each price point.
Safety and Warranty Rules for Cleaning the Exterior
The wrong cleaner can void your warranty. Harsh chemicals like oven cleaner and bleach leave a permanent dull haze that counts as misuse. Stick to mild dish soap, distilled vinegar, or a non-abrasive stainless steel cleaner.
Follow these ground rules every time:
- Unplug the toaster oven and wait for it to cool completely
- Spray cleaner onto the cloth, never onto the appliance
- Keep moisture away from vents, seams, and the control knob area
- Rinse the cloth thoroughly to remove any residue
Your owner's manual is the final word. If it lists a fingerprint-resistant coating, skip vinegar entirely. The American Cleaning Institute's guidance on surface care stays useful here.
And if you're deciding between a toaster oven and another countertop unit, our air fryer toaster oven comparison covers how different materials hold up over time.
For those worried about running costs, typical toaster ovens pull between 1200 and 1800 watts. Our wattage breakdown shows where your model likely sits. Budget-conscious households also check energy draw.
The electricity consumption guide explains how that shows up on a utility bill.
Decision Guide: Quick Path to a Streak-Free Finish
Here's the whole system in one table. Find your mess, match the solution, then dry buff along the grain.
| If you see this | Do this | Finish with |
|---|---|---|
| Light fingerprints near the handle | Microfiber cloth plus a drop of dish soap in warm water | Dry buff |
| Greasy film across the whole side | Vinegar 1:1 with water on a cloth | Dry buff |
| Baked-on crust around the tray slot | Baking soda paste, sit 2-5 minutes, gentle rub | Damp cloth wipe plus dry buff |
| Cloudy water spots | Distilled water final wipe | Dry buff |
Keep the cloths separate. One for cleaning, one for drying, and you'll never reintroduce the grime you just lifted.
If you've been using an air fryer oven, the routine changes slightly because of the bigger heating coils. Our air fryer oven comparison explains the maintenance differences. And if you're moving from a microwave, expect more grease splatter on the door.
The microwave versus air fryer guide shows the tradeoffs.
Frequently Asked Questions
Can I use Windex on my stainless steel toaster oven?
No. Most glass cleaners contain ammonia, and ammonia eats away the protective layer on brushed stainless steel. That leaves the surface vulnerable to rust streaks and permanent discoloration.
Use mild dish soap or a stainless-steel-specific cleaner instead.
How do I remove baked-on grease without scratching?
Make a paste with three parts baking soda and one part water. Apply it to a soft cloth or cotton swab, then rub gently along the grain. Let the paste sit for a few minutes before you wipe it off.
Avoid abrasive sponges and steel wool.
Why does my stainless steel toaster oven look cloudy?
Cloudiness usually comes from mineral deposits in hard tap water. Over time, calcium and magnesium stay behind as the water evaporates. Switch to distilled water for the final rinse.
A dry buff with a clean microfiber cloth also clears up most haze.
Can I spray stainless steel cleaner directly on the toaster oven?
No. Spraying directly risks liquid seeping into vent openings and control seams. That can cause electrical damage or rust from inside.
Spray the cleaner onto a microfiber cloth first, then wipe the surface. Spraying the cloth also gives you better control over how much product you use.
How often should I clean the exterior?
Wipe down the front and handles every few days with a barely damp cloth. Do a full deep clean when you notice grease buildup or baked-on spots, usually once a week. Regular quick wipes keep the finish bright and prevent the need for heavy scrubbing.