
Nothing kills a weeknight dinner faster than your air fryer toaster oven belching smoke at 450°F. Learning how to stop air fryer toaster oven from smoking at high heat starts with three usual suspects: grease, residue, and the wrong oil. We've dug through manufacturer manuals, fire-safety data, and thousands of owner reports to map each culprit to its fix.
The appliance itself explains the drama. Most units pull 1,500 to 1,800 watts and reach 450°F in air fry mode, per manufacturer specifications. That's serious heat concentrated a few inches below your food.
Start by reading the smoke itself, because color tells you everything.
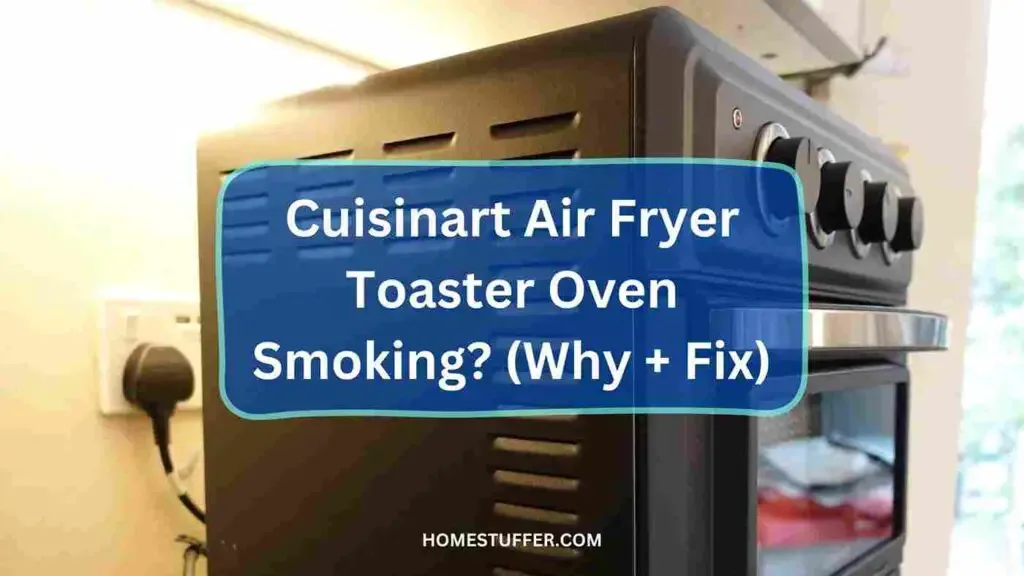
Quick Answer: Read the Smoke Color Before You Do Anything Else
Stop air fryer toaster oven smoking at high heat in minutes. First, read the smoke color coming off the unit. White smoke means grease, so empty the crumb tray and wipe the cavity.
A little water in the drip pan tames fatty cooks. Blue or black smoke means unplug the unit immediately.
Why Air Fryer Toaster Ovens Smoke at High Heat (and Basket Fryers Mostly Don't)
Here's the design detail most people miss at checkout. In a basket-style air fryer, the element sits above the food behind a shielded housing, and grease drains into a sealed drawer underneath. An air fryer toaster oven does the opposite.
Its lower bake element sits exposed along the cavity floor, often just an inch or two below the tray.
That layout is why the same meal behaves differently in each machine. Rendered fat has a clear drip path onto a glowing coil. The fat vaporizes on contact, and the convection fan spreads the haze everywhere.
If you're weighing the two designs, our breakdown of how the two layouts differ covers grease handling in detail.
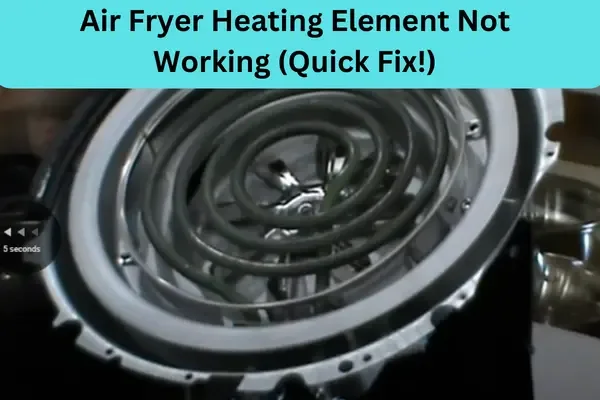
Grease Hitting the Exposed Lower Heating Element
Bacon, burgers, sausage, and skin-on chicken all render fat fast at high heat. On a flat tray, that fat pools, spills over the edges, and finds the element. At 450°F, a drop of grease hitting bare metal doesn't just sizzle, it flashes into visible smoke.
Sugary BBQ sauces and honey glazes do the same thing once they carbonize.
Old Residue Burning Off During Preheat
Ever seen smoke pour out before any food went in? That's yesterday's dinner. Grease films and stray crumbs left on the tray, walls, or floor carbonize during preheat and burn off as grey haze.
A crumb tray packed past its fill line makes it worse, because fresh heat hits an old grease bed every session.
Low Smoke-Point Oils Breaking Down at 450°F
Every oil has a smoke point, the temperature where it stops shimmering and starts shedding acrid smoke. Butter quits around 302 to 350°F. Extra virgin olive oil gives up between 350 and 410°F.
Neither survives an air fry cycle at 450°F, no matter how clean the oven is.
Aerosol sprays add a second problem. Their additives polymerize on nonstick coatings at high heat, building a sticky varnish that smokes and ruins food release. Even a spotless oven can haze when you cook breaded freezer staples, since their factory oil coating meets the hot air first.
The 30-Second Diagnosis: Color, Timing, and Source
Before you scrub anything, spend thirty seconds reading the evidence. Three details matter: the smoke's color, when it appears, and where it's coming from. Get those right and the fix becomes obvious.
Get them wrong and you'll deep-clean a healthy oven while ignoring a real hazard.
| What you see | Likely source | Your move |
|---|---|---|
| Thin white wisps during preheat | Old grease burning off | Empty crumb tray, wipe cavity |
| Thick white clouds mid-cook | Fat dripping onto the element | Water in the drip pan |
| Acrid haze with an oily smell | Oil pushed past its smoke point | Switch to a high smoke-point oil |
| Blue or black smoke, any time | Electrical fault | Unplug immediately, stop using |
White or Grey Smoke = Fat and Grease (Fixable)
This is the common one, and it won't hurt the appliance. Fat vaporizing on hot metal smells sharp and burnt, then clears with ventilation. If the haze carries a greasy, faintly sweet note, you're looking at drippings or residue.
Every fix below targets this category.
Blue or Black Smoke = Electrical Problem (Unplug Immediately)
Blue or black smoke smells chemical and acrid, like melting plastic or wire insulation. That's not food, that's the machine. Unplug the unit at the wall rather than trusting the dial.
Let it cool fully before you look inside. Treat this as a hard stop, not a nuisance. Cooking equipment is the leading cause of home fires and fire injuries, per NFPA incident data.
Preheat-Only Smoke vs. Mid-Cook Smoke vs. Every Single Session
Timing narrows the cause fast. Work through these branches in order:
- If it smokes only during preheat, with an empty cavity, you're burning off residue. Clean the tray and walls and it disappears.
- If it starts when fat renders, usually the first 10 minutes of a fatty cook, drippings are reaching the element. Reposition the drip pan and add water.
- If it smokes every session, no matter what you cook, there's a baked-on carbon layer. Schedule a deep clean.
- If it smokes with clean trays and neutral oil, suspect the fan housing or wiring. Stop using the unit.
Fix #1: The Crumb Tray and Drip Pan Routine That Stops 80% of Smoking
This routine sounds boring, and it prevents most of the complaints in aggregate buyer feedback. Manufacturer manuals from Cuisinart, Breville, and Ninja have required the same habit for years, and as of 2026 that guidance hasn't changed. Empty the tray after every greasy cook.
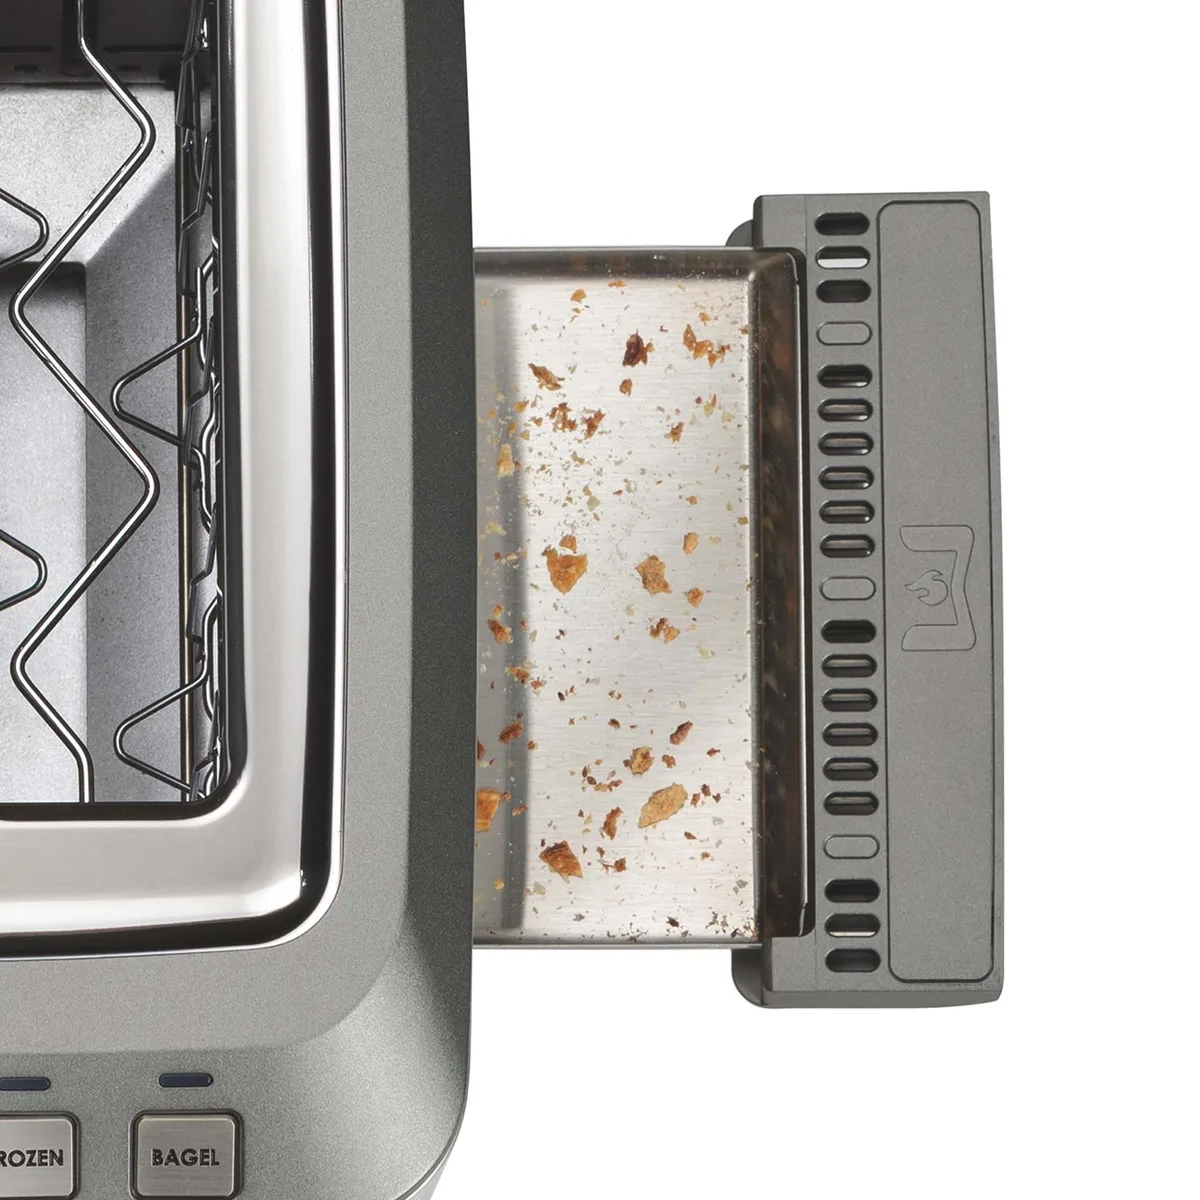
Work through these steps once the unit is cool:
- Slide out the crumb tray and dump the crumbs in the trash, never the sink.
- Wash the tray in hot, soapy water and dry it completely.
- Wipe the cavity floor, walls, and ceiling with a damp microfiber cloth.
- Check both elements for a glossy film. Wipe them gently with a damp cloth, and never scrape with metal tools.
- Once a month, spread a baking soda paste on baked-on spots. Wait 15 minutes, then wipe clean with a wet cloth.
| Task | How often | Time cost |
|---|---|---|
| Empty and rinse crumb tray | After every greasy cook | 2 minutes |
| Wipe cavity interior | Weekly | 5 minutes |
| Baking soda paste deep clean | Monthly | 20 minutes |
| Empty burn-off cycle at 400°F | After deep cleans | 15 minutes |
Two things to skip entirely. No oven cleaner inside the cavity, because the fumes linger and coat your next meal. And no dunking the unit in water, since these appliances aren't built for it.
After a deep clean, run the empty unit at 400°F for 15 minutes with a window cracked. Any missed residue chars off harmlessly instead of into your food. Curious what that empty cycle adds to your bill?
Our breakdown of air fryer electricity costs does the math.
Fix #2: The Water-in-the-Drip-Pan Trick for Bacon, Burgers, and Sausage
Bacon, burgers, and sausage are the big three smoke offenders, and they share one trait: lots of rendered fat with nowhere to go. The water trick gives it somewhere to go. Pour one to two tablespoons of water into the drip pan before you preheat.
Falling fat hits the water, cools below its smoke point instantly, and stays liquid instead of flashing into vapor.
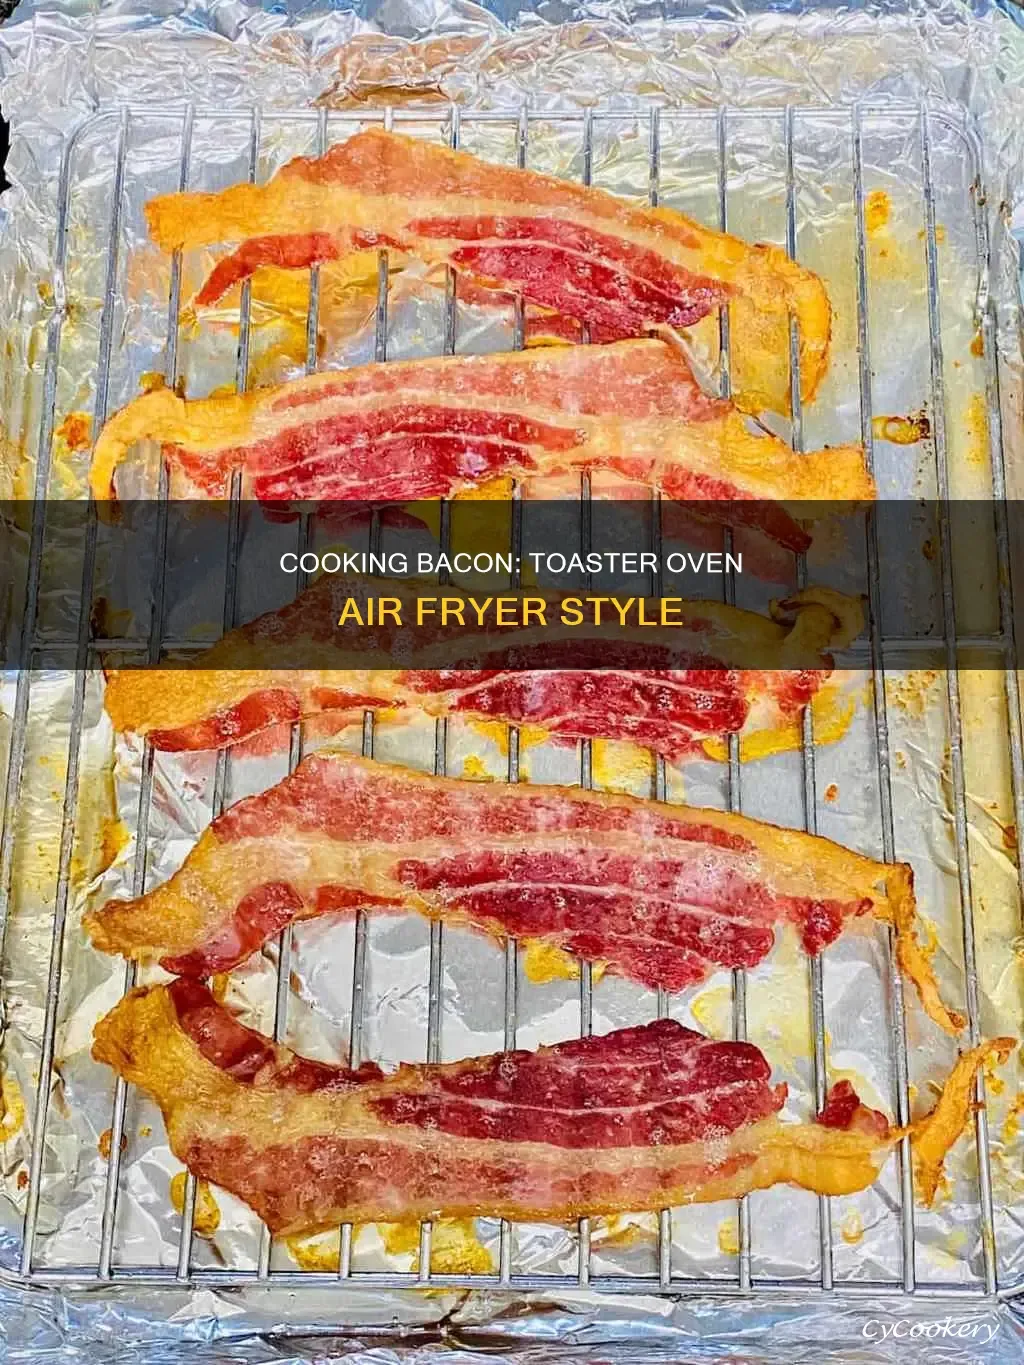
There's simple physics behind why this works. Fat smokes once it climbs past roughly 400°F on a bare surface. Evaporating water holds the pan surface near 212°F, so the metal under the drips never reaches smoking territory.
You get gentle steam instead of a grease plume.
Set it up correctly and the trick works every time:
- Place the drip pan on the lowest rack position, directly under the food.
- Keep foil and liners away from the lower element.
- Leave the convection fan intake unobstructed.
- Always add water before preheating, never onto hot glass or a hot element.
Food choice matters too. Pair this setup with our sausage patty timings so fat renders gradually instead of flooding the pan. Burgers benefit as well, especially fattier 80/20 blends.
Switching to leaner turkey bacon cuts the grease load dramatically in the first place.
Whatever you cook, finish by temperature, not appearance. Ground meats need 160°F internally and poultry needs 165°F, per the USDA safe temperature chart. Smoke-free food that's undercooked helps nobody.
Fix #3: Rethink Your Oil, From Smoke Points to the Spray-Oil Trap
Oil choice decides whether a spotless oven still smokes. Every fat has a smoke point, the temperature where it breaks down and sheds acrid haze. At 450°F, half the bottles in your cabinet are already past their limit before the food even browns.
| Oil | Approx. smoke point | Safe at 450°F? |
|---|---|---|
| Avocado oil | 520°F | Yes |
| Light or refined olive oil | 465°F | Yes |
| Peanut oil | 450°F | Borderline |
| Canola oil | 400°F | Risky |
| Extra virgin olive oil | 350 to 410°F | No |
| Butter | 302 to 350°F | No |
Application matters as much as selection. Brush a thin coat onto the food itself instead of pouring oil into the tray, where it pools and creeps toward the element. A teaspoon covers a whole batch, which is why our lightly oiled chips skip the pour entirely.
Then there's the spray-can trap. Aerosol sprays carry lecithin and propellants that polymerize into a sticky varnish on nonstick coatings at high heat. Manufacturer manuals warn against them for good reason.
Once that varnish bakes on, it smokes every session and wrecks food release. A pump mister filled with pure avocado oil gives you the same convenience without the gum.
One more shortcut: frozen breaded foods arrive pre-fried in oil. Skip added fat completely and let their coating do the work.
Deep Clean Workflow: Baking Soda Paste, Safe Element Care, and the Empty Burn-Off Cycle
Weekly wipes handle surface grease. A quarterly reset removes the baked-on carbon layer that smokes no matter what you cook. Set aside 30 minutes and follow this sequence.
- Unplug the unit and let it cool completely.
- Remove racks, trays, and the basket, then soak them in hot, soapy water.
- Mix a paste of three parts baking soda to one part water.
- Spread the paste on carbonized spots inside the cavity. Keep it off the elements and the fan opening.
- Let it sit 15 to 20 minutes. Heavy buildup benefits from an overnight dwell.
- Spritz white vinegar over the paste, let it fizz, then wipe everything with a damp cloth.
- Clean the door glass with leftover paste and a non-scratch sponge.
- Dry all parts fully and reassemble.
Element care deserves its own warning. Wipe cooled elements gently with a damp cloth and nothing more. Never scrape them with metal tools, never use steel wool, and never bring oven cleaner near the cavity.
Those fumes linger, coat your next meal, and can damage the coating manufacturers rely on for easy release.
Finish with the same empty burn-off cycle covered in Fix #1: 15 minutes at 400°F with a window cracked. Anything the paste missed chars off harmlessly instead of into your dinner.
Foil, Parchment, and Liner Rules: Contain Grease Without Blocking Airflow
Liners prevent smoking when they're placed right and cause fires when they're not. The difference comes down to two rules: nothing touches an element, and nothing blocks the convection fan intake. A blocked intake starves the airflow, cooks unevenly, and lets grease vapor pool instead of clearing.
| Liner | Safe use | Never do this |
|---|---|---|
| Aluminum foil | Line the drip pan or bottom tray | Leave it loose or touching an element |
| Perforated parchment | Sit it under food while cooking | Preheat it empty or use solid sheets |
| Silicone mat | Place under food if rated to 450°F or higher | Exceed its temperature rating |
| Wax paper | Nothing | Put it anywhere near heat |
Foil deserves the closest attention. A loose sheet acts like a sail in the fan's airstream, and aggregate incident reports show blown foil contacting elements is a classic toaster-oven fire starter. Press foil snugly into the drip pan and weigh it down with the tray above.
Never tent it over food, because that traps steam and softens crusts.
Perforated parchment solves the same problem differently. The holes let hot air circulate while catching drips, but it must always have food pressing it flat. An empty sheet in a preheating oven lifts straight onto the upper element.
Check your silicone mat's rating too, since many top out below air fry temperatures.
Mistakes That Make Smoking Worse (and Can Start a Fire)
Most recurring smoke complaints trace back to a short list of habits. Run through this checklist before your next high-heat cook.
- Overloading the tray. Crowded food traps steam and spatters fat upward toward the upper element. Leave gaps for airflow, and our sausage spacing tips show what proper gaps look like.
- Glazing too early. Sugary BBQ sauce and honey carbonize fast. Brush them on during the final 3 to 5 minutes instead.
- Ignoring the crumb tray until it's packed solid. Old crumbs become kindling.
- Pouring oil instead of brushing it. Pooled oil migrates toward the element every time.
- Adding water to a hot pan. Water hitting a 450°F surface flashes into scalding steam. Water goes in before preheating, always.
- Using oven cleaner indoors. The residue contaminates everything cooked afterward.
- Walking away at max temp. Fatty renders and foil mishaps escalate in seconds, not minutes.
Notice a pattern? Nearly every item either feeds grease to an element or blocks the airflow that clears vapor away. Fix those two failure modes and smoking largely disappears.
When Smoke Means Stop: Fire Safety, Clearance, and Smoke Alarm Strategy
Most smoke is a cleaning reminder, but certain signs demand immediate action. Blue or black smoke means an electrical fault, so unplug the unit at the wall and stop using it. Don't investigate while it's energized, and don't assume the dial shutting off ends the risk.
Clearance rules exist because these appliances vent serious heat. Most manufacturer manuals call for 4 to 6 inches of clearance on the sides and back, open space above, and a heat-resistant surface well away from curtains and cabinets. Treat those numbers as minimums, not suggestions.
If grease ever flares inside the cavity, kill the power and keep the door closed. Starving the flame of oxygen usually extinguishes it. Baking soda or a Class ABC extinguisher handles anything that persists.
Never throw water on burning grease, because it splatters flaming oil across your counter.
Smoke alarms deserve a strategy, not a silence button. Never disable one, since that's illegal in many rentals and dangerous everywhere. Instead, ventilate the kitchen, move the unit farther from the alarm, and crack a window during fatty cooks.
Finally, confirm your model carries a UL or ETL safety mark, and search the CPSC recall database for your exact model number. Recalled units have caused fires, and a 30-second lookup costs nothing.
Monthly Maintenance Schedule to Keep It Smoke-Free for Good
Smoke always comes back when maintenance slips, so anchor these tasks to a simple rhythm. Owner feedback consistently shows the two-minute post-cook habit prevents most repeat complaints.
| Frequency | Task |
|---|---|
| After every greasy cook | Empty crumb tray, wipe spills |
| Weekly | Wash trays, wipe cavity walls |
| Monthly | Baking soda paste on carbon spots |
| Quarterly | Full deep clean plus burn-off cycle |
While you're wiping, glance at both elements. Cracks, blisters, or uneven glowing mean the part is failing, and no cleaning fixes that. Order the manufacturer's replacement element or retire the unit.
FAQs: New Unit Smell, Is Some Smoke Normal, and Other Real Questions
Why does my brand-new air fryer toaster oven smoke?
New units ship with a thin protective oil film on the elements and cavity walls. Manufacturer manuals recommend an empty burn-off cycle first. Run it at 400°F for about 15 minutes with a window cracked.
Any haze fades after one or two cycles and shouldn't return.
Is a little smoke ever normal?
Thin wisps during fatty cooks like bacon happen even in spotless ovens. Rendered fat vaporizes near hot metal before the drip pan catches it. Thick clouds, acrid chemical smells, or blue smoke are never normal.
Those mean residue overload or an electrical fault.
Can I use parchment paper at high heat?
Only perforated sheets rated above 450°F, and only with food pressing them flat. An empty sheet lifts on the fan's airstream and can land on the element. Never preheat parchment by itself, and skip solid sheets entirely.
Why does my oven still smoke after a full cleaning?
Three hiding spots fool most people: the fan housing, the door seal, and the underside of the top element. Grease lodged there burns off every single session. If the cavity is truly spotless and smoke persists, stop using the unit and contact the manufacturer's support line.
Your Smoke-Free Setup Checklist: What to Do Before Your Next High-Heat Cook
Run this five-point check every time you cook above 400°F:
- Crumb tray empty and fully dry
- Drip pan seated low, with 1 to 2 tablespoons of water added before preheating
- Food brushed with avocado or refined olive oil, never sprayed
- Pieces spaced with visible airflow gaps between them
- 4 to 6 inches of clearance behind and beside the unit
Clean machine, high smoke-point oil, water under the food. That's the entire system. Follow it and smoking turns into a rare surprise instead of a weekly routine.