
That acrid, burnt-toast smell filling your kitchen during preheat? That's old grease carbonized onto the heating elements, and it's exactly why you're looking up how to clean heating elements in air fryer toaster oven safely. The fix takes about half an hour.
The rules matter more than the effort.
These ovens pack serious power into a small box. Manufacturer specifications put most current models, as of 2026, between 1,500 and 1,800 watts, which is why moisture and harsh chemicals near live parts are genuinely dangerous. We've built this guide from manufacturer manuals, UL standards, and aggregate owner reports.
Start with the short version below.
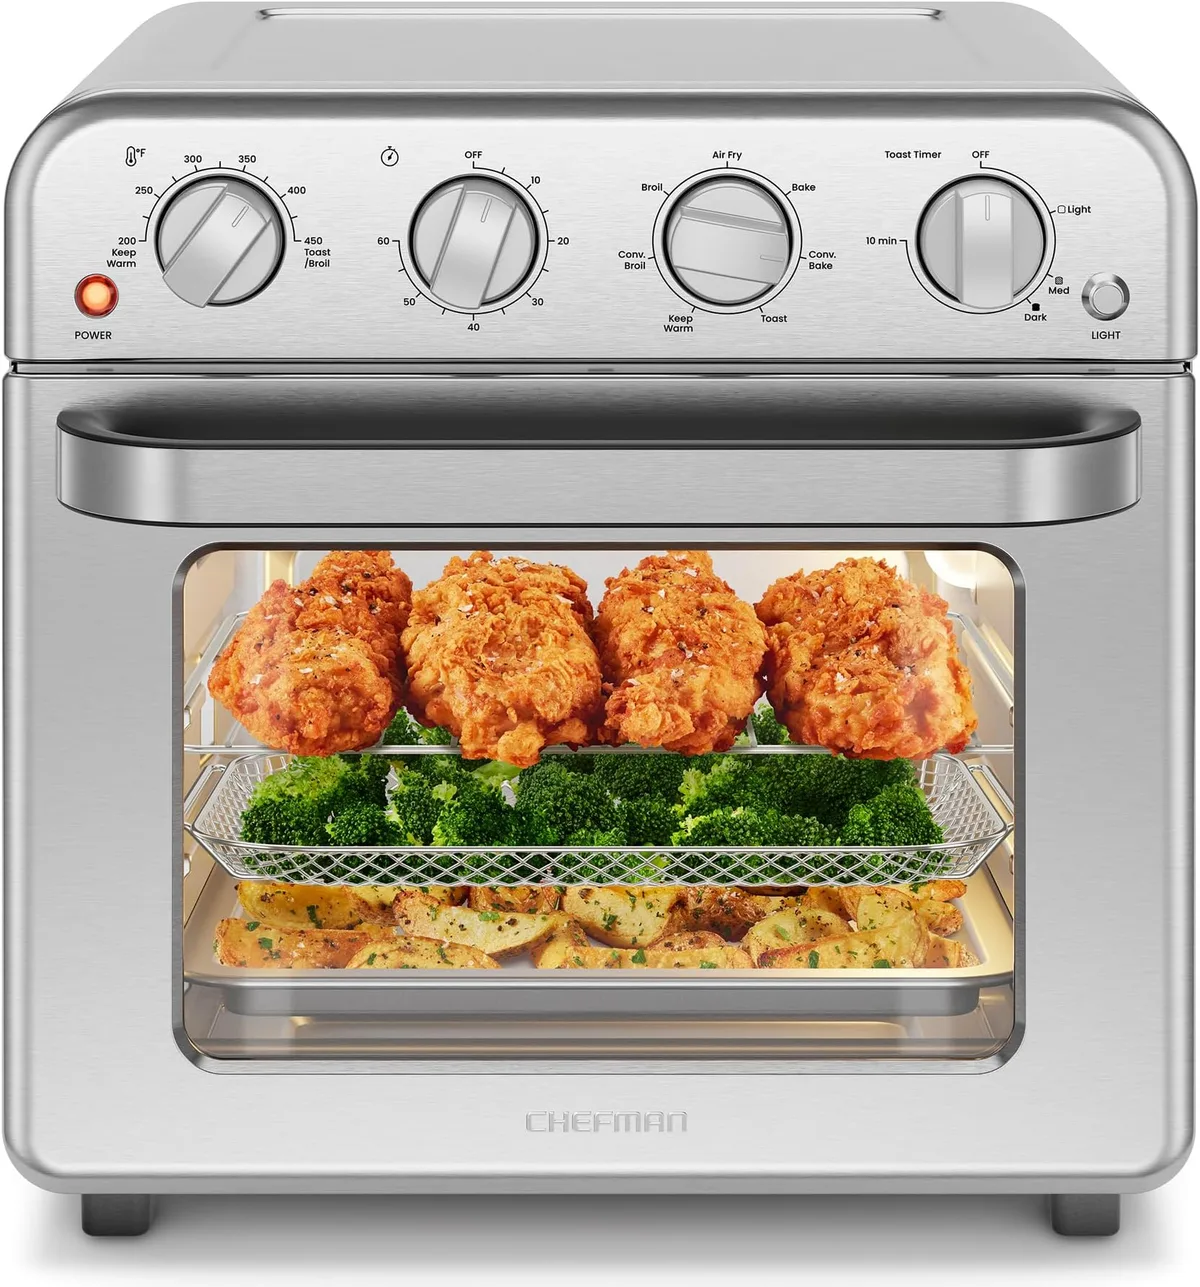
Image source: Web (Bing) / amazon.com (Web image (fair-use with source credit))
Quick Answer: How to Safely Clean Air Fryer Toaster Oven Heating Elements
To clean heating elements in an air fryer toaster oven safely, unplug first. Let every part cool for 30 to 60 minutes. Dry-brush loose crumbs off with a soft-bristle brush.
Spot-treat stubborn grease with baking soda paste. Wipe with a barely damp cloth, never a wet one.
Why Doing This Wrong Can Cost You Your Oven (or Worse)
These oven-style air fryers concentrate three hazards in one box: exposed live wiring, baked-on grease, and a cavity that traps heat. Clean them carelessly and you're not risking a messy appliance. You're risking a kitchen fire.
Here's what's actually at stake:
- Fire. Grease sitting on an element can ignite at ordinary preheat temperatures. NFPA data consistently ranks cooking equipment as the leading cause of home fires, and countertop ovens are part of that tally.
- Shock. Water bridging a live terminal can trip a GFCI or worse. US models run 120 volts. European units run 230, where a wet mistake is far more serious.
- Ruined elements. Caustic oven cleaner corrodes coil finishes and permanently clouds quartz tubes. Once that damage is done, no amount of cleaning reverses it.
- Voided warranty. Most manufacturers specify damp-cloth cleaning only. Chemical damage falls outside coverage.
One more thing before you touch anything. Search the CPSC recall database for your exact model, because several countertop ovens have been recalled over fire risk, and no cleaning routine fixes a defective unit.
While you're at it, clear the counter around the machine. We've covered why paper products in the cavity are a bad idea in general, and that logic doubles when you're working inches from bare elements.
Know Your Element Type Before You Touch Anything
Not all heating elements tolerate the same treatment. Three designs show up in these ovens, and each has its own breaking point. Identify yours before a single tool comes out.
Unplug the unit, open the door, and shine a flashlight inside. Bare metal loops along the top and bottom mean exposed coils. Glass tubes that glow orange mean quartz.
Thick metal-clad bars mean sheathed elements.
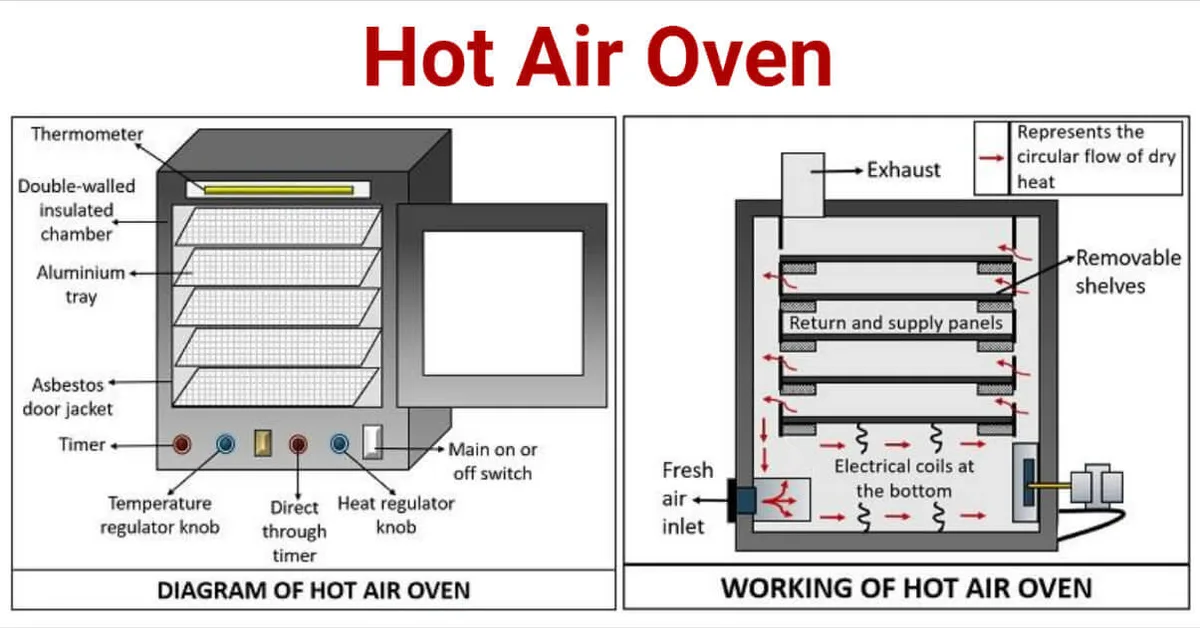
Image source: Web (Bing) / fity.club (Web image (fair-use with source credit))
| Element type | How to spot it | Weak point | Safe method |
|---|---|---|---|
| Exposed coil | Bare nichrome wire loops | Bends and snaps under pressure | Dry brush, then barely damp wipe |
| Quartz or halogen tube | Glass tube, glows bright orange | Shatters from scratches or cold liquid | Dry dusting only |
| Sheathed tubular | Metal-clad bars, often curved | Coating scratches, grease hides beneath | Damp microfiber, plastic scraper |
Quartz deserves extra respect. Manufacturer documentation for quartz-equipped models warns against anything beyond gentle dusting, because a scratch creates a hot spot that can crack the tube on its next cycle. Skin oils matter too, so handle quartz tubes with a cloth rather than bare fingers.
Household electric cooking appliances are certified under the UL 1026 standard, and that certification assumes you'll follow the manual instead of improvising with abrasives.
Sheathed elements appear most often in higher-output combo units. If yours seems to heat the entire kitchen, glance at the power rating on the label first. Higher wattage means faster heat, and faster heat means less patience required during cool-down.
What You'll Need (and What to Keep Far Away From the Elements)
The safe toolkit costs almost nothing. You probably own every item already. Here's the full list, followed by the stuff that never touches an element.
| Tool | Job | Rule |
|---|---|---|
| Soft-bristle brush (a clean pastry brush works) | Flicks off loose crumbs | Bristles only, never wire |
| Microfiber cloths | Lift grease residue | One barely damp, one dry |
| Baking soda | Mild alkali that cuts baked-on grease | Mix 3 parts powder to 1 part water |
| Plastic scraper (an old card) | Lift flaked carbon | Never metal, never sharp |
| Dish soap and warm water | Wash racks, basket, trays | Removable parts only |
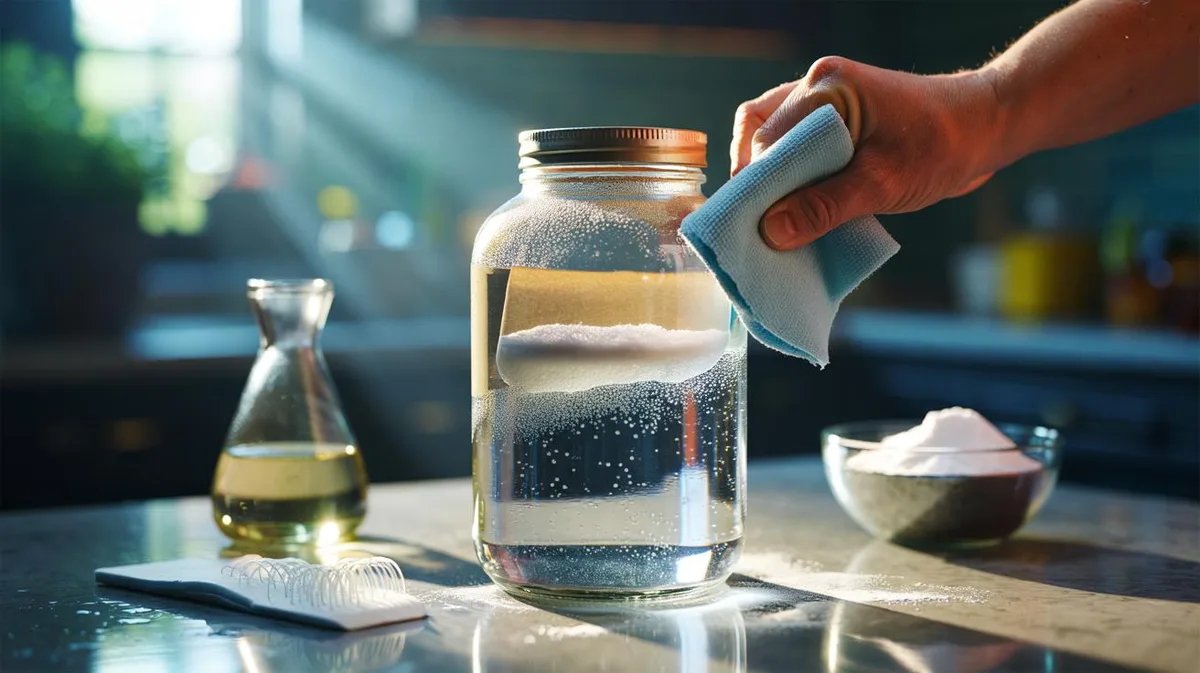
Image source: Web (Bing) / goodchild-design.co.uk (Web image (fair-use with source credit))
Keep these well away from the elements:
- Caustic oven cleaner. It corrodes coil finishes and fogs quartz permanently.
- Steel wool and scouring pads. They scratch coatings and shed wire fragments that can lodge near terminals.
- Vinegar on the elements. Fine on interior walls, but acid pits heated metal surfaces.
- Spray bottles of any cleaner. Mist drifts into the housing and wiring.
- A wet cloth on anything warm. That's a steam burn and thermal shock in one move.
If you cook oil-heavy frozen sides or wings regularly, dedicate a second set of these basics to the oven. Grease cleanup goes faster when the tools stay clean themselves.
Step-by-Step: Cleaning Heating Elements the Safe Way
Work top to bottom, dry before damp, and never rush the cooling stage. Each step builds on the one before it.
Unplug and Let It Cool Completely (30 to 60 Minutes)
Pull the plug rather than trusting the dial. A knocked knob can re-energize the elements mid-clean, and the coils stay scorching long after the outer shell feels cool. Give it 30 minutes minimum, closer to 60 after a long roast.
Hover your palm above the elements before touching anything. Still radiating heat? Wait longer.
Pull Out the Racks, Basket, and Crumb Tray First
Everything removable comes out now. Wash the rack, air fry basket, and crumb tray in hot soapy water while the oven finishes cooling, and you'll knock out two chores in one window. Some models fix the bottom tray in place, so check your manual before forcing anything.
With the cavity empty, you can finally see and reach the elements.
Dry-Clean Loose Crumbs and Flakes Off the Elements
Tilt the oven back slightly so debris falls toward the door instead of deeper into the housing. Sweep the brush along the coils in short strokes and let gravity do the work. Never press down on bare wire.
It bends permanently.
Catch falling flakes with a paper towel laid just inside the door. This dry pass removes most of what causes smoke, so don't skip it even when the elements look clean.
Spot-Treat Baked-On Grease with Baking Soda Paste
Mix three parts baking soda with one part water until you get a spreadable paste. Dab it onto cooled, crusty spots with a fingertip or cloth, coating only the greasy areas. Let it sit 10 to 15 minutes so the mild alkali can break the grease down.
Wipe along the coil with a barely damp cloth, re-wetting as needed. Stubborn flakes lift with the plastic scraper, edge-first, gently. If your week runs on fatty breakfast meats, expect to repeat this step about once a month.
Wipe Down, Air-Dry, and Reassemble
Go over each element with a fresh barely damp microfiber cloth, then follow with a dry one. The goal is a surface that looks clean and feels dry to the touch.
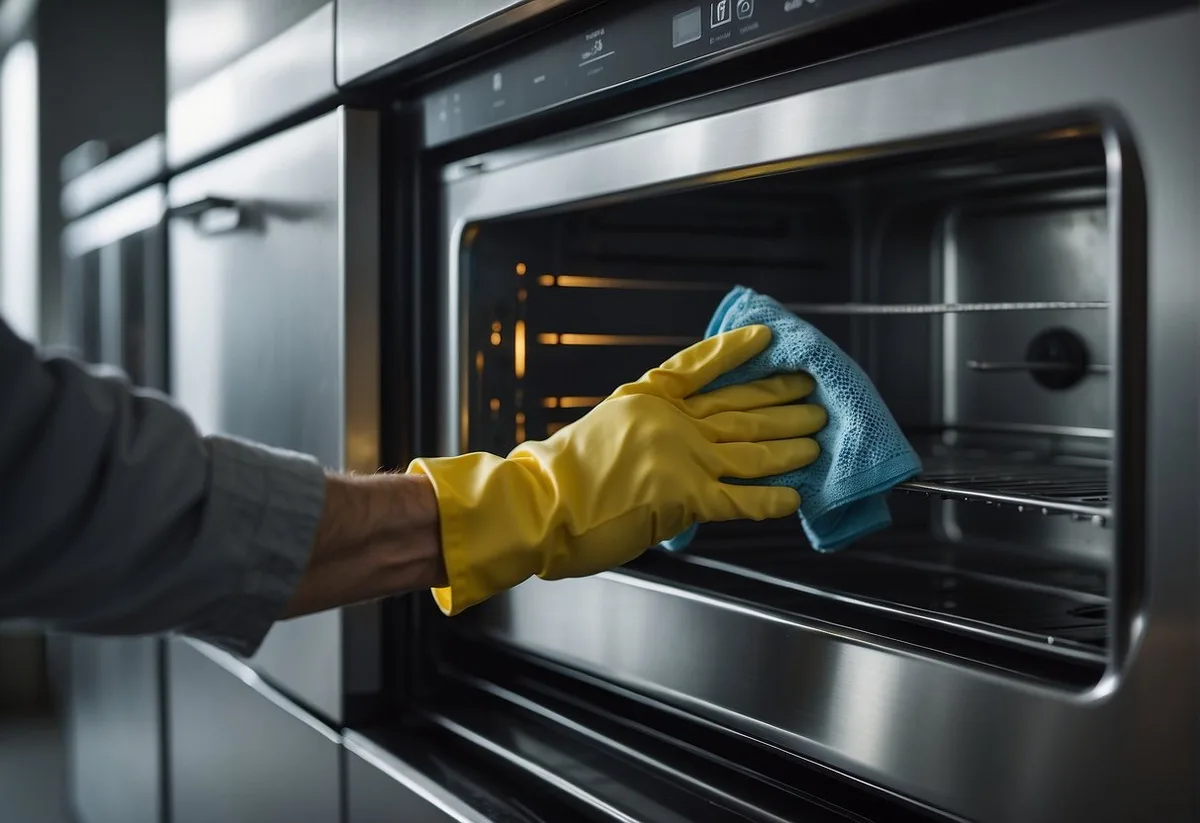
Image source: Web (Bing) / housepractical.com (Web image (fair-use with source credit))
Leave the door open for about an hour so trapped moisture evaporates. Only then does the plug go back in the wall.
Finish with a Low-Temp Burn-Off Cycle
Run the empty oven at 300°F for 10 to 15 minutes with the range hood on or a window cracked. Light smoke or a faint odor during this cycle is normal. That's the last trace of residue burning away, and it fades within minutes.
Heavy smoke means something is still coated. Shut it down, let it cool, and repeat the paste step. Unlike a full-size convection oven, these machines have no self-clean cycles built in, so this manual burn-off is the closest equivalent.
7 Cleaning Mistakes That Damage Elements or Start Fires
Most ruined elements come from good intentions, not neglect. Seven habits account for nearly all of the damage reports we've reviewed. And the stakes are real, because cooking equipment tops NFPA home-fire statistics year after year.
Avoid these and you'll sidestep almost every failure mode:
Spraying cleaner straight into the cavity. Mist drifts. It settles on the fan housing and terminal connections, then sits there until your next cycle heats everything up. Apply product to a cloth first, then wipe.
Cleaning warm elements. Thermal shock cracks coatings and shatters quartz tubes. Steam burns happen faster than people expect, too. Full cool-down, every single time.
Grabbing steel wool or metal scrapers. They gouge non-stick interiors and shed wire fragments that can lodge near live terminals. Plastic tools only.
Using caustic oven cleaner. The lye in spray-on formulas eats coil finishes and fogs quartz permanently. Manuals specify damp-cloth cleaning for a reason, and chemical damage voids most warranties.
Letting liquid run toward the housing. Water pooling at the back seeps into element terminals. Angle debris toward the door and wring cloths until they're barely damp.
Skipping the dry-brush pass. A wet cloth smears greasy dust into a thin film that smokes worse than the original crumbs. Dry first, damp second.
Running the burn-off with paper inside. Foil, parchment, and paper products near bare elements ignite quickly. We've covered why paper plates don't belong in any air fryer, and that caution doubles during a high-heat cycle.
When Cleaning Isn't Enough: Signs Your Heating Element Needs Replacing
Cleaning removes residue. It can't fix broken hardware. Once an element shows physical damage, more scrubbing just wastes your evening.
Stop cleaning and start evaluating if you spot any of these:
- Cold spots along the coil while the rest glows evenly
- Blisters, flaking, or cracked insulation on the sheath
- A sagging or visibly snapped section of wire
- Breakers or GFCI outlets tripping repeatedly
- A burnt smell that survives a full clean and burn-off
Here's how to call it:
| What you see | What it means | Your move |
|---|---|---|
| Light surface discoloration | Normal aging | Keep cleaning as scheduled |
| Flaking or blistered insulation | Failed protective layer | Replace the element |
| Snapped or sagging coil | Structural failure | Stop using the unit entirely |
| Repeated breaker trips | Possible electrical fault | Unplug, then service or replace |
Replacement parts run roughly $15 to $40 where manufacturers sell them separately. Plenty of brands don't, though, so check parts availability before assuming a cheap fix. Ordering a part?
Confirm the replacement matches the original wattage rating first.
If no part exists for your model, putting that money toward a new unit usually makes more sense. Our guide to what separates these countertop designs helps you choose the right category next time. Either way, confirm your model isn't listed in the CPSC recall database before spending a dime on repairs.
How Often Should You Clean? A Schedule That Actually Works
Quick wipe-downs every two to three uses, deep cleans monthly with regular use. That cadence keeps smoke away without turning maintenance into a chore.
Your cooking style shifts the numbers more than the calendar does:
| Usage pattern | Quick wipe | Deep clean |
|---|---|---|
| Heavy, greasy cooking (wings, bacon, frozen fries) | Every 2 to 3 cooks | Monthly |
| Regular family use, 3 to 5 sessions weekly | Weekly | Every 6 to 8 weeks |
| Light use (toast, reheating leftovers) | Every 2 weeks | Quarterly |
Food choice matters more than frequency. Greasy breakfast staples coat the top element fastest because fat spatters upward in the airflow. Low-mess snacks like croutons barely touch the elements at all.
Adjust for seasons and climate, too. The Thanksgiving-through-New-Year stretch deserves monthly deep cleans regardless of your normal routine. Humid kitchens need a longer open-door drying window before you plug back in.
Heating Element Cleaning FAQs
Can I Use Oven Cleaner on My Air Fryer Toaster Oven?
No. Spray-on oven cleaner relies on caustic lye, which corrodes exposed coils and permanently clouds quartz tubes. It also strips interior coatings and voids most warranties.
Stick with baking soda paste and a barely damp microfiber cloth. Harsh chemistry has no place this close to live terminals.
Why Does My Oven Still Smoke After I've Cleaned It?
Leftover residue is almost always the culprit. Grease hides under sheathed elements, on the cavity walls, and inside the fan housing where brushes can't reach. Repeat the paste treatment, wipe the walls down, then run another 300°F burn-off.
Cheesy frozen bakes also drip during cooking, so wipe spills promptly.
Is It Safe for Heating Elements to Get Wet?
Yes, under strict conditions. The unit must be unplugged and fully cooled, and the cloth only barely damp. Never immerse the appliance, spray liquids, or wipe anything warm.
Moisture reaching the terminals causes shorts and tripped breakers. An hour of open-door drying finishes the job safely.
How Do I Know if My Heating Element Is Bad?
Look for cold spots along the coil, visible breaks, blisters, or flaking insulation. Repeated breaker trips and a burnt smell that survives a full clean count as red flags too. Any of these means replacement, not more scrubbing.
Discoloration alone is normal wear.
How Soon Can I Cook After Cleaning?
Same day, in most cases. Leave the door open for about an hour so trapped moisture evaporates completely. Then run the empty burn-off cycle at 300°F until any faint odor fades, usually 10 to 15 minutes.
Once the cavity smells neutral, you're clear to cook.
The Safe-Cleaning Checklist to Bookmark
Pin this list somewhere handy. It compresses everything above into fifteen minutes of actual work.
Before you start:
- Unplug at the wall, not just the dial
- Cool down 30 to 60 minutes
- Palm-check the elements for lingering heat
While cleaning:
- Pull racks, basket, and crumb tray
- Dry-brush elements before anything damp
- Baking soda paste on stubborn spots, 10 to 15 minute dwell
- Barely damp microfiber, then a dry pass
- Plastic scraper only, never metal
After cleaning:
- Door open, air-dry about an hour
- Burn-off at 300°F for 10 to 15 minutes, ventilated
- Note the date so the next deep clean stays on schedule
Fifteen minutes a month keeps smoke alarms quiet and elements glowing evenly for years. And if you're still weighing whether this oven style suits your kitchen, our comparison with traditional convection ovens walks through the trade-offs.