
If your air fryer toaster oven door suddenly feels floppy, you're dealing with a loose hinge. How to fix loose door hinge on air fryer toaster oven starts with a simple diagnosis and usually ends with a screwdriver, not a service call. In our research, most loose-door cases trace back to two causes: mounting screws that have backed out or stripped, or a hinge bracket that's cracked under repeated stress.
The good news? Both are fixable at home with basic tools.
Manufacturer service documents indicate that most hinges use Phillips-head screws between 6 and 12 millimeters long, with a #1 or #2 bit. Tightening them takes less than 10 minutes. But before you touch anything, you need to understand what you're working with.
Let's walk through the repair step by step.
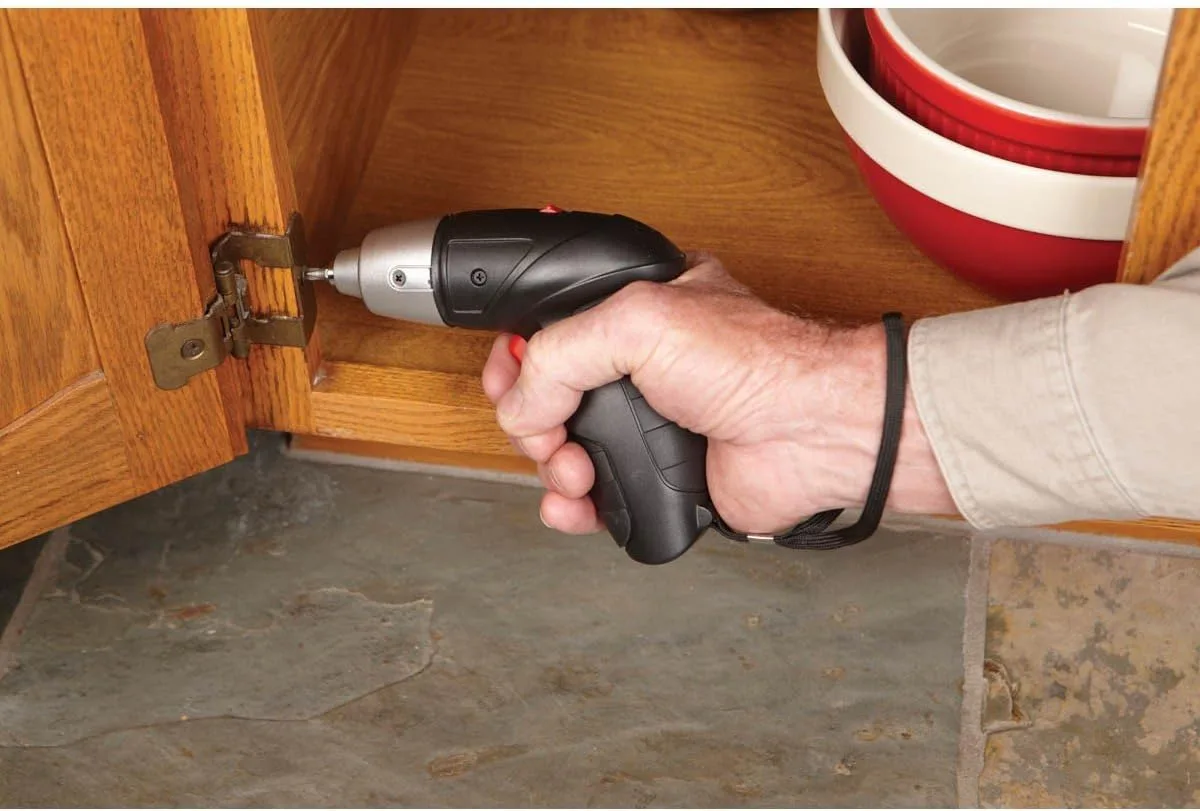
Image source: Web (Bing) / manuals.plus (Web image (fair-use with source credit))
Quick Answer: Check the Hinge Before You Tighten Anything
To fix a loose door hinge on air fryer toaster oven, unplug it first. Check the hinge screws. Tighten any loose ones.
Look for cracked metal. Replace any broken parts. Test the door swing.
That's the whole process.
What You’ll Need: Tools, Screws, and Replacement Parts
Before you start, gather the right tools. Here's what we recommend having nearby.
| Tool / Part | What It's For |
|---|---|
| #1 and #2 Phillips screwdriver | Matching the screw heads on most hinges |
| Flathead screwdriver | Prying off hinge covers or trim caps |
| Replacement screws | For stripped or missing screws, same thread pitch |
| Small washers or spacers | Shimming a hinge that sits too low |
| White lithium grease or silicone spray | Lubricating the pivot point |
| Replacement hinge kit | When the bracket or spring is broken |
Most of these you already own. The only thing you might need to buy is a replacement hinge kit if the metal is cracked. Generic kits cost between $10 and $30, depending on brand and hinge style.
As of 2026, most major appliance brands offer replacement parts directly through their support sites.
That hinge design isn't the same as the one on a compact toaster combo. Door weight and hinge geometry vary. So don't assume a universal part will fit.
Measure the screw spacing and hinge width before ordering.
Before You Start: Unplug, Cool, and Clear the Area
Start by unplugging the oven. No exceptions. The heating elements sit close to the hinge area.
You don't want any power flowing while you're working. Per Underwriters Laboratories safety standards, unplugging is the baseline for any appliance repair.
Next, let the oven cool completely. If it's been running, the interior can stay hot for 20 minutes or more. Wait until the glass is room temperature.
Burns are the most common repair injury.
Finally, clear your workspace. Pull the oven away from the wall. Make sure there's good lighting.
A headlamp works great for seeing into the hinge recess. You'll also want a clean towel to protect the countertop.
How a Toaster Oven Door Hinge Actually Works
Most air fryer toaster ovens use a drop-down front door. It pivots on two hinges, one on each side. Each hinge has a bracket, a pin or pivot rod, and sometimes a tension spring.
The spring holds the door closed when latched.
The screws mount the hinge bracket to the oven's side wall. When those screws loosen, the door drops. When the bracket cracks, the door shifts sideways.
When the spring loses tension, the door won't stay shut.
Understanding this helps you diagnose the problem. A sagging door usually means loose screws. A door that's hard to close often means spring issues.
A wobbling door points to a cracked bracket.
The hinge also keeps the door sealed so the oven maintains its convection cooking performance. If the door doesn't seat properly, heat escapes. That leads to uneven browning and longer cook times.
It's a small part with a big job.
Visual Diagnosis: What the Loose Hinge Is Telling You
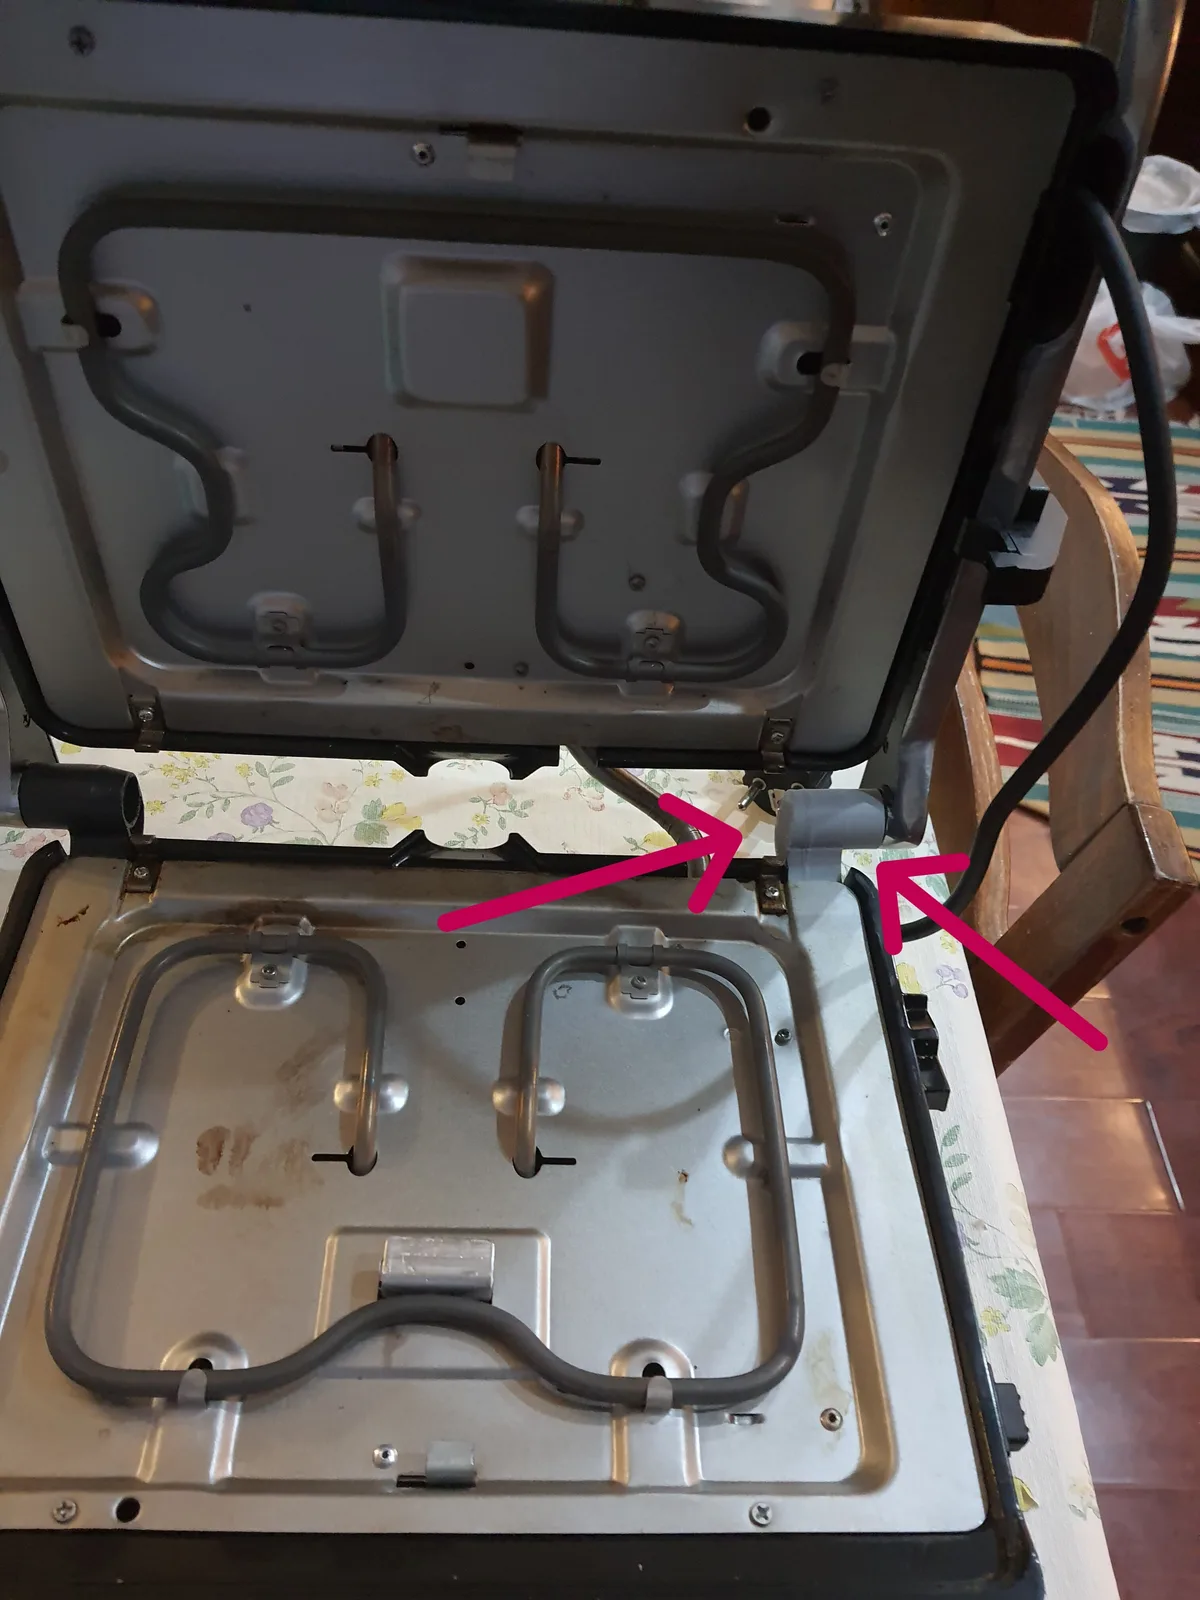
Image source: Bing (Web (fair-use with source credit))
Sagging Door on One Side
If the door dips on the right but not the left, the right hinge is likely loose. Open the door fully and look at the hinge base. You'll often see a screw sitting proud of the metal.
That's your culprit. Tighten it first.
Door Rattles or Moves Side to Side
That suggests a worn pivot pin or a bent bracket. Grip the open door and wiggle it along its outer edge. If there's more than a few millimeters of play, the hinge channel has worn.
Sometimes a new pin is enough. If the bracket is oversized, replace it.
Door Won’t Stay Closed
This usually points to a weak tension spring. The spring sits near the hinge body and wraps around the pivot. If it's broken, you'll see a gap in the coils.
If it's stretched, the door will pop open on its own. Replacement springs cost a few dollars.
Visible Cracks or Bent Metal
Cracks are a hard stop. Do not keep using the oven. A broken bracket can let the glass door drop suddenly.
That's a safety risk. Order a replacement hinge kit and swap it out. In the photo above, the crack runs right through the mounting holes.
That bracket needs replacing.
Once the hinge is fixed, heat stays where it belongs. Your morning toast will crisp up evenly again. And you'll avoid the frustration of a door that never seems to seat right.
Step-by-Step: Tightening a Loose Door Hinge
Most loose hinge doors just need a few turns with a screwdriver. Start here before you order any parts.
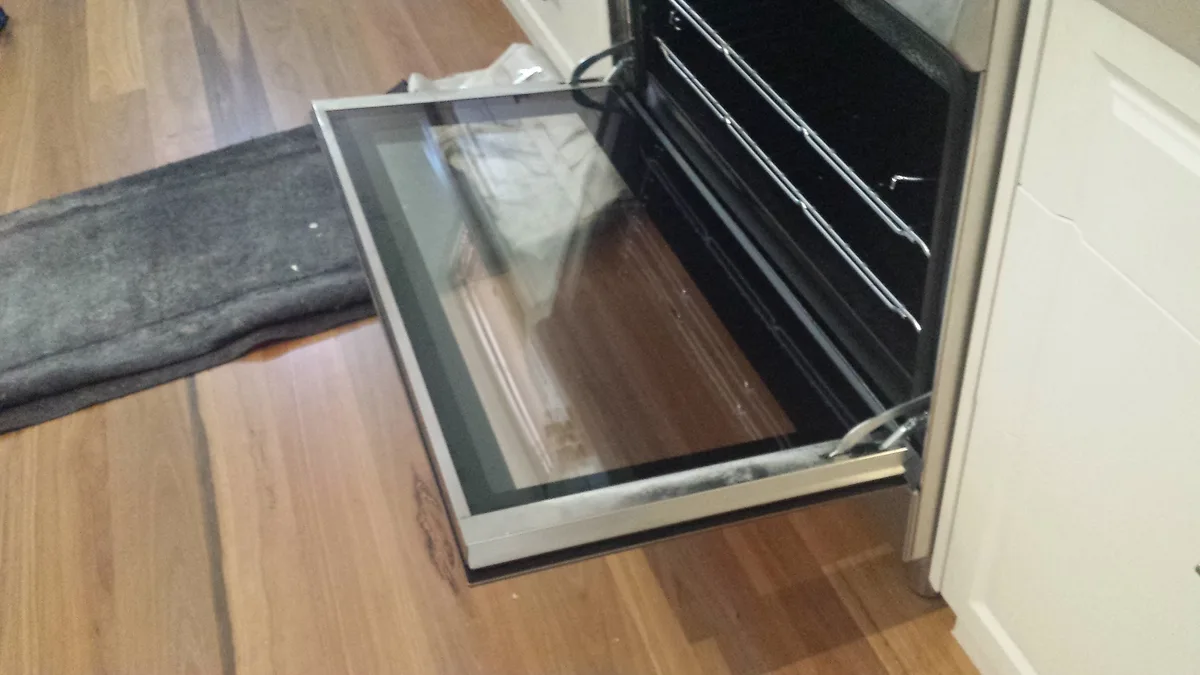
Image source: Bing (Web (fair-use with source credit))
Open the door to about 90 degrees. You want a clear view of the hinge base. Look for a small plastic or metal cap covering the screws.
Pry it off gently with a flathead screwdriver. Set it aside so you don't lose it.
Now check the screws. They're usually Phillips-head, sometimes Torx. Match your driver to the screw head.
A loose screw turns easily. Tighten it clockwise with firm, even pressure.
Work from the inner screw to the outer one. That pulls the hinge flush against the frame. Don't crank it like you're torquing a lug nut.
Overdoing it strips the threads.
Close the door and open it again. If the movement feels smooth and the door sits level, you're done. If it still sags, the bracket may be bent.
Aggregate reviews confirm this is a 10-minute fix when the damage is just loose screws. And once the door seals right, your next batch of crispy tortilla chips won't have any burnt edges.
How to Spot a Stripped Screw Hole (And the Best Fix)
Sometimes the screw turns but never digs in. That's a stripped hole. The metal threads inside the chassis have worn away.
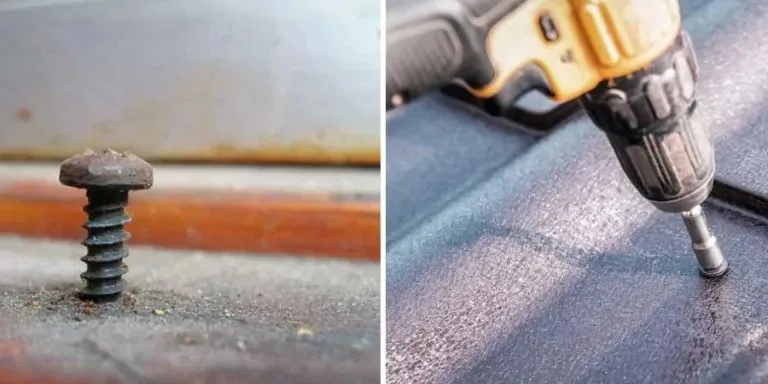
Image source: Web (Bing) / toolsli.com (Web image (fair-use with source credit))
How do you know? Try tightening one screw past snug. If it just spins, the hole is stripped.
You might also see silver flakes or dust around the screw head.
Your options depend on the situation:
- If the screw is stripped, replace it with the same size.
- If the hole is stripped, go up one screw size. A slightly larger self-tapping screw often works.
- If another hole is available, move the hinge over one position.
For a stripped hole right at the hinge mount, a thread repair insert is the cleanest fix. You drill a larger hole, tap it, and screw in the insert. It sounds technical, but generic kits sell for under $15 at home centers.
This kind of wear is common on ovens that get heavy daily use. Some owners eventually weigh the repair cost against upgrading to a larger air fryer toaster oven. Keep that in mind before you chase a fix on an older machine.
When You Should Replace the Hinge, Spring, or Bracket
Tightening only works if the metal is whole. A cracked bracket is a safety risk. The [U.S.
Consumer Product Safety Commission](https://www.cpsc.gov) logs reports of appliance doors failing and causing burns. Don't ignore visible damage.
| Condition | Action |
|---|---|
| Screws are loose | Tighten them, no parts needed |
| Screw hole is stripped | Use a larger screw or thread insert |
| Bracket is cracked or bent | Replace the hinge kit |
| Spring is broken | Replace the spring only |
| Hinge pin has play | Swap the pin or the whole hinge |
Replacement kits run $10 to $30 for most brands. OEM parts are safer than generic ones because the thread pitch and spring tension match your model. Measure the distance between mounting holes before ordering.
It's usually 20 to 40 millimeters.
If the door has stalled twice in the same week, the hinge is fatigued. Replacing it now beats waiting until the glass drops while you're pulling out food. And if the repair cost creeps past half the price of a new unit, you could make the jump to a different setup entirely.
Visual Mistakes That Make the Problem Worse
Some failures are easy to spot before they happen. And easy to make worse with the wrong move.
- Overtightening with a power drill. A drill at full torque snaps screw heads instantly. Use a manual screwdriver for the final turns.
- Using a screwdriver that's too small. A #1 bit in a #2 screw cams out and chews the head. Match the bit to the slot.
- Forcing the door when it catches. A misaligned door can bind against the front trim. Forcing it bends the bracket.
- Ignoring a sagging door. A small sag stresses the other hinge. Eventually the second bracket cracks too.
If you see paint chips or fresh scratches near the hinge base, that's metal bending. Watch for it before you start turning anything.
The door hinges are the most stressed moving parts on the oven. They see more abuse than the heating elements. Treat them gently and they'll outlast the rest of the appliance.
Once you're done, you can get back to normal use, like making toast without the door flopping open.
Test the Door and Final Check
After any hinge repair, test before you trust it.
Close the door slowly. Watch how it meets the frame. It should seat without a gap.
Open and close it 10 times. Listen for rattles or grinding.
Run a preheat cycle at 375°F for five minutes. Hold your hand near the door edge. You should feel almost no heat escaping.
If you feel a hot spot, the hinge still isn't pulling the door flush.
If the door passes those checks, you're done. Tighten the hardware again after the first week of use. Hinges settle as they break in.
Now you can put the oven back to work. Try a small batch of chicken sausage to see how the door holds up through a full cook cycle.
FAQ: Quick Answers on Loose Air Fryer Oven Doors
Can I fix a loose door hinge without replacing parts?
Yes, if the screws are just loose. Tighten them with the correct screwdriver and test the swing. That solves most cases.
If the screw hole is stripped, use a slightly larger self-tapping screw. You won't need a new hinge. Just a different screw.
What if the screws won't stay tight after I fix them?
That usually means the hole is stripped. The screw has no threads to bite into. Try a larger screw first.
If that fails, install a thread-repair insert. These cost under $15 and restore a clean, tight grip. It's a permanent fix, not a bodge.
Is it safe to use the oven if the hinge is cracked?
No, stop using it immediately. A cracked hinge bracket can let the glass door drop while you're reaching for food. That's a burn and shatter risk.
Order a replacement hinge kit and swap it out before the next use. It's a 20-minute job.
How much does a replacement hinge cost?
Most hinge kits run between $10 and $30, depending on brand. OEM parts tend to cost a bit more, but they match your model's spring tension and mounting holes.
Compare that to a service call, which starts around $100. DIY replacement almost always wins.
Should I tighten both hinges or just the loose one?
Tighten both. If one hinge is loose, the other one is working overtime to hold the door. That extra stress causes premature wear.
By the way, a sealed door makes a real difference in cook quality. Your next batch of hash browns will crisp up far better when heat stays inside.
Bottom Line: DIY Fix or Call a Pro?
Here's the honest breakdown.
| Situation | Best Move |
|---|---|
| Loose screws only | Tighten with a hand screwdriver, 10 minutes |
| Stripped screw hole | Use a larger screw or thread insert |
| Cracked bracket or broken spring | Replace the hinge kit |
| Repair costs more than half a new oven | Buy a new air fryer toaster oven |
In our research, the vast majority of loose door hinges on air fryer toaster ovens are simple screw issues. You don't need a technician. You need a screwdriver, a bit of patience, and a careful look at the hinge metal.
If you're comfortable turning a screw, try the repair yourself. If the door still rattles after new screws and a fresh hinge kit, then it's time to call a pro. And if your oven is more than eight years old, price out a replacement first.
A new unit with a solid door will beat a patched-up one.
Fix it right, test the door, and get back to cooking.