
You set two slices of bread in the toaster oven, wait a few minutes, and pull out toast that’s pale on top but charred on the bottom. If you’ve been wondering how to toast bread evenly without burning bottoms in toaster oven, you’re not alone. Sound familiar?
Toaster ovens radiate heat from elements above and below the food. Most models draw between 1200 and 1800 watts, and many use quartz tubes for the top heat. As of 2026, the most common culprit is the lower element staying hot after the timer stops, not the bread itself.
Let’s look at why this happens and what actually fixes it.
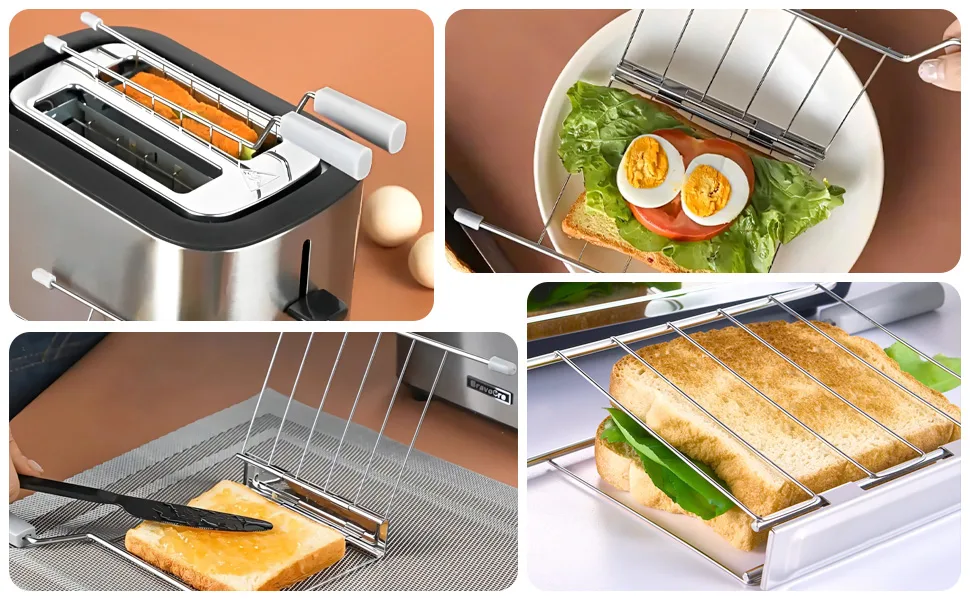
Image source: Bing (Web (fair-use with source credit))
Quick Answer
Toast bread evenly by using the middle rack, 330°F, and flipping halfway. Clean the crumb tray first. Don't crowd the rack.
Watch the first batch closely to learn your oven's hot spots. That's the whole trick.
Why Toaster Ovens Burn the Bottom Before the Top Is Brown
Hot air rises, but the bottom heating element sits inches below the rack. It radiates heat directly into the bread’s underside. The top element has to work through more space.
That mismatch is why the bottom cooks faster.
Bread thickness matters too. Standard sandwich bread is about half an inch thick. The bottom gets intense radiant heat before the top can catch up.
Dense artisan loaves behave differently and need more time.
Residual heat also keeps cooking after the timer rings. If you leave toast inside for an extra minute, trapped heat continues to char the bottom. If you’re used to an air fryer’s fan-driven heat, you might not run into this problem because the fan moves air around.
The Quick Fix: What Works in 90 Seconds
If you're in a hurry, make these three changes right now:
- Move the bread to the middle or upper rack slot.
- Set the temperature to 330°F instead of 450°F.
- Set the timer for 3 to 4 minutes and flip the slice at the halfway mark.
That’s the fastest way to stop scorched bottoms on a standard slice. For thicker bread, drop the heat a little more and add a minute or two to the timer.
The quick fix only works if you’re using a clean crumb tray. A layer of crumbs absorbs heat and acts like a hot plate under the bread. Check it before you start.
How Heat Actually Moves in a Toaster Oven
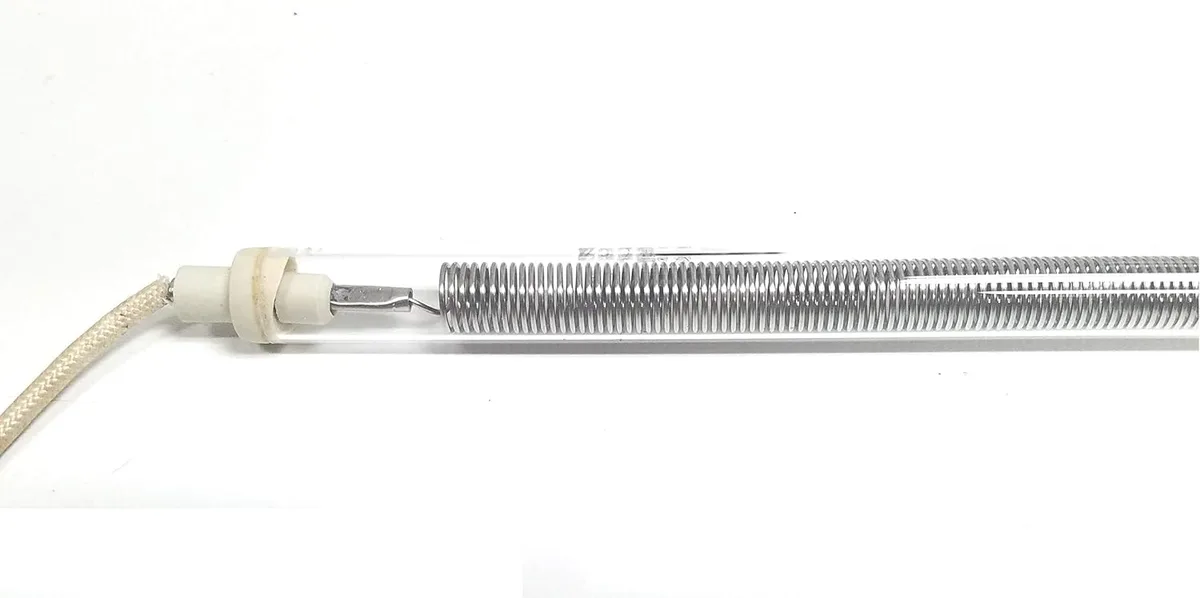
Image source: Bing (Web (fair-use with source credit))
A toaster oven has two sources of heat: a top element and a bottom element. Both work by radiant heat. That means they directly warm whatever is in their line of sight.
The surface closest to each element absorbs the most energy.
Most machines put the rack about two inches above the lower element. The top element is often three to four inches away, which gives the top a slight delay. Elements are shaped like loops or tubes, and the segments near the oven’s edges run hotter.
Some models have a convection fan to circulate air, which evens things out. If yours has that feature, turn it on when toasting.
Safety certification standards from Underwriters Laboratories are what ensure toaster ovens don’t fail in dangerous ways. But even a certified unit can scorch bread if you use the wrong rack position. To see how convection ovens differ from regular models, it helps to compare the airflow design.
Is Your Bread the Problem or Your Oven? The 2-Minute Check
Before changing your routine, figure out where the problem starts. This check takes two minutes and helps you avoid guessing.
Step 1: Check the Crumb Tray
Open the oven and pull out the crumb tray. If it’s covered in old crumbs, those crumbs sit directly below the bread and absorb heat. Clean it, then try again after a cool-down.
Step 2: Check the Rack Height
Look at the rack slots. Most toaster ovens have three positions. The lowest slot puts bread nearly on top of the element.
Move to the middle or top slot and run a test with one slice.
Step 3: Check the Heating Elements
Inspect the top and bottom elements for damage. A bent or broken element can create uneven heat. If the lower element glows noticeably brighter than the upper one, that’s a sign it’s working harder.
That will burn toast faster.
This is also a good time to see whether your oven has a convection button. If it does, use it. That little fan is your best friend for even toasting.
If you prefer a different tool, making toast in an air fryer works in a similar low-heat way.
The Decision Tree: Find Your Toast Problem
Ask yourself one question: what does the finished toast look like? Your answer points to the fix.
Branch 1: Thin Standard Sandwich Bread
If the bread is half an inch thick and the bottom burns, the issue is rack height. Move the rack up and reduce the heat to 300°F. Add 30 seconds to the timer instead of cranking the temperature.
Branch 2: Thick-Cut Artisan or Homemade Bread
Dense bread needs more time and gentler heat. Set the oven to 325°F and toast for 5 to 6 minutes. Flip halfway.
The interior needs time to warm through without the crust turning black.
Branch 3: Frozen Bread Straight From the Freezer
Frozen bread releases moisture as it heats. That’s fine. The problem is that the bottom finishes before the top.
Use the middle rack, 350°F, and start with 4 minutes. Flip at 2 minutes. If you’re warming frozen garlic bread, the same approach applies.
Branch 4: One Corner Always Burns (Hot Spots)
Every toaster oven has at least one spot that runs hotter. Test your unit by laying two slices across the rack. See which side browns first.
On the next batch, place the bread away from that corner or rotate the slice a third of a turn at the halfway mark.
If your toaster oven also functions as an air fryer, the fan does most of the good work. That’s one advantage an air fryer toaster oven has over a plain model, and it makes a big difference for even toasting.
Here’s a quick reference table for the most common scenarios:
| Bread Type | Temperature | Time | Rack Position |
|---|---|---|---|
| Standard sandwich | 300°F | 3 to 4 min | Middle |
| Thick artisan | 325°F | 5 to 6 min | Middle |
| Frozen | 350°F | 4 to 5 min | Middle |
| Quick fix any | 330°F | 3 to 4 min | Upper |
The Right Rack Position for Even Toasting
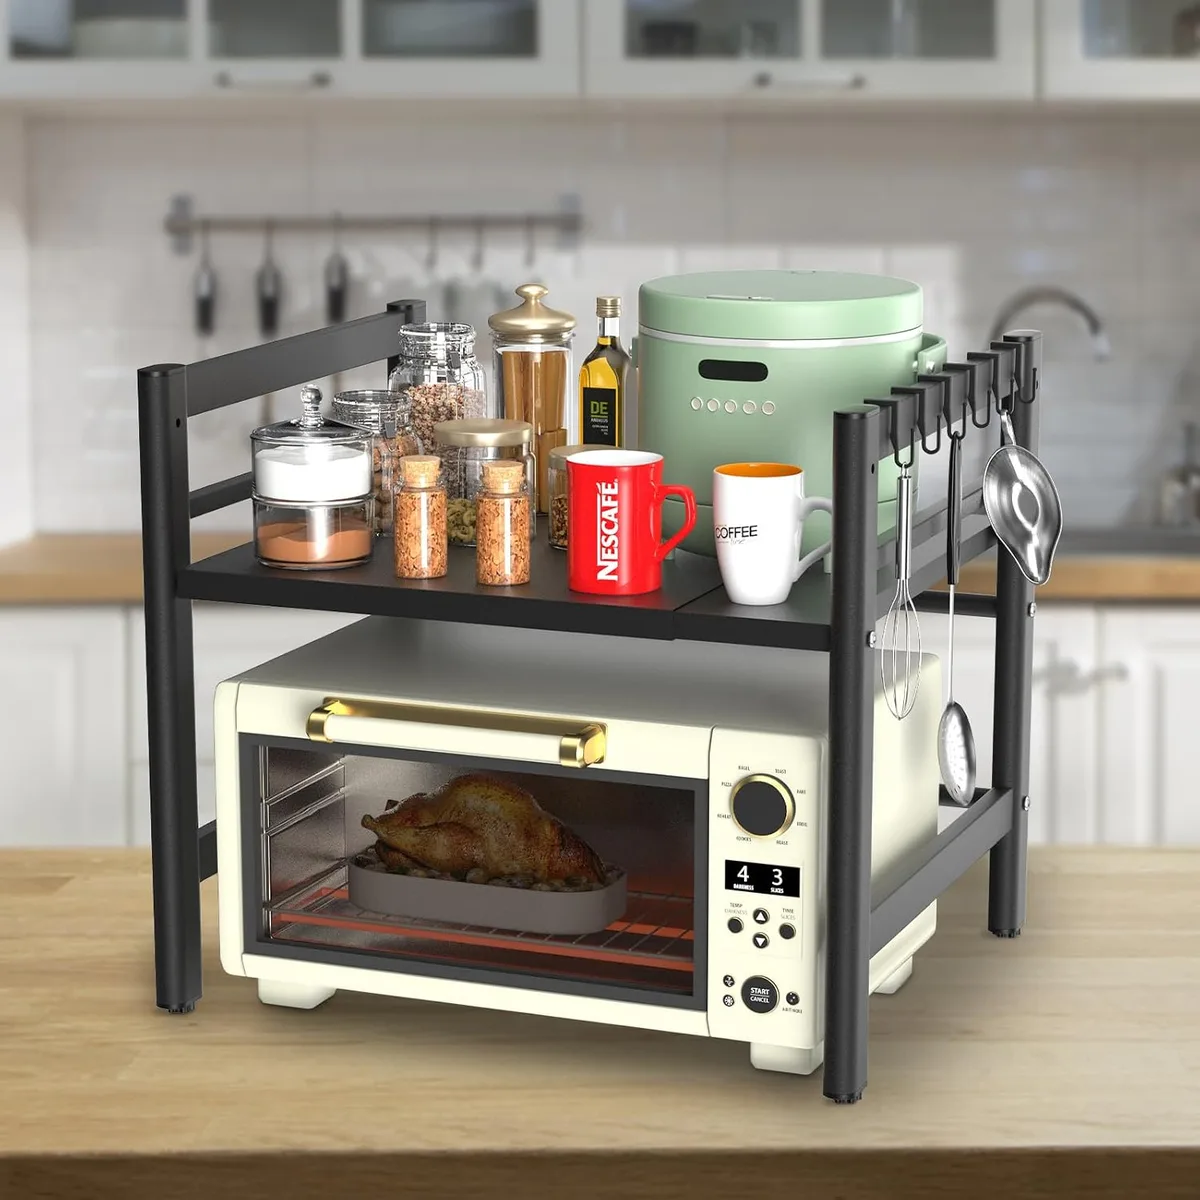
Image source: Bing (Web (fair-use with source credit))
The middle rack slot is the default for most toast. It keeps the bread close enough to the top element to brown the crust while keeping enough distance from the bottom to prevent charring. The top slot works too, but it slows the bottom browning even more, which is useful for thick slices.
The bottom slot is almost always a mistake. You're putting the bread right on top of the lower element. The radiant heat hits the underside directly and quickly overwhelms the top.
If your toaster oven has convection, the fan changes the calculus slightly. Moving air evens out the temperature inside the cavity, so you can use the middle slot with more confidence. If you're comparing an air fryer to a toaster oven, the fan placement is one of the biggest differences between the two designs.
Here's how rack choice should vary by bread:
| Rack Position | Best For | Why |
|---|---|---|
| Top slot | Thick artisan bread | Gives the top more time to brown while the bottom stays safe |
| Middle slot | Standard sandwich bread | Balanced heat from both elements |
| Bottom slot | Nothing | Too much direct heat on the underside |
Temperature and Time Settings That Actually Work
The ideal toasting range is 300°F to 350°F. Low heat gives the bread time to dry out and crisp evenly. High heat, like 450°F, browns the exterior before the inside warms.
That's a recipe for burnt bottoms and pale tops.
Thin sandwich bread works best at 300°F for 3 to 4 minutes. Thick homemade loaves need 325°F for 5 to 6 minutes. Frozen bread needs a little extra warmth, so 350°F for 4 to 5 minutes is a good starting point.
If your bread is irregularly shaped, like a bagel or an English muffin, treat it like thick bread: lower heat, longer time.
Timers are not always accurate. Aggregate user reviews report that many toaster ovens run hotter than their dials show. That's why the first batch in a new oven is always a test.
Set the timer for the shortest suggested time, then check the color. If it's pale, add 30 seconds and check again.
Flip It or Leave It? The Halfway Method
Flip the bread halfway through. Always. This is the single most effective adjustment you can make.
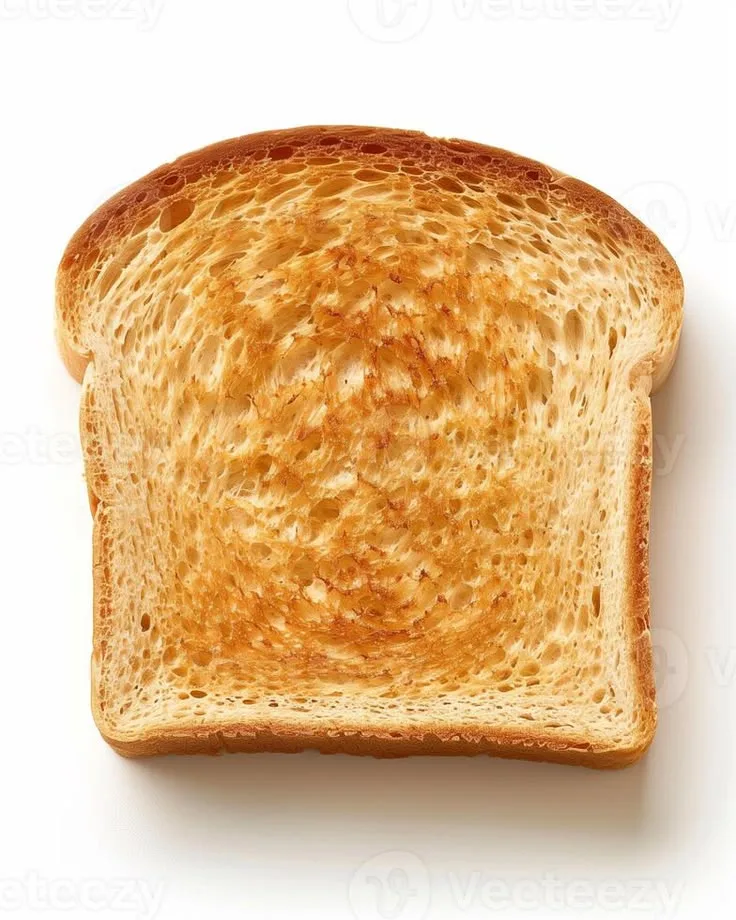
Image source: Web (Bing) / pinterest.com (Web image (fair-use with source credit))
The bottom element is closer to the bread and starts working faster. Flipping gives both sides equal exposure to the hotter lower half. For standard sandwich bread, flip at the 2-minute mark of a 4-minute cycle.
For thicker bread, flip at 3 minutes of a 6-minute cycle.
You don't need a spatula. Just open the oven, grab the slice with your fingertips or tongs, and turn it over. The top side will already show light golden edges.
That's your cue.
Convection models can sometimes get away without flipping, but we wouldn't skip it. The fan evens the air temperature, not the direct radiant heat from the elements. Flipping is still the safest way to guarantee even color on both sides.
Common Toaster Oven Toast Mistakes and How to Fix Them
Most burnt toast comes from a handful of repeatable mistakes. Here's what goes wrong and how to correct it.
| Mistake | Why It Happens | The Fix |
|---|---|---|
| Overcrowding the rack | Multiple slices block airflow and trap heat | Toast two slices max, or rotate positions at halftime |
| Using the "Broil" setting | Broil is pure top heat, uneven for bread | Always use Bake or Toast mode |
| Dirty crumb tray | Old crumbs act like a hot plate | Clean the tray after every few uses |
| Skipping the flip | Bottom element outpaces the top | Flip at the halfway mark, no exceptions |
| Leaving toast inside after the timer | Residual heat keeps cooking the underside | Pull the bread out right away |
One more habit worth breaking: preheating at max temperature. Some people crank the oven to 450°F, wait for it to cycle, then put the bread in. That blast of heat hits the bottom first and scortches it.
Start with a cold oven or preheat at your target toasting temperature instead.
Tools That Help: Wire Racks, Baking Trays, and Foil (and When to Skip Them)
The wire rack is the best surface for toasting. It lets heat circulate around the bread on all sides. That airflow is exactly what you lose when you throw a baking sheet in there.
Baking trays trap heat on the underside. The metal gets hot, the bread sits in that heat, and the bottom burns before the top catches up. If you need a tray to catch crumbs, choose one with a low rim and preheat it with the oven.
Popping a cold tray under the bread just adds another layer of uneven heat.
Foil is a double-edged sword. Tight foil under the bread blocks bottom heat, which sounds helpful. But it also traps steam, making the bread soggy instead of crisp.
If you use foil, poke holes in it to let air move. Keep it flat and avoid wrapping the bread entirely.
Some models come with a dedicated crisper tray or a mesh insert. Those are fine. They're designed to allow airflow while catching debris.
Manufacturer specs indicate these accessories usually work as intended, but they still don't replace the middle rack and the halfway flip.
Batch Toasting: How to Do 4 Slices Without Burning Any
Making toast for the whole family means dealing with the rack at full capacity. Four slices fit, but they won't toast evenly unless you manage the heat distribution. The corners run hotter in most models, so the front left slice will brown faster than the back right slice.
The best approach is simple. Set the oven to 325°F. Place the slices on the middle rack with a small gap between each one.
Set the timer for 4 minutes. At the halfway mark, flip every slice and swap their positions on the rack. Move the front pieces to the back and the left pieces to the right.
Check at 6 minutes. Pale centers mean an extra minute. If you're juggling bagels or English muffins, add another 30 seconds.
If you're used to the even heat of an air fryer, this routine takes some getting used to. The manual rotation makes up for the lack of a fan.
Another trick is toasting in pairs instead of all four at once. Two slices leave plenty of room for airflow. That's the easiest way to keep everything consistent, even if it takes an extra minute.
Quick Reference: Toast Settings by Bread Type
Here's a quick reference table to keep near the toaster. These are starting points, not laws. Adjust for your oven's personality.
| Bread Type | Temperature | Time | Rack Position |
|---|---|---|---|
| Standard sandwich bread | 300°F | 3 to 4 min | Middle |
| Thick-cut artisan or sourdough | 325°F | 5 to 6 min | Middle |
| Frozen bread | 350°F | 4 to 5 min | Middle |
| Bagel or English muffin | 325°F | 5 to 7 min | Middle or top |
| Rye or pumpernickel | 325°F | 4 to 5 min | Middle |
| Sweet bread (banana, zucchini) | 300°F | 3 to 4 min | Middle |
One note: if you're toasting sweet bread like banana bread, watch it closely. The sugar caramelizes faster than regular flour. It can go from pale to burnt in about 30 seconds.
For a closer look at how toaster ovens and air fryer toaster oven combos handle heat, the differences come down to airflow and element placement.
Your Decision Guide: Final Verdict
The whole trick comes down to three things. Clean the crumb tray. Use the middle rack.
Flip the bread halfway.
- Clean the crumb tray.
- Set the rack to the middle slot.
- Choose a temperature between 300°F and 350°F.
- Set the timer for the shortest suggested time.
- Flip at the halfway mark.
- Remove the toast the moment the timer rings.
After that, it's just tuning. If the bottom still burns, test one slice and move the rack up. If the top stays pale, raise the temperature slightly or add 30 seconds.
Small adjustments matter because the browning reaction happens fast.
Some models run hotter than their dial suggests. That's normal. The first batch in any toaster oven is a calibration run.
If you're weighing a convection oven comparison, know that the fan changes the timing, not the basic rules.
Frequently Asked Questions
Why does my toaster oven burn the bottom of my bread?
The bottom heating element sits closer to the bread than the top element. That's why the underside gets more radiant heat. Using the bottom rack and high temperatures makes it worse.
Move the rack up and lower the temperature.
Should I flip toast in a toaster oven?
Yes, flip the bread at the halfway point. This gives both sides equal time near the hotter lower element. For a 4-minute cycle, flip at 2 minutes.
For a 6-minute cycle, flip at 3 minutes.
What temperature should I use to toast bread in a toaster oven?
Use 300°F for thin sandwich bread and 325°F for thick artisan bread. Frozen bread can handle 350°F. Avoid high temperatures like 450°F.
They brown the outside before the inside warms through.
Can I use a baking sheet instead of a wire rack?
You can, but it's not ideal. A baking sheet traps heat against the bottom of the bread. Use a low-rimmed tray if you must, and preheat it with the oven.
A wire rack allows better airflow.
Why is my toast soggy in the toaster oven?
Soggy toast usually means trapped steam. If you're using foil or toasting a thick slice, moisture stays at the center. Toast longer at a lower temperature and flip the bread halfway.
A clean crumb tray also helps the heat move freely.
How do I clean a toaster oven crumb tray?
Pull out the crumb tray and wipe it with a damp cloth. Wash it with warm soapy water if it's greasy. Dry it completely before putting it back.
A clean tray prevents smoke and uneven heat.