
So, you've got those sleek, new ceramic non-stick air fryer baskets and you're wondering about seasoning them. It's a smart question, because unlike cast iron, ceramic non-stick doesn't need to build up layers of polymerized oil. Instead, what we're doing is more about activating and conditioning that surface for the best performance right from the start.
Think of it as a quick tune-up to ensure your food glides off effortlessly and that the non-stick coating stays in top shape. Our research indicates this initial prep is straightforward and can significantly enhance your air frying experience. Manufacturer specifications often recommend this basic conditioning for optimal results.
Quick Answer
Season ceramic non-stick air fryer baskets by washing them, then wiping a thin oil layer inside. Heat the empty, oiled basket in the air fryer around 300-350°F for 5-10 minutes. Let it cool, then wipe out excess oil.
This process activates the non-stick surface and protects it.
Why Seasoning Ceramic Non-Stick Air Fryer Baskets Matters
You might be thinking, "But it's already non-stick!" And you're right, it is. The ceramic coating is designed for that. However, a gentle initial seasoning step is like giving your baskets a spa treatment before they start working overtime.
Manufacturer specifications for many ceramic cookware brands suggest a similar conditioning process. This isn't about creating layers like you would with cast iron, but rather ensuring the existing non-stick material is ready to perform at its peak. It helps promote even heat distribution and can further enhance food release, which is crucial when you're cooking delicate items like fish sticks or trying to make perfect toast.
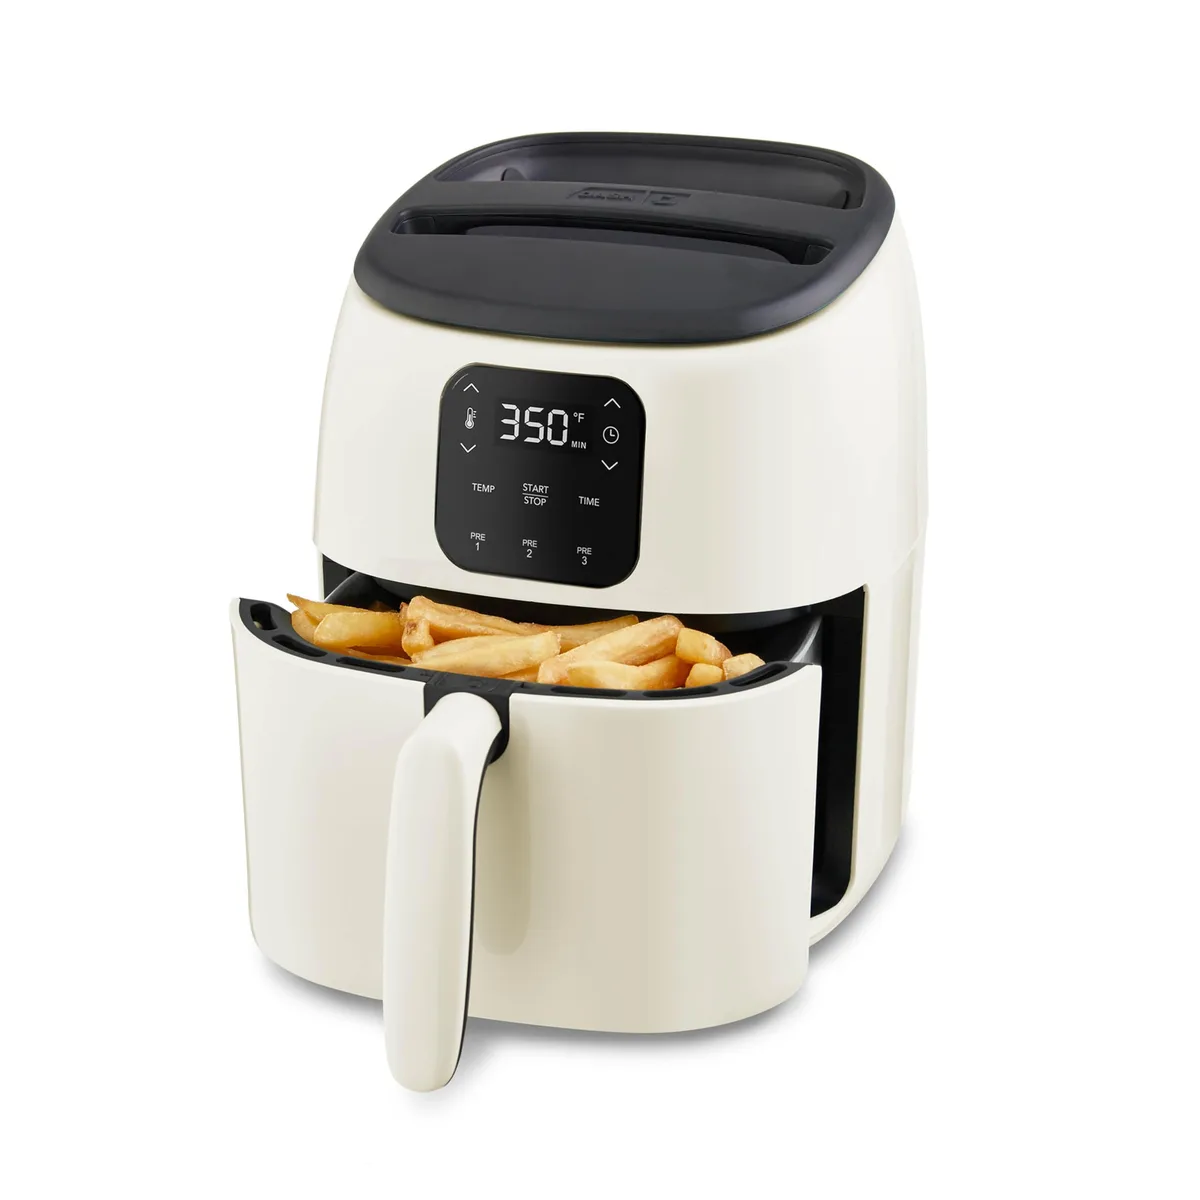
Image source: Web (Bing) / bidfta.com (Web image (fair-use with source credit))
Understanding Ceramic Non-Stick Seasoning
Ceramic non-stick coatings are different from traditional non-stick surfaces like PTFE (often known as Teflon). They rely on a mineral-based coating that's fused to the metal core. This process, when done correctly, creates a naturally slick surface.
Seasoning ceramic isn't about curing oil into the pan; it's more about a light application of a neutral cooking oil, followed by gentle heat. This process helps to fill in any microscopic imperfections in the coating and ensures it's fully activated. Think of it as unlocking the full non-stick potential right from the get-go.
It's Not Like Cast Iron!
If you're used to seasoning cast iron, this process will feel quite different. Cast iron requires building up layers of polymerized oil, which creates a naturally non-stick surface over time and protects the metal from rust. Ceramic non-stick, on the other hand, already has its non-stick layer applied during manufacturing.
Here, our goal isn't to add more layers. Instead, we're using a very thin application of oil and moderate heat to optimize the existing ceramic coating. It’s a gentler, simpler approach suited to the material.
Aggregate user reviews suggest this distinction is often overlooked, leading to confusion.
The Simple Steps to Seasoning Your Baskets
This process is designed to be quick and effective. You can do it right out of the box before your first cooking session, and it’s a good maintenance step if you ever notice food starting to cling a bit more than usual. As of 2026, the general consensus among home appliance experts is that this simple conditioning adds value.
What You'll Need
- Your ceramic non-stick air fryer baskets
- Warm, soapy water
- A soft sponge or cloth
- A clean, dry towel
- A neutral cooking oil (like vegetable, canola, or mild olive oil)
- Paper towels
Step 1: Wash and Dry Thoroughly
Before you do anything else, give your air fryer baskets a good wash. Use warm water and a mild dish soap. It's crucial to use a soft sponge or a cloth; never an abrasive scrubber, steel wool, or harsh detergents, as these can damage the ceramic coating.
Rinse the baskets thoroughly to remove all soap residue. Then, dry them completely with a soft towel. Make sure there's no moisture left, as water can interfere with the oil application and the subsequent heating process.
What to Look For
You want the baskets to be completely dry and clean. Hold them up to the light if needed to check for any lingering water spots or food debris. A dry surface ensures the oil will adhere properly for the seasoning step.
Step 2: Apply a Thin Layer of Oil
Grab your neutral cooking oil and a paper towel. You only need a very small amount of oil, just enough to lightly coat the paper towel. We're aiming for a thin, even sheen on the inside of the basket, not a greasy mess.
Image source: Bing (Web (fair-use with source credit))
Using the oiled paper towel, gently wipe the entire interior cooking surface of each basket. Make sure you get into all the nooks and crannies, but avoid letting any oil pool up at the bottom. It should look like a barely-there glossy coating.
How Much is Too Much?
If you see thick streaks of oil or pools, you've used too much. You can gently dab it with a clean part of the paper towel or a fresh one to remove excess. The goal is a light, uniform film, not a layer of frying oil.
Step 3: Gentle Heat Treatment
This is the "seasoning" part. Place the lightly oiled baskets into your air fryer. Make sure they are empty, no food, no other accessories, just the baskets themselves.
Now, set your air fryer to a moderate temperature. For most ceramic non-stick baskets, a temperature between 300°F and 350°F (150°C, 175°C) is ideal. Avoid high heat, as this can potentially damage the coating.
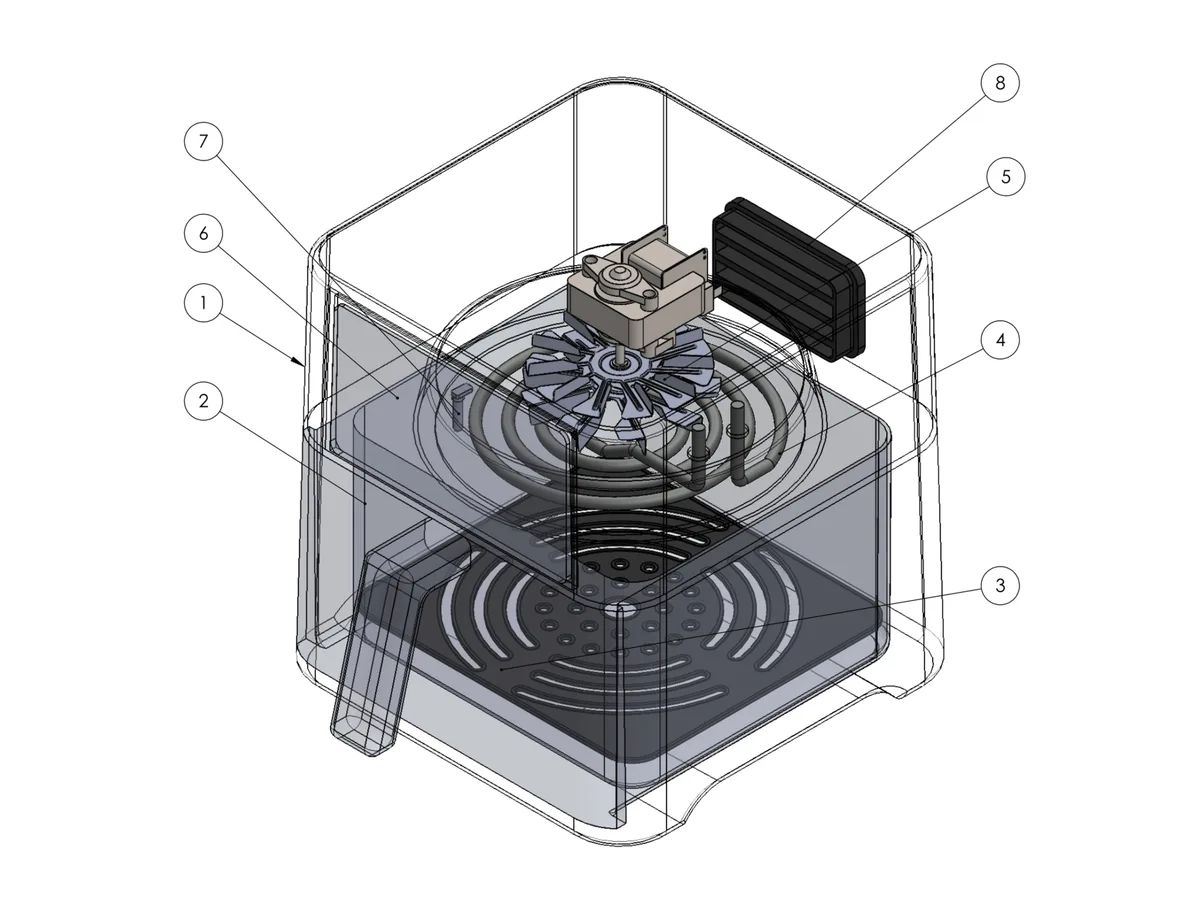
Image source: Bing (Web (fair-use with source credit))
Run the air fryer for about 5 to 10 minutes. This gentle heating process helps to slightly bond the thin oil layer to the ceramic surface, conditioning it. It’s a quick way to ensure the non-stick properties are ready to go.
The Right Temperature and Time
Manufacturer guidance often suggests this 300-350°F range for conditioning. The duration is relatively short, just enough to heat the oil without over-exposing the basket to prolonged, intense heat. For example, some appliance manuals specify a 10-minute cycle.
Step 4: Cool Down and Final Wipe
After the 5-10 minutes are up, turn off the air fryer. It's important to let the baskets cool down completely inside the air fryer. This gradual cooling prevents thermal shock, which can stress the ceramic coating.
Once the baskets are cool enough to touch safely, carefully remove them from the air fryer. Take a clean, dry paper towel and give the inside of the baskets another gentle wipe. This will remove any residual oil that didn't fully bond or evaporate.
The Finished Look
Your baskets should now feel clean and smooth, with no oily residue. They're ready for their first use, and you should notice how smoothly food releases from the surface. This simple process helps maintain that non-stick performance for a long time.
When to Re-Season Your Air Fryer Baskets
You don't need to season your ceramic baskets every single time you cook. The initial seasoning is usually sufficient for many months, depending on usage and care. However, there are a few tell-tale signs that indicate it's time for a refresh.
Signs Your Baskets Need a Tune-Up
- Food Sticking: If you're finding that food is starting to stick to the surface more than it used to, even after proper washing, it's a clear sign. This is especially noticeable when trying to cook things like turkey bacon or fish sticks.
- Reduced Glide: When cooked items don't slide out as easily as they once did.
- Visible Wear: If you notice any dullness or minor abrasions on the surface (though this should be rare with proper care).
If you experience any of these, a quick repeat of the washing, light oiling, and heating process will help restore their optimal non-stick performance. It's a quick fix that can save you from frustrating cleanup.
Common Mistakes When Seasoning Ceramic Baskets
Even though seasoning ceramic non-stick is simpler than with cast iron, people can still make a few mistakes that might affect performance or even damage the coating. Being aware of these pitfalls can save you trouble down the line.
Image source: Bing (Web (fair-use with source credit))
- Using Too Much Oil: As mentioned, going overboard with the oil can lead to a sticky residue rather than a conditioned surface. This excess oil can also smoke more during heating.
- Using Abrasive Cleaners: Washing with harsh sponges or abrasive cleaners before or after seasoning can scratch the ceramic coating, defeating the purpose of the non-stick surface and potentially making it less durable. Stick to soft cloths and mild soap.
- Overheating: While ceramic is heat-resistant, exposing it to excessively high temperatures for prolonged periods without food can degrade the coating over time. Stick to the recommended 300-350°F range.
- Skipping the Initial Wash: If you don't wash the baskets first, you might be seasoning over manufacturing residues or dust. Always start with a clean slate.
- Not Cooling Down Properly: Putting a hot basket into cold water or rapidly cooling it can cause thermal stress, potentially leading to cracks or a weakened coating. Patience during the cooling phase is key.
What to Absolutely Avoid
One of the biggest slip-ups is using metal utensils or abrasive scrubbers on your ceramic baskets. These can easily scratch the delicate non-stick coating, causing permanent damage. Think of it like using a metal fork on a regular non-stick pan; it just doesn't end well.
Another mistake is washing the baskets while they're still very hot. Sudden temperature changes can cause the ceramic material to expand or contract too rapidly, leading to cracks or a weakened surface. Always let them cool down to a safe temperature before cleaning.
Do Metal Utensils Damage Ceramic?
Yes, metal utensils can absolutely damage ceramic non-stick coatings. The ceramic surface, while durable for cooking, is not as hard as metal. Using knives, forks, or even spatulas with sharp edges can create scratches.
These scratches not only ruin the aesthetic but also compromise the non-stick properties. Food can then start to stick in those damaged areas, making cleanup harder and potentially leading to further degradation of the coating. It's best to stick to silicone, wood, or plastic utensils when cooking with ceramicware.
Pro Tips for Maintaining Your Ceramic Non-Stick
Beyond the initial seasoning, a few smart habits can keep your ceramic air fryer baskets performing brilliantly for a long time. These practices are simple but make a real difference in the longevity and effectiveness of your cookware. Proper upkeep is key for enjoying consistent, non-stick results.
How to Clean Ceramic Baskets After Use
Always allow your air fryer baskets to cool down significantly before washing. Use warm water and a soft sponge or cloth with a mild dish soap. For stubborn food bits, avoid vigorous scrubbing.
Instead, soak the basket in warm, soapy water for 15-30 minutes. This softens the residue, making it easier to wipe away gently.
After washing, rinse thoroughly and dry completely with a soft towel. This regular cleaning routine, combined with the initial seasoning, helps maintain the integrity of the ceramic coating. If you're wondering how to cook things like biscuits or even frozen garlic bread, a well-maintained basket is your best friend.
Storing Your Air Fryer Baskets Safely
Proper storage prevents accidental damage. When not in use, avoid stacking heavy items on top of your air fryer baskets. If you have multiple baskets, consider placing a soft cloth or paper towel between them to prevent scratching.
Some people even keep their baskets in a drawer or cabinet where they won't be bumped or scraped. This protects the non-stick surface from unintentional impacts. For dual basket air fryers, ensure each basket is stored individually or with protective padding.
Can You Use Cooking Sprays on Ceramic?
While you can technically use cooking sprays, it's often not recommended for ceramic non-stick surfaces. Many cooking sprays contain lecithin or other agents that can build up on the ceramic over time, creating a sticky residue that's hard to remove. This residue can actually impair the non-stick performance.
It's generally better to use a small amount of liquid cooking oil (like vegetable or olive oil) applied with a brush or paper towel for lightly greasing the basket. This gives you more control over the amount of oil used and avoids the sticky buildup associated with sprays.
What About Dishwashers?
Many manufacturers state that their ceramic non-stick air fryer baskets are dishwasher safe. However, editorial analysis of user feedback suggests that hand washing is almost always preferable for extending the life of the non-stick coating. The harsh detergents and high heat cycles in dishwashers can degrade the coating faster than gentle hand washing.
If you must use a dishwasher, place the baskets on the top rack. Use a mild detergent and avoid overly aggressive cycles. Even then, expect a potential reduction in the lifespan of the non-stick performance compared to hand-washed baskets.
Can You Put a Paper Plate in an Air Fryer?
This is a question that comes up when people are looking for easier cleanup or trying to cook foods like frozen hash browns. While you can technically place a paper plate in an air fryer, it's not always recommended and comes with caveats. The primary concern is heat and airflow.
Paper plates can block the necessary airflow that makes air fryers so effective. This can lead to uneven cooking and reduce crispiness. Plus, some paper plates might not be designed to withstand the direct heat of an air fryer, potentially posing a fire risk if they scorch or ignite.
It’s generally safer to use accessories designed specifically for air fryers. For better results and safety, consider lining your basket with perforated parchment paper designed for air fryers, or simply ensure your baskets are seasoned well for easy cleanup.
Do Air Fryers Use a Lot of Electricity?
Air fryers are generally considered energy-efficient appliances, especially when compared to larger ovens. They use a heating element and a fan to circulate hot air, cooking food quickly. Because of their smaller size and efficient design, they typically use less electricity than a conventional oven for many tasks.
For instance, a typical air fryer might use between 1500 to 1800 watts, whereas a standard oven can range from 2000 to 5000 watts or more. This means that for smaller batches of food, like cooking sausage patties or making croutons, using your air fryer can be more energy-conscious. However, for very large meals or when cooking multiple items that require an entire oven, the comparison might shift.
How Many Watts Does an Air Fryer Use?
The wattage of an air fryer can vary significantly depending on the model and size, but most fall within a range of 1000 to 1800 watts. Higher wattage generally means faster cooking times because the appliance can reach and maintain higher temperatures more quickly.
For example, a compact 2-quart air fryer might operate around 1000-1200 watts, while a larger dual-basket model could be 1700-1800 watts or even higher. Understanding your air fryer's wattage helps in estimating its energy consumption. If you're concerned about energy use, consider how long you're using the appliance; quick tasks like heating up leftovers or cooking frozen garlic bread are typically very efficient.