
If your kitchen suddenly smells like a melting plastic toy, you probably have a new air fryer toaster oven sitting on the counter. If you're asking why does my air fryer toaster oven smell like burning plastic, the short answer is usually harmless: factory residue burning off the heating element. The good news is that most units stop smelling after a simple 20 to 30 minute burn-in.
The bad news is that sometimes that odor means something is dangerously wrong.
Most countertop models draw 1500 to 1800 watts and heat up to 450°F. Per Underwriters Laboratories certification practices, normal break-in off-gassing is expected. But a sharp, acrid smell that returns every single time is a red flag.
Let's walk through how to tell the difference.
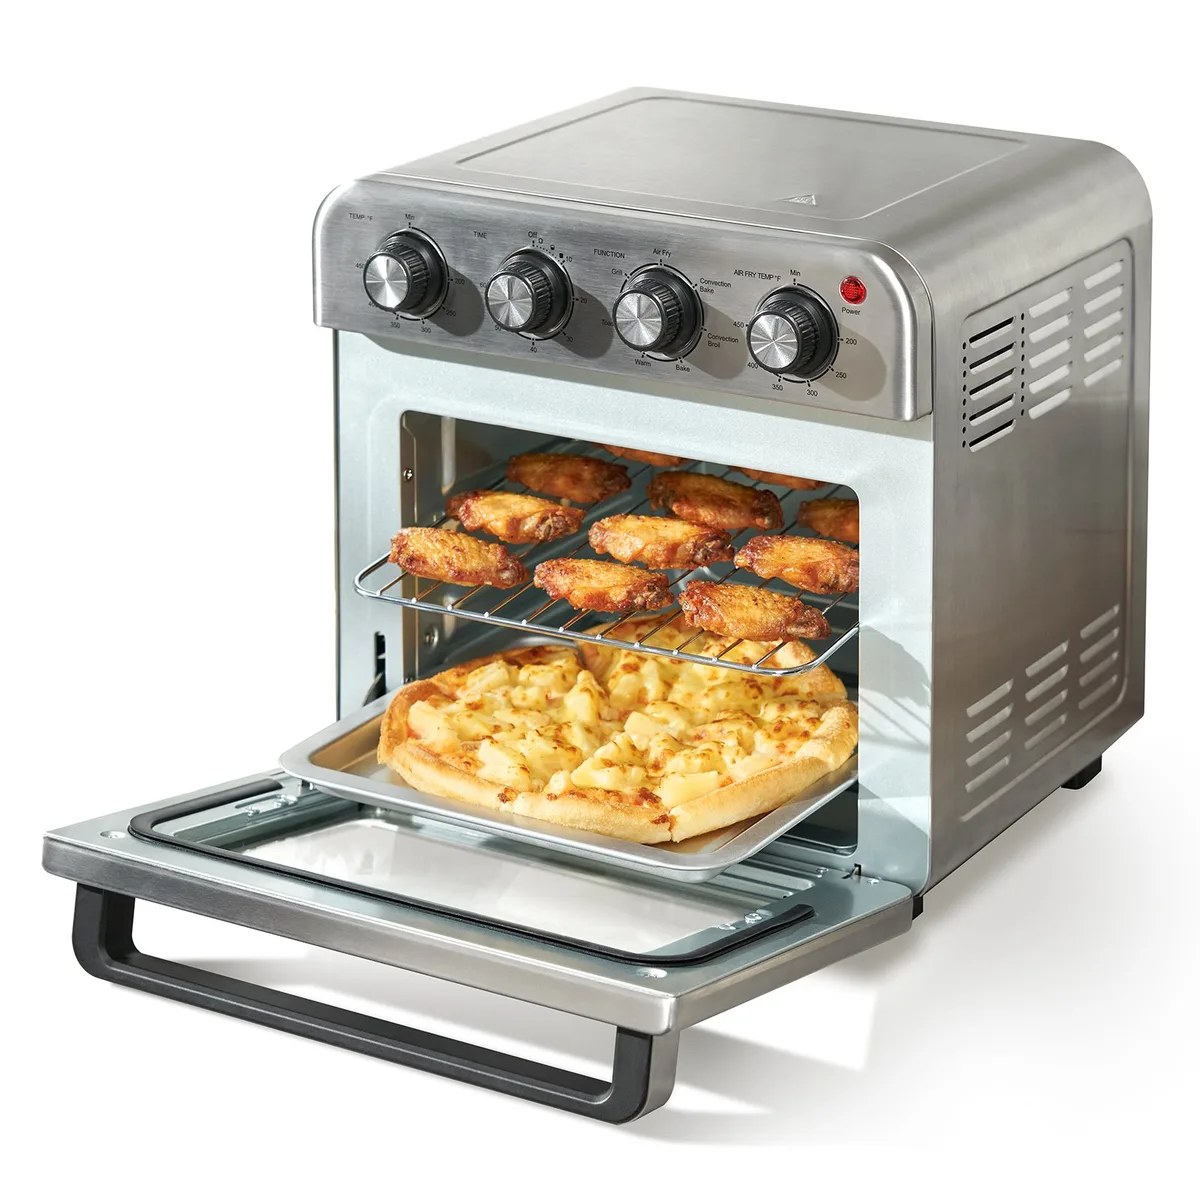
Image source: Web (Bing) / vevor.com (Web image (fair-use with source credit))
Quick Answer: What That Smell Probably Is
The smell is probably factory grease. New units burn off residue during preheat. Run the empty oven at 400°F for 20 minutes.
If it still stinks, unplug it and call support.
First, Figure Out What You're Smelling
Not all burning plastic smells are the same. The kind you notice on day one usually comes from the heating element itself. The kind that shows up weeks later usually comes from something that dripped onto it.
Let's break down what you might be smelling.
| Smell | Likely cause | Action |
|---|---|---|
| Sweet, chemical, plastic-like | New appliance off-gassing | Run the burn-in cycle |
| Sharp, acrid, burning wire | Overheated wiring or insulation | Unplug and stop using it |
| Oily smoke or hot grease | Food drippings on the element | Clean the tray and interior |
| Bitter smell from the interior coating | Damaged non-stick surface | Stop use, contact the manufacturer |
Here's the quick way to think about it. If the smell happened during the first two or three preheat cycles, run the break-in procedure below. If it smells like burning wire and your eyes water, turn it off immediately.
That's the difference between a normal break-in and a safety risk.
In our research, most owners report the plastic smell disappears after a couple of empty heat cycles. Some buyers prefer basket-style units because there's less interior to worry about, but a toaster-style oven gives you more cooking space for things like casseroles and frozen meals. The smell is the tradeoff for that versatility.
The U.S. Consumer Product Safety Commission has published plenty of reports about appliance failures that start with a burning odor. If you ever see sparks or smoke, don't wait for the timer to finish.
Unplug the unit and reach out to the manufacturer.
The 15-Minute New Oven Burn-In Process
Manufacturers know their parts aren't completely clean. New heating elements carry leftover lubricants. The metal cavity may hold small traces of machining fluid.
Some adhesives can also outgas when they get hot. That's why most manuals tell you to run an empty burn-in before cooking anything.
Here's what an effective burn-in looks like.
- Pull out the basket, wire rack, and crumb tray.
- Wash them in warm soapy water, then dry them completely.
- Wipe the interior cavity with a damp cloth.
- Make sure the unit has at least 4 to 6 inches of clearance on all sides.
- Set the temperature to 400°F and run it empty for 20 to 30 minutes.
- Open a window or turn on the range hood.
- Let the unit cool, then wipe the interior one more time.
The first time you do this, you might see a faint wisp of smoke. That's normal. The smell should fade quickly as the residue burns away.
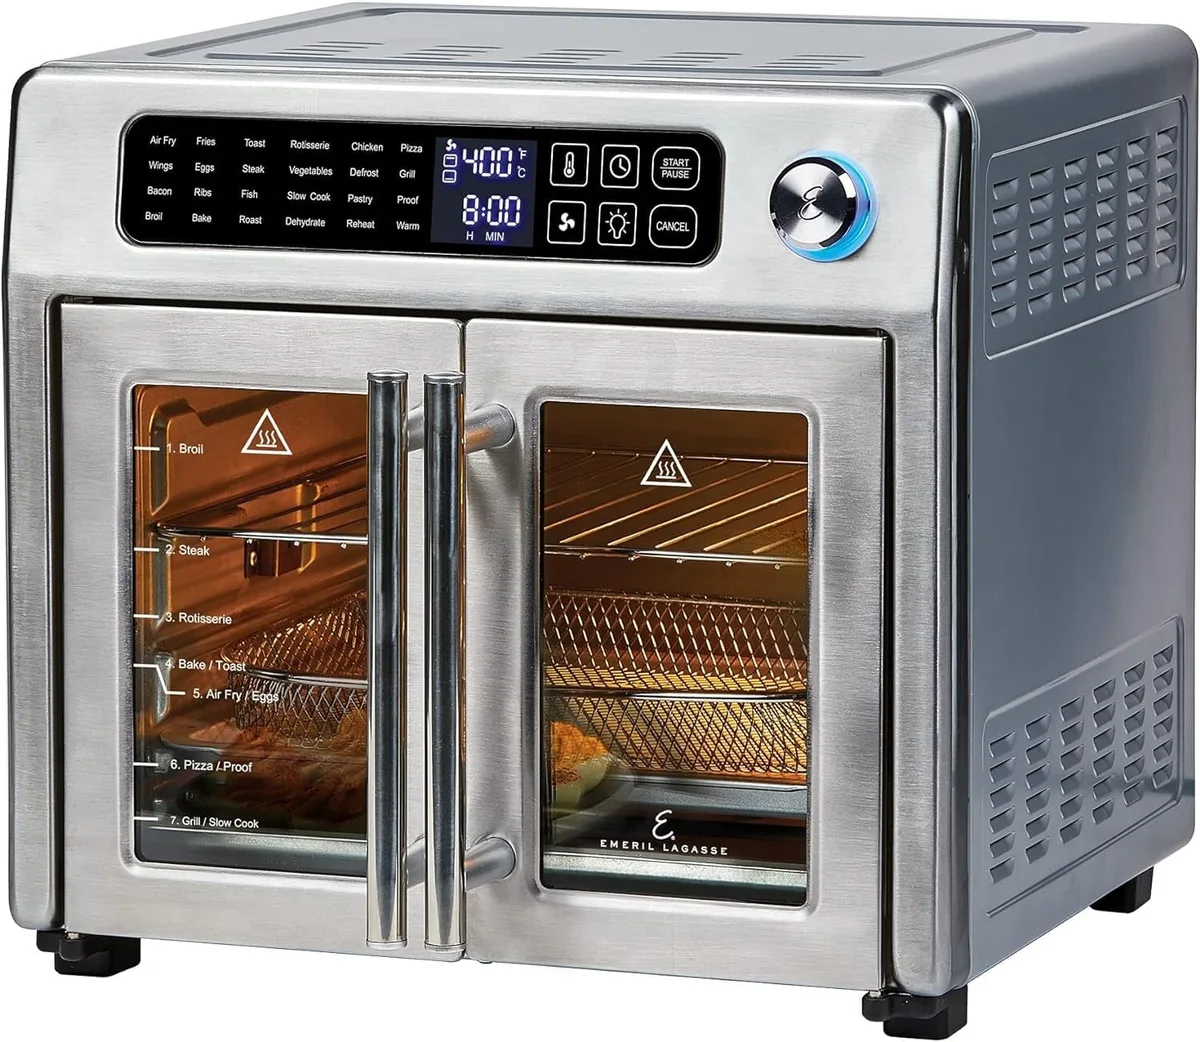
Image source: Web (Bing) / walmart.com (Web image (fair-use with source credit))
As of 2026, nearly every new model still ships with the same factory coating and assembly oils. A 1700W unit usually only needs 20 minutes. A smaller 1500W oven might need the full 30 minutes.
Either way, you're looking at less than half an hour to get it ready for real cooking. These ovens run at a similar wattage to a basket air fryer, so the impact on your utility bill is modest.
This is also why some people wonder whether an air fryer toaster oven is just a convection oven with a different name. The heating method is similar, but the burn-in advice is still worth following no matter what label is on the box.
Leftover Packaging and Factory Residue: The Sneaky Culprits
Sometimes the smell isn't the oven itself. It's the shipping materials hiding somewhere you didn't think to check.
New units often ship with clear plastic film on the outside. They also come with zip ties holding the power cord. Some models wedge a cardboard insert between the fan blade and the rear wall to keep the blade from moving during shipping.
If any of that stays inside, it will absolutely smell like burning plastic.
Check for these before you burn anything in:
- Clear adhesive film on the exterior doors
- Cardboard spacers behind the fan
- Plastic wrap around the power cord
- Foam wedges in the crumb tray
- Small tags attached to the heating element
It's easy to miss one of these. The cardboard spacer, in particular, sits behind the back wall where you can't see it without a flashlight. Give the interior a quick inspection before your first preheat.
You should also know that the heating element itself may have a thin layer of oil left over from manufacturing. Even after you remove every piece of packaging, that oil has to burn off. That's not a defect.
It's just the byproduct of metal forming and assembly.
Why Food Drips Cause That Burning Smell Later
Fast forward three weeks. The oven has been working fine. Then one night you roast some chicken thighs and the whole kitchen smells like burning plastic again.
This is almost always grease, not plastic.
Fat and juices from food land on the heating element. When the element gets hot, those drippings smoke and produce a sharp, acrid odor. People often mistake it for plastic because it stings the nose the same way.
This happens more often with fatty foods. Cook turkey bacon or sausages regularly and the interior will collect splatter quickly.
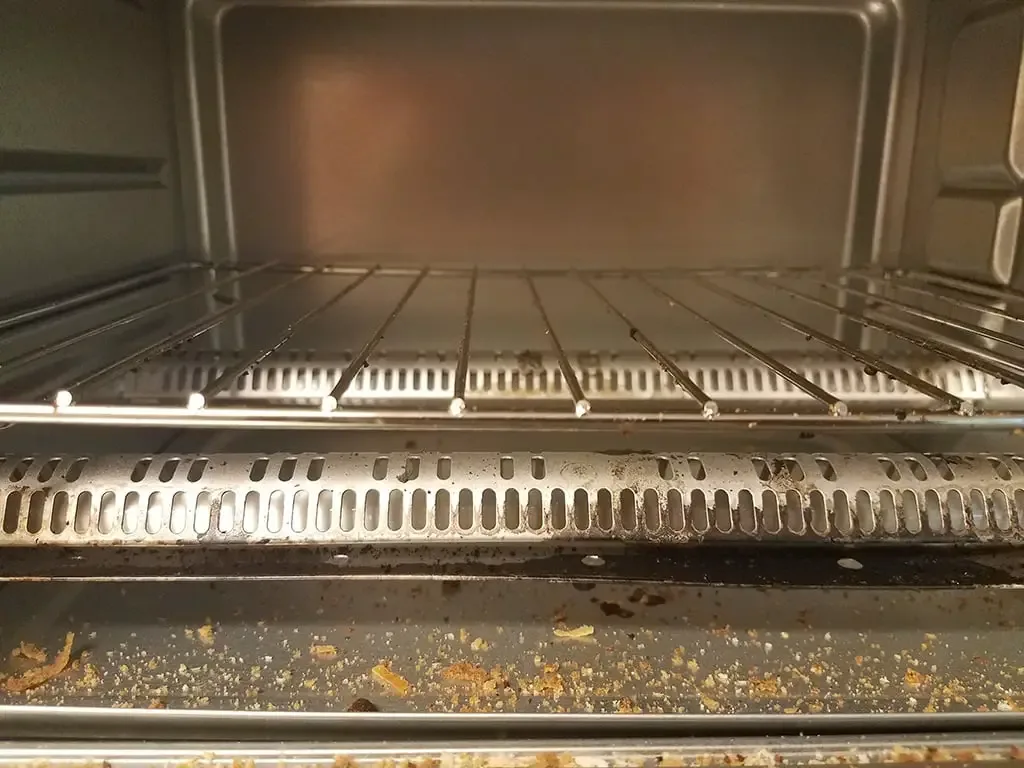
Image source: Bing (Web (fair-use with source credit))
To stop this, clean the crumb tray often. After a greasy batch, let the unit cool. Then wipe down the interior and the area around the heating element with a damp cloth.
You don't need a deep clean every day, but you do need to stay ahead of the splatter.
A few simple habits help:
- Wipe the crumb tray after every few uses.
- Check the interior for stuck-on food before preheating.
- Avoid lining the bottom tray with foil in a way that blocks airflow.
- Give the heating element a gentle wipe once the oven is completely cool.
If you're someone who regularly cooks fatty items like turkey bacon in there, plan to wipe the interior right after that meal. Waiting until the next morning just gives the grease more time to harden. A cleaner oven also means less smoke and fewer weird smells later.