
You’ve got the perfect casserole recipe, the dish is loaded, and then you realize the only oven you have is a countertop air fryer toaster oven. Or worse, you’ve already tried baking a 9×13 casserole in one and the cheese on top turned into a charred crust while the middle stayed cold. That’s the exact problem we’re solving here.
Learning how to bake a 9×13 casserole in air fryer toaster oven without burning top isn’t about luck, it’s about understanding airflow, rack position, and when to use a foil shield.
In our research, the biggest failure point isn’t the recipe. It’s that most toaster ovens place the top heating element just 3 to 5 inches above the rack, and the convection fan blasts hot air directly onto exposed cheese or breadcrumbs. That combination turns a 350°F bake into a blowtorch session.
The good news is that with a few simple adjustments, you can get a golden, bubbling casserole with a fully cooked center. Let’s walk through the method that works every time.
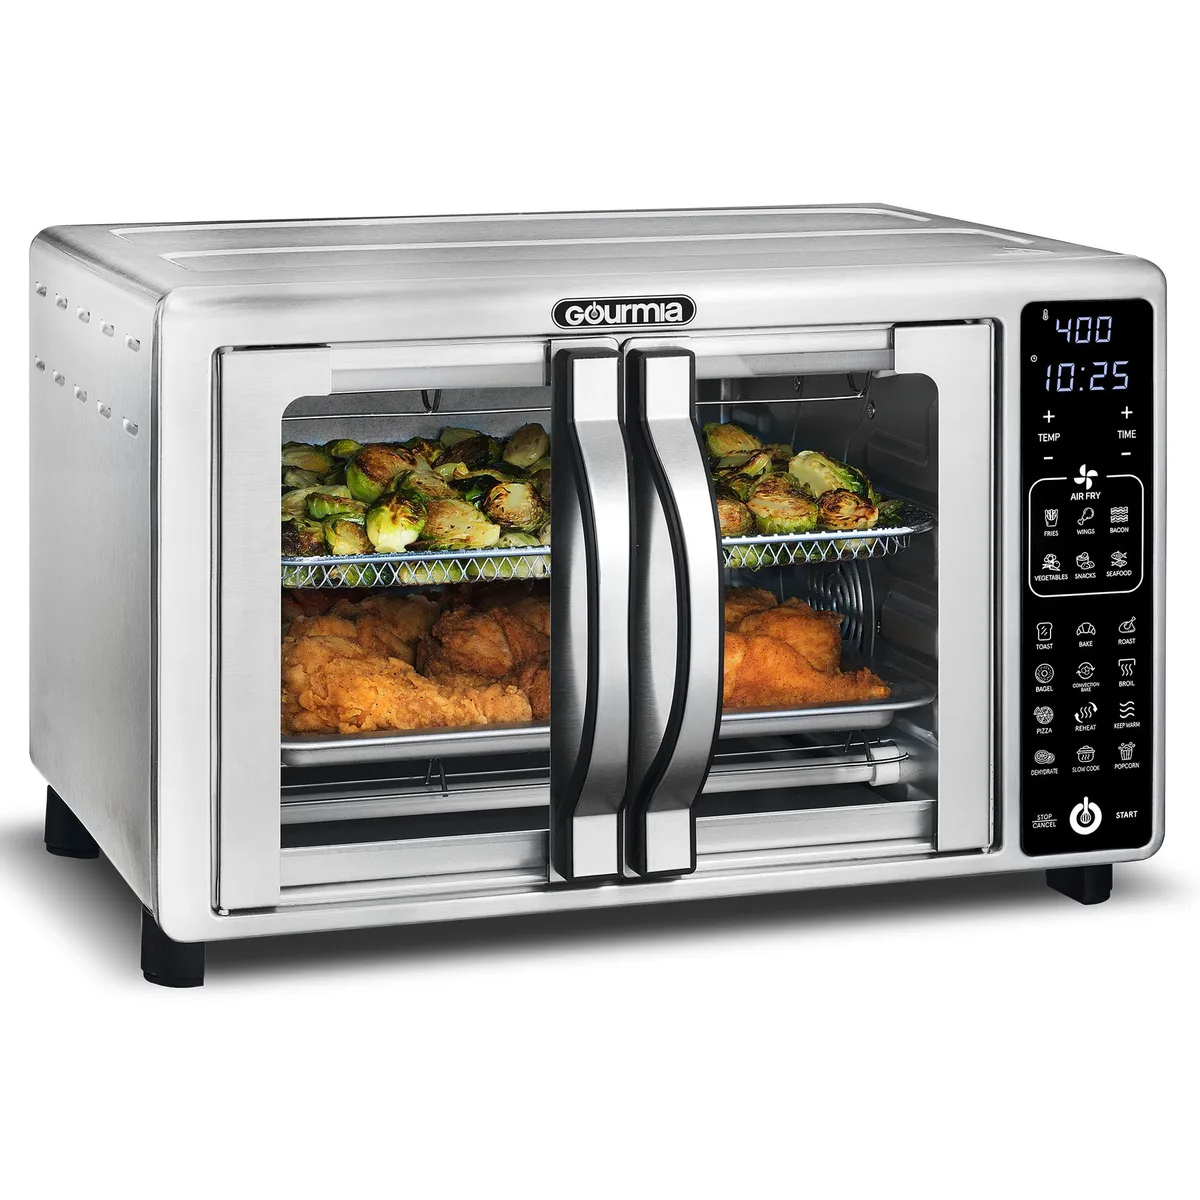
Image source: Web (Bing) / storage.googleapis.com (Web image (fair-use with source credit))
Quick Answer
Set the rack to the lowest position. Cover the casserole loosely with foil. Bake at 350°F for the first two-thirds of the total time.
Remove the foil for the final 10 to 15 minutes. Drop to 325°F if the top browns too fast. Check the center with a probe thermometer until it reads 165°F.
Why Does the Top Burn in the First Place?
Before you preheat anything, it helps to understand why the top of your casserole is the first thing to scorch. It’s not because the dish is bad, and it’s not because you set the temperature too high. The problem is physics.
The Heating Element Is Close
In a full-size oven, the top element sits several inches above the food. In a typical air fryer toaster oven, that element hovers only 2 to 4 inches above the baking rack. That tight clearance means radiant heat hits your topping directly and aggressively.
The Fan Makes It Worse
Air fryer toaster ovens pull or push air at high speed. That constant movement strips moisture from exposed surfaces. Cheese, breadcrumbs, and sauce lose water quickly, dry out, and then burn.
It’s the same reason a convection oven browns food faster than a conventional one.
Dark Pans Absorb More Heat
A dark metal 9×13 pan conducts heat faster than a light ceramic dish. Glass also holds heat well, but it’s prone to thermal shock in a small oven. If your pan is dark or thin, the edges and top cook faster than the center.
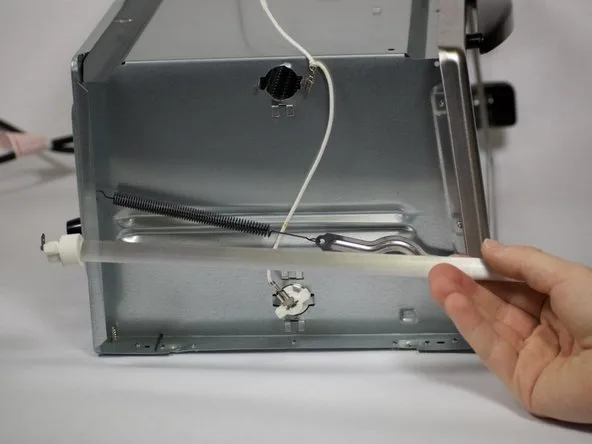
Image source: Bing (Web (fair-use with source credit))
Air-Fry Mode Runs Hotter Than You Think
Manufacturer specifications show that air-fry mode often uses the same temperature dial as bake mode, but the fan speed increases significantly. Per our research, that higher airflow can add the equivalent of 15 to 25°F of browning power. So when you set air-fry mode to 350°F, you’re effectively cooking the surface like it’s 365 to 375°F.
That’s why so many casseroles wind up with a burnt roof and a raw basement.
Check Your Setup Before You Preheat
The single biggest lever you control is where the dish sits and what kind of dish you use. This is a classic decision tree. Your choices depend on your oven model, your pan material, and what’s in your casserole.
Rack Height and Position
Use the lowest possible rack slot. Most air fryer toaster ovens have two or three positions. If you put the dish on the middle slot, the top element may be too close.
On the bottom slot, you gain at least an inch of clearance. That extra space dramatically reduces scorching.
Keep at least 1.5 to 2 inches of air between the top of the casserole and the upper heating element. You can measure this with a ruler before you preheat. If the dish is taller than your rack gap, you have two options.
Choose a shallower dish or skip the casserole and use a different cooking method.
Dish Material and Color
- Glass or ceramic heats slowly and evenly. Great for layers like lasagna or shepherd’s pie.
- Light metal is the safest choice. It reflects heat and reduces browning on the sides.
- Dark metal browns beautifully but can over-cook edges and burn toppings.
- Stoneware holds heat incredibly well but retains it longer, so pull the casserole a few minutes early.
If you own a glass 9×13 pan, check the manufacturer’s label for oven-safe ratings. Many glass dishes handle 400°F, but never place a cold glass dish into a hot toaster oven. That’s a thermal shock risk.
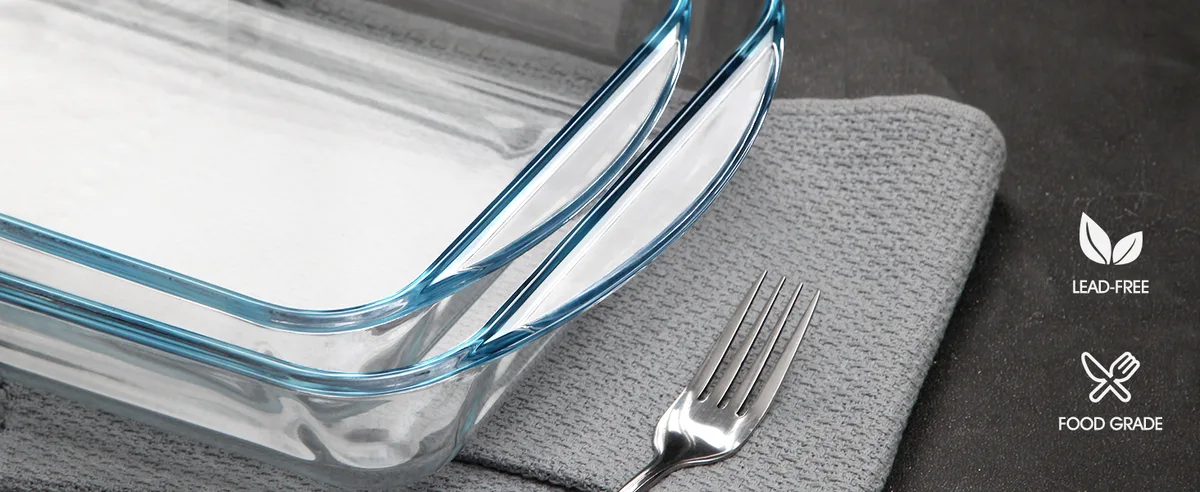
Image source: Bing (Web (fair-use with source credit))
Oven Mode: Air Fry vs. Convection Bake
Most air fryer toaster ovens include several presets. The names vary by brand, but the core distinction is fan speed.
- Bake or convection bake mode uses moderate airflow. This is your best friend for casseroles.
- Air fry mode uses high-velocity air. That’s great for crispy fries, but terrible for exposed cheese.
When you’re cooking a covered casserole, air fry mode is fine. The foil protects the surface. The moment you uncover the dish, switch to bake mode.
This simple swap prevents the top from drying out before the center catches up.
If your oven only has a single mode labeled "air fry," use it but set the temp 25°F lower than the recipe calls for. Check your owner’s manual for specific guidance on fan speed and rack position.
The Step-by-Step Method That Works Every Time
Now that your rack, dish, and mode are sorted, you’re ready to cook. This is the workflow that avoids the burnt-top problem in every toaster oven model we’ve researched.
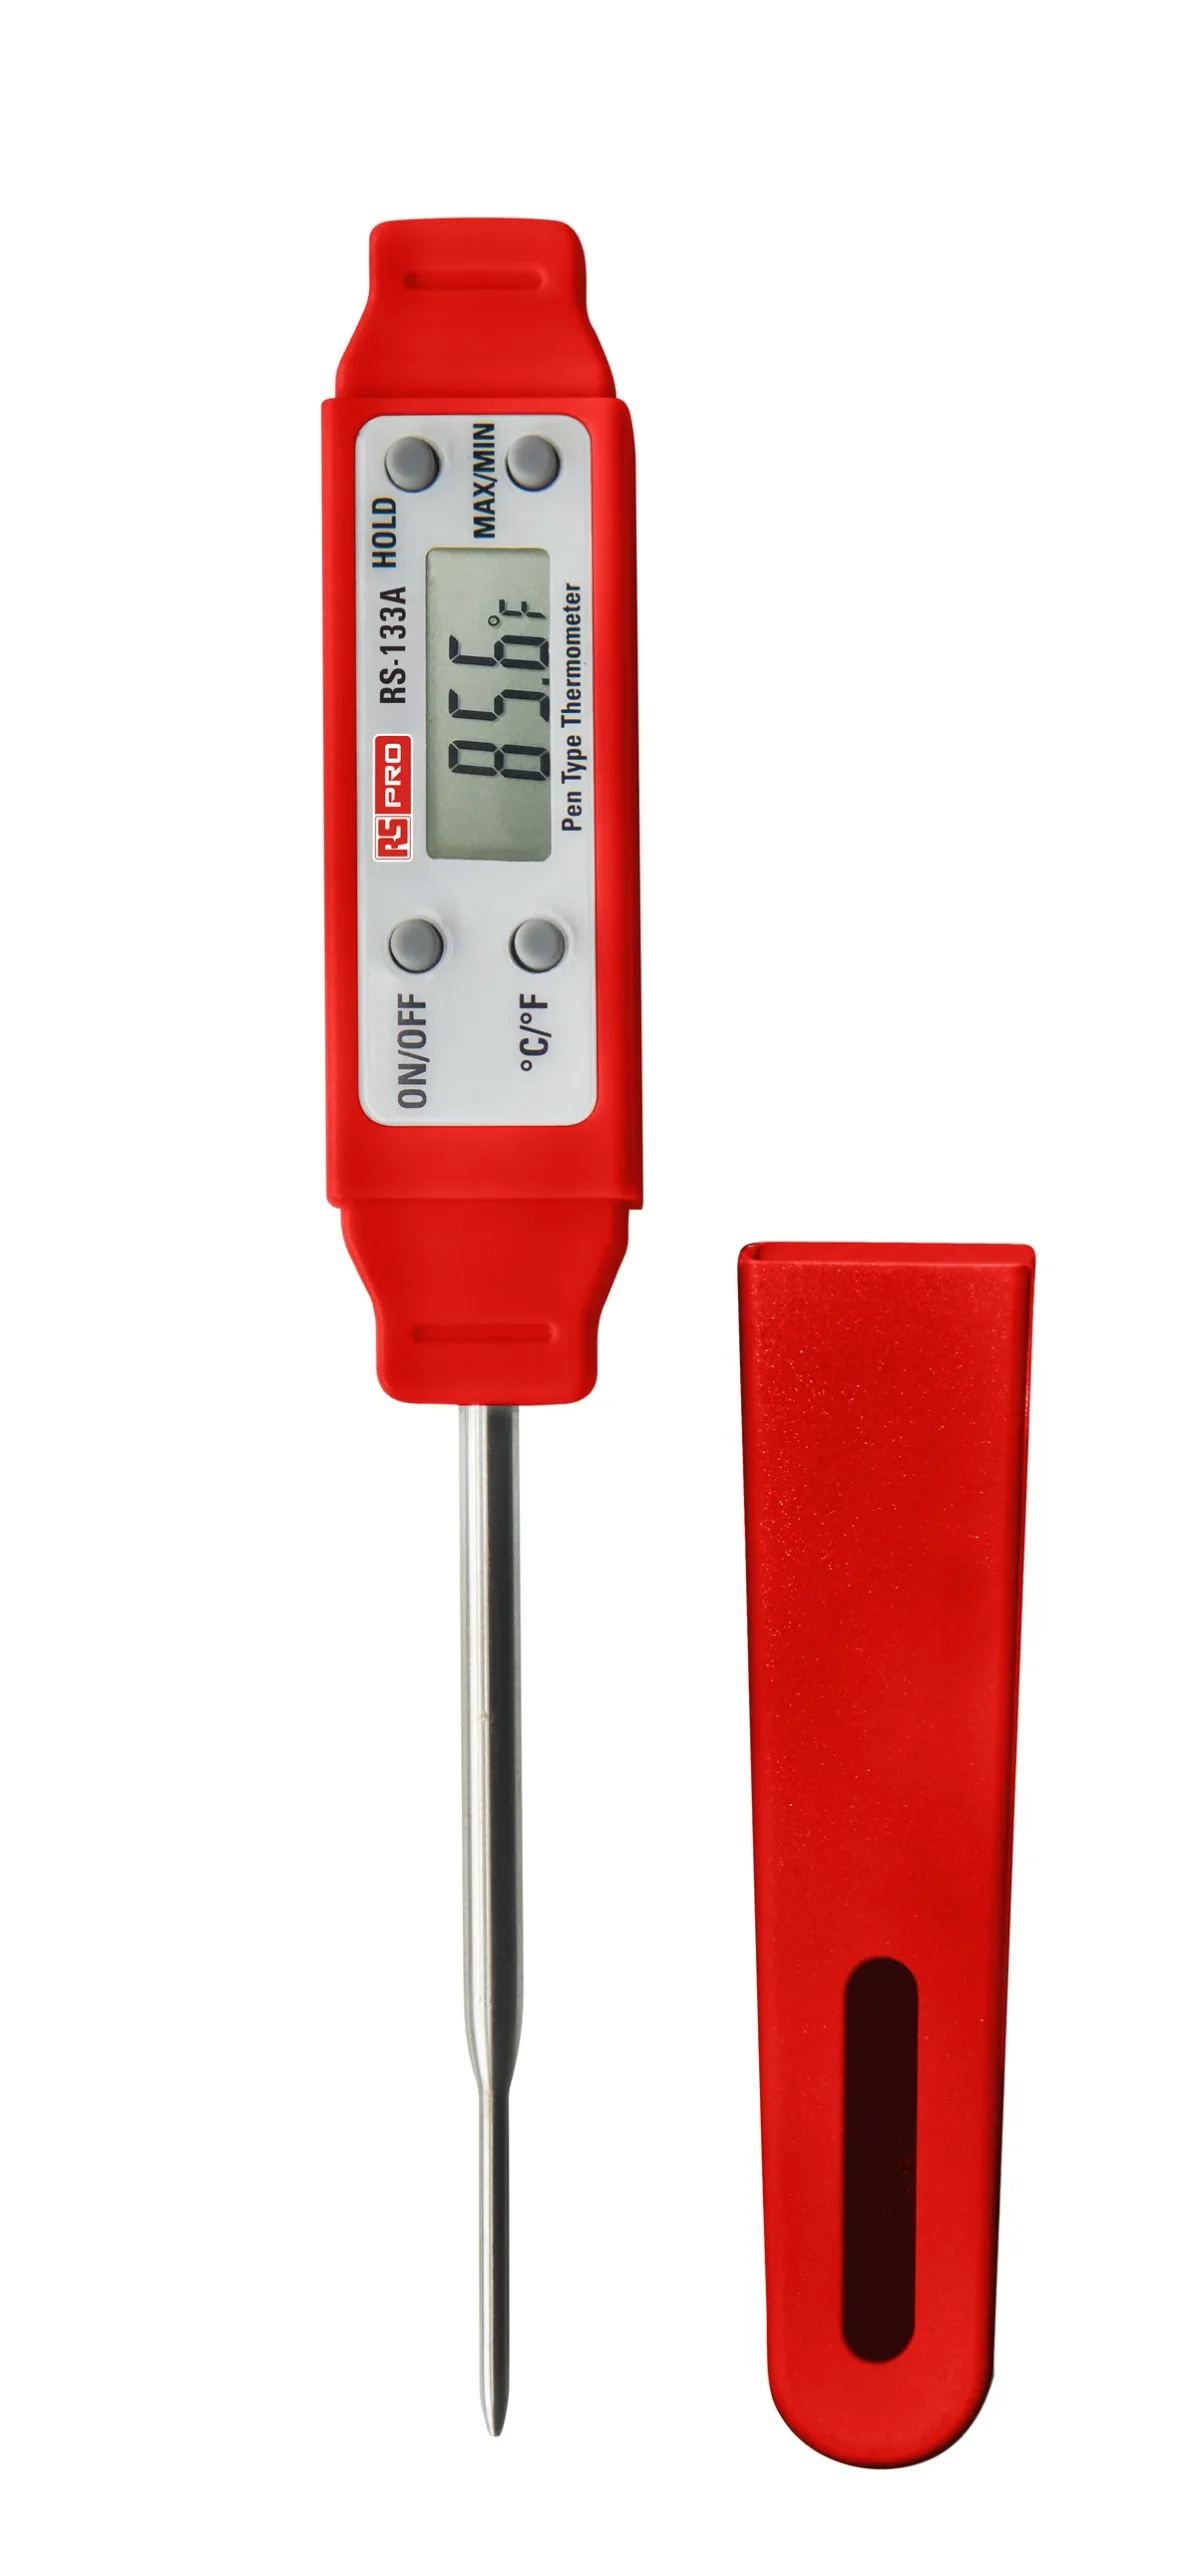
Image source: Web (Bing) / uk.rs-online.com (Web image (fair-use with source credit))
Phase 1: Prep the Dish
Grease the pan lightly with butter, oil, or cooking spray. Even if the recipe says it’s nonstick, a light coating helps the edges release cleanly. Layer your ingredients with even thickness.
Uneven layers mean the thinner parts overcook while thick areas stay cold. If you’re using raw meat, cook it completely before assembling the casserole. A toaster oven isn’t ideal for browning raw ground beef in a deep dish.
Phase 2: The Tent-and-Bake Start
This is the step that saves more casseroles than any other. Tear a piece of aluminum foil large enough to cover the entire dish. Place it loosely over the top and crimp it around the edges.
The foil should be tented, meaning it sits above the topping without touching it. If foil touches cheese, it will stick and pull the topping off when you remove it.
Bake at 350°F, covered, for the first 50 to 60 percent of your total estimated time. For a typical 9×13 casserole, that means about 20 to 25 minutes covered. During this phase, the center heats up, the cheese melts, and moisture stays trapped inside.
Phase 3: The Uncovered Finish
After the covered phase, carefully remove the foil. This is the moment of truth. Lower the temperature to 325°F before you slide the dish back in.
That 25°F drop is your insurance against burning. The air will still crisp the top, but more gently.
Bake uncovered for another 10 to 15 minutes. Watch for two visual cues. The edges should be bubbling gently, and the top should be golden brown with small browned spots.
If the top looks like it’s getting dark too quickly, slide a fresh piece of foil loosely over the top but leave the sides open. That shields the surface while still letting heat circulate.
Phase 4: Verify and Rest
Pull the casserole out of the oven when the top looks done. Insert a probe thermometer into the very center. The USDA Food Safety and Inspection Service recommends a minimum internal temperature of 165°F for this type of mixed dish.
Let the casserole rest for 5 to 10 minutes. The carryover heat will continue cooking the center slightly, and the layers will set so your portions don’t fall apart.
Move to This Step If You See These Warning Signs
Even with the exact method above, every oven behaves a little differently. Some run hot, some have stronger fans, and some have weird hot spots near the back wall. The key is recognizing warning signs and adjusting mid-cook.
Top Is Browning Too Fast
If you see dark spots on the cheese or breadcrumbs after the first few minutes uncovered, act immediately. Drop the temperature by 25°F right away. Skip the last step and cover the top with a sheet of foil, leaving the edges open.
If your oven allows it, move the dish to the lowest rack position or, in some models, remove the upper rack entirely.
Edges Are Done but Middle Is Raw
This happens when the dish is packed too deep or the oven runs hot near the walls. Fix it by rotating the casserole 180 degrees at the halfway mark. Also check that your pan is truly 9×13.
A deeper casserole dish with straighter sides cooks differently than a sloped ceramic baker.
Breadcrumbs or Toppings Are Blowing Around
High fan speed can scatter loose crumbs across the interior. If that happens, you’re in air fry mode when you should be in bake mode. Switch modes, or keep the foil on for the entire bake and only remove it for the last five minutes.
Another trick is pressing breadcrumbs lightly into the cheese before baking so they stay put.
If your casserole is already browned but still not at 165°F, don’t panic. Move it to the lowest rack, cover it with foil, and keep baking at 325°F. Check every five minutes.
The center will eventually get there without turning the topping into roadkill.