
So you’ve got 3 lbs of chicken wings and a toaster oven with an air fry setting. You don’t need a separate deep fryer or a massive standalone air fryer to get crispy, golden wings. The trick is knowing how to air fry 3 lbs of chicken wings in toaster oven without overcrowding the basket, turning the skin rubbery, or blowing up the cook time.
The USDA mandates a safe internal temperature of 165°F for poultry, and hitting that mark on a crowded toaster oven tray is dicey. Most combo toaster oven baskets only hold 1 to 1.5 lbs of wings in a single layer. That means 3 lbs is a logistics puzzle, not just a temperature setting.
Why 3 lbs of Wings Breaks Most Toaster Oven Recipes
Most recipes online are written for a 5- to 6-quart standalone air fryer. Your toaster oven air fryer mode uses the same convection principles, but the cavity is smaller, the heating elements are closer, and the fan is weaker. That combination changes the rules.
When you pile 3 lbs of wings into a toaster oven basket, you create three immediate problems:
- Airflow blockage: The fan can’t circulate hot air around each wing, so the underside stays pale and soggy.
- Temperature drop: A mass of cold chicken crashes the internal temperature of the oven, which throws off cooking times.
- Steam trap: As the wings release moisture, overcrowded trays trap steam instead of letting it escape.
The result is meat that finishes at 165°F but skin that tastes like steamed chicken.
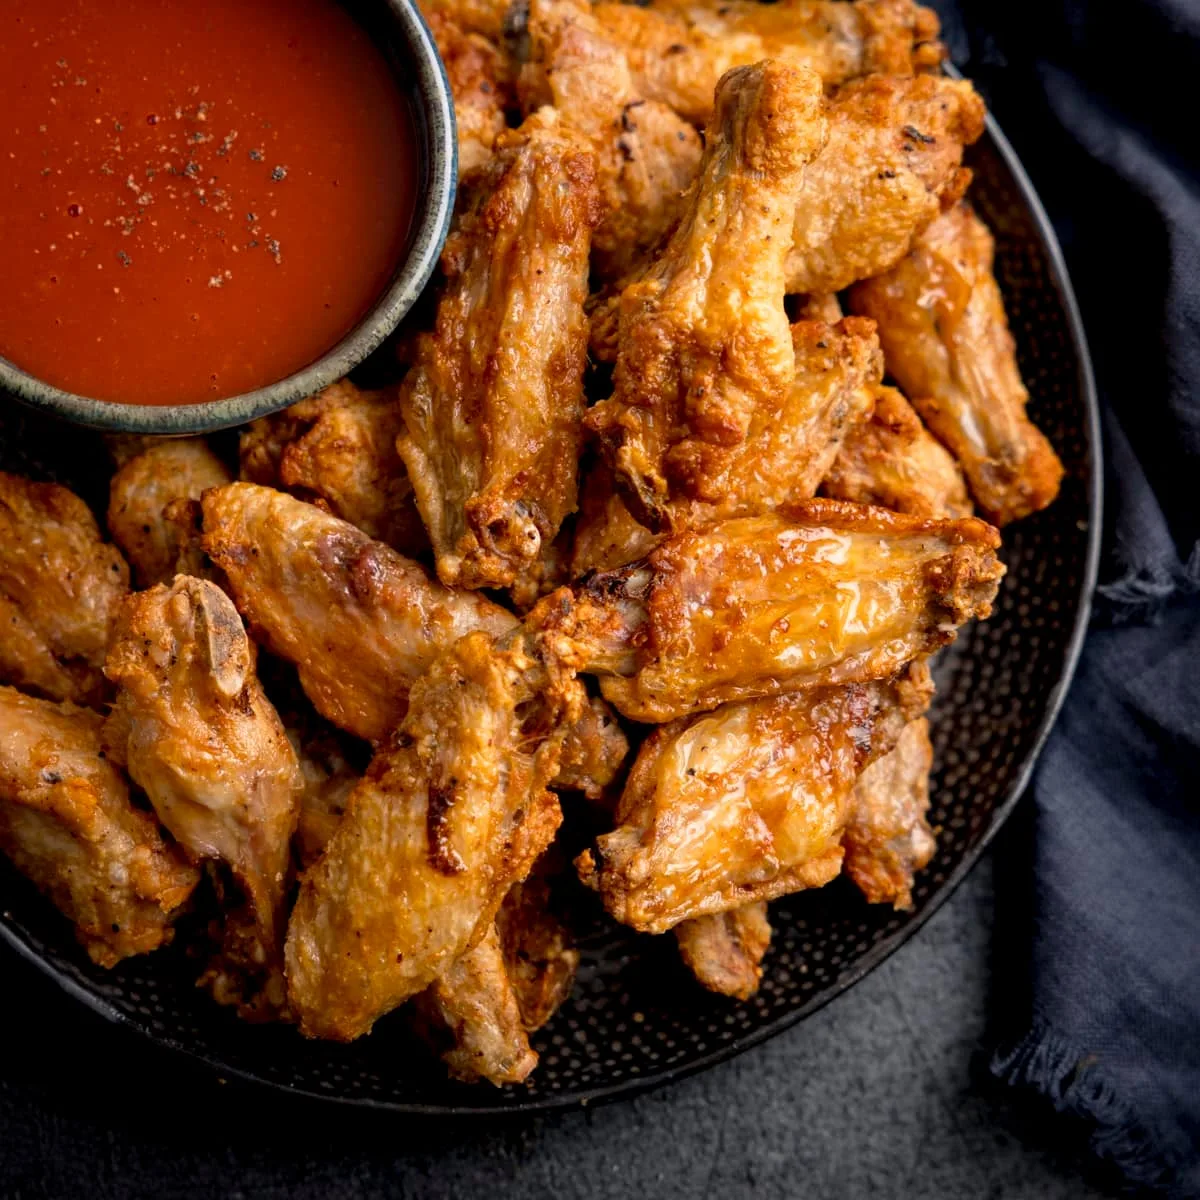
Image source: Web (Bing) / getrecipecart.com (Web image (fair-use with source credit))
So the first step is accepting the constraint: you’re not cooking 3 lbs at once. You’re cooking two or three smaller batches, and with the right workflow, that extra 10 minutes is a non-issue.
Quick Answer: The 400°F Game Plan That Works Every Time
Here’s the short version, because that’s what most of us want first. The core game plan for cooking the full 3 lbs is:
| Step | Action | Time |
|---|---|---|
| 1 | Preheat the toaster oven in air fry mode at 400°F | 5 mins |
| 2 | Pat wings dry and season with salt, pepper, and a dusting of baking powder | 5 mins |
| 3 | Arrange wings in a single layer, leaving space between each piece | 2 mins |
| 4 | Cook at 400°F, flipping halfway | 20-25 mins per batch |
| 5 | Rest and check that internal temp hits 165°F | 3 mins |
If you use a toaster oven with a smaller tray, plan on 2 to 3 batches. Between batches, shake out the crumbs and give the appliance a quick minute to recover its heat.
This method works because the high heat and forced airflow mimic a deep fryer’s dry heat. You get a crisp exterior without the oil bath. If you’re juggling multiple batches, the key is to keep each batch moving and start the next one as soon as the oven is back up to temp.
For a closer look at how these compact ovens compare to dedicated fryers in practice, check out how an air fryer oven stacks up against a standalone model.
Know Your Gear: Basket, Rack, or Tray — It Changes Everything
Not all toaster ovens are the same. Some have a mesh basket you jiggle. Others use a flat wire rack.
Some cheap models have a solid black tray that blocks airflow from underneath.
Here’s what each one means for your wings:
- Wire rack: Best option. Hot air passes over and under the wings. Use this if you have it.
- Mesh basket: Good, but wings can get stuck. Shake it halfway through cooking to release the skin.
- Solid tray: Worst option. It reflects heat away from the bottom of the wing and collects grease. If this is your only tray, flip the wings more often and expect a soggy bottom.
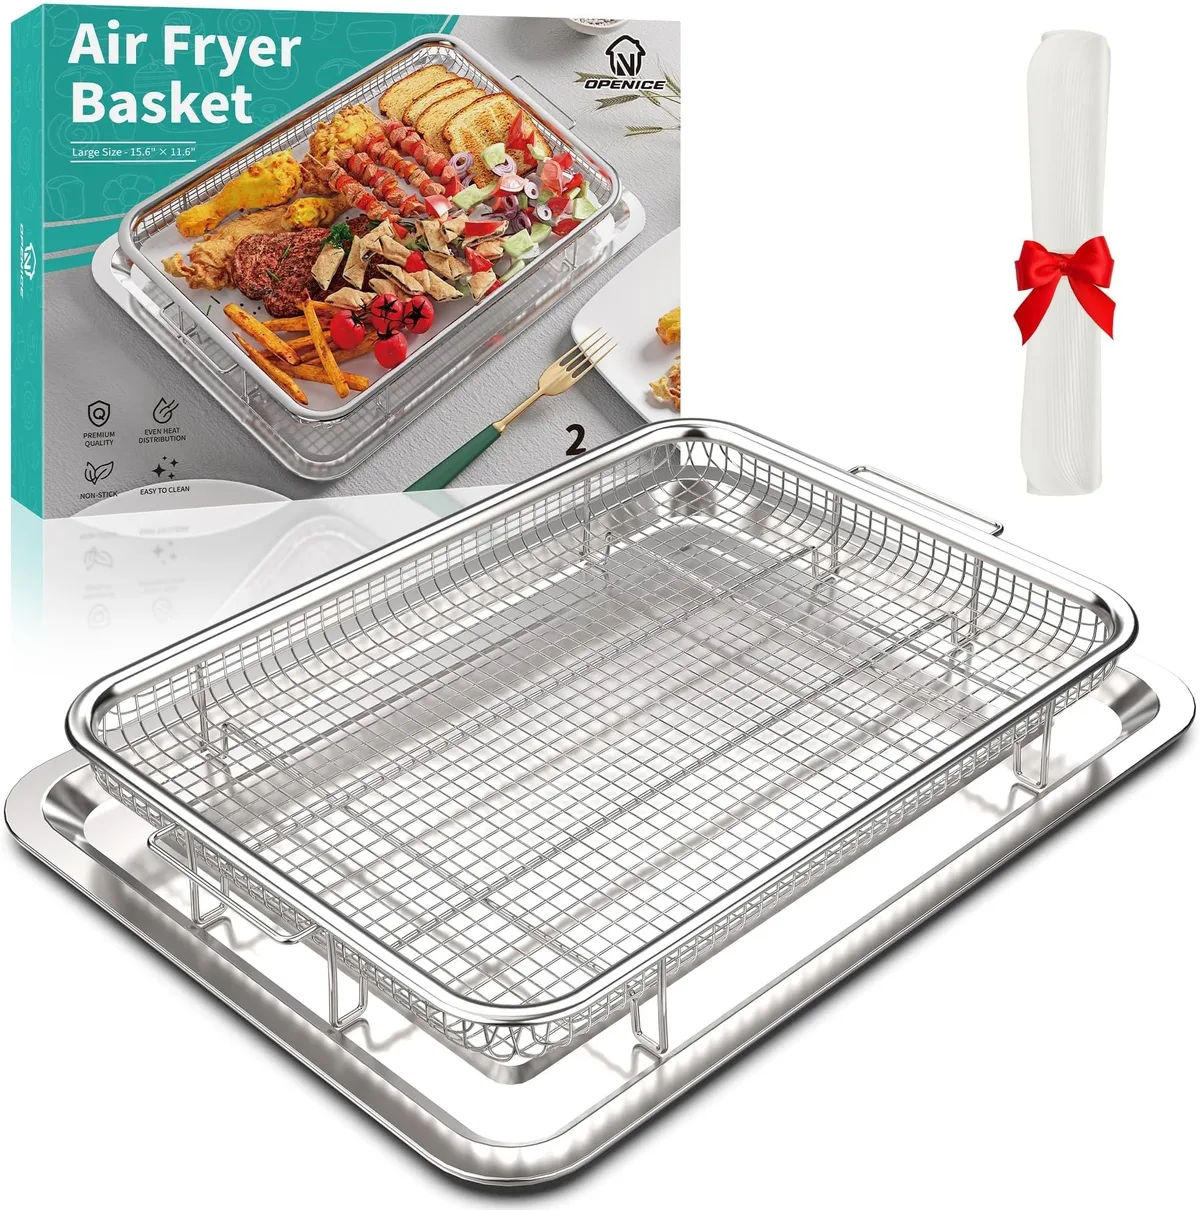
Image source: Web (Bing) / amazon.com (Web image (fair-use with source credit))
The type of tray also determines how many wings fit. A typical wire rack in a 0.7 cu ft toaster oven fits 8 to 10 drumettes and flats laid flat. That’s about 1 lb of wings per batch.
If you’re shopping for an upgrade or just curious about the differences between air fryer modes, comparing an air fryer vs an air fryer toaster oven helps explain why the basket shape matters more than wattage. And if you’re wondering about electricity, most toaster oven air fryers draw between 1200 and 1800 watts, which is worth knowing when you’re running it for three consecutive batches.
Frozen or Thawed? The First Decision Branch That Sets Your Timing
Here’s the if/then branch that determines your whole cook time.
IF you start with fully thawed wings, you’re looking at 20 to 25 minutes per batch at 400°F. IF you start with frozen wings, add 6 to 8 minutes per batch. You also need to be more careful about the skin.
Starting frozen has an extra step. About halfway through the cook, check the wings. If they’re sweating moisture or the skin looks pale and blistered, pat them down with a paper towel inside the basket.
This removes surface moisture that prevents crisping.
Here’s where the USDA guidance matters: the thickest part of the wing must hit 165°F. This is non-negotiable, regardless of whether you started fresh or frozen. When working with a toaster oven, pull the wings out and rest them for 2 minutes before probing.
Residual heat carries the temp higher, so you won’t overshoot or undercook. The USDA’s poultry handling guidelines back this up clearly.
For a parallel example of how frozen proteins behave in a compact air fryer, our guide on cooking frozen salmon from frozen walks through the same single-layer principle and temp-checking workflow.
Prep Like a Pro: Pat Dry, Season, and the Baking Powder Trick
Here’s where the "crispy" actually happens. It’s not the oven setting. It’s the prep work.
Step 1: Pat the wings dry with paper towels. This is the single most effective thing you can do. Wet skin steams.
Dry skin crisps.
Step 2: Season generously. Salt is not just for flavor; it draws moisture to the surface, which then evaporates. Pepper, garlic powder, and paprika work well here.
Step 3: Add baking powder. Just a teaspoon per pound. Toss the wings to coat them evenly.
This is not baking soda, so don’t substitute. Baking powder is alkaline and raises the pH on the skin’s surface, which accelerates browning at 400°F without causing a metallic taste.
Step 4: Let the wings sit for 10 to 15 minutes. If you have an hour, let them rest uncovered in the fridge. This dries out the skin further and makes a noticeable difference in crunch.
| Ingredient | Amount | Role |
|---|---|---|
| Salt | 1 tsp per lb | Flavor + moisture draw |
| Baking powder | 1 tsp per lb | Browning + crispiness |
| Garlic powder | 1/2 tsp per lb | Aroma + flavor |
Once the wings are prepped, you’re ready to load the tray. Remember, single layer, no overlapping. If you’re making a huge batch for a party, don’t skip the resting step.
It’s the closest thing to a cheat code for toaster oven wings.
Batch Cooking 101: Fitting 3 lbs Into a Tiny Basket or Tray
The golden rule is simpler than any recipe: one layer, no overlap. Crowded wings steam instead of crisp, and that defeats the whole point. Most toaster oven trays hold between 8 and 14 wings per batch, depending on the size of the appliance and the cut of the wing.
If you have a compact 0.5 cu ft model, expect to cook three batches. Larger 1.0 cu ft toaster ovens usually manage two batches. The math works out fine either way because each batch takes under 25 minutes.
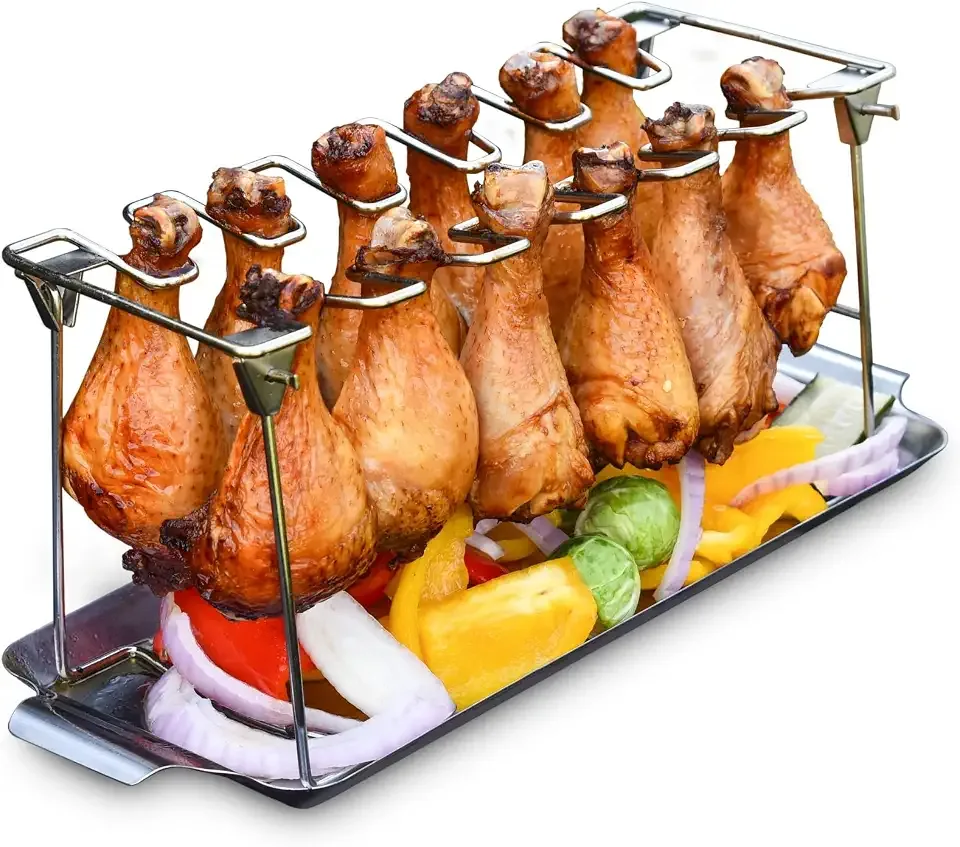
Image source: Web (Bing) / shungrill.com (Web image (fair-use with source credit))
Here's how to split up the 3 lbs efficiently:
| Batch | Wings per tray | Cook time |
|---|---|---|
| 1 | 8-12 wings | 20-25 min |
| 2 | 8-12 wings | 20-25 min |
| 3 | Remaining wings | 20-25 min |
Don't overlap the wings. If you must squeeze, angle them at different orientations so hot air wraps around the skin. The single layer lets the underside crisp up instead of turning pale and rubbery.
For a sense of how wattage affects cooking between batches, many toaster ovens recover slower than standalone fryers. Check how much power an air fryer draws so you can plan your circuit and expectation.
Cooking Times and Temps That Actually Work
Your sweet spot is 400°F. That's hot enough to render the fat under the skin quickly, but not so hot that the exterior burns before the meat hits 165°F.
| State | Temp | Time to flip | Total time |
|---|---|---|---|
| Thawed | 400°F | 10-12 min | 20-25 min |
| Frozen | 400°F | 13-15 min | 26-33 min |
These times assume a preheated toaster oven. If you skip the preheat, add 3 to 4 minutes to each batch and expect less even color.
If your machine runs hot, and some do, watch the skin color around the 15-minute mark. Dark brown spots on the edges mean the heating element is closer than a typical air fryer. Rotate the tray or flip the wings and lower the temp to 390°F for the last few minutes.
Flip, Rotate, and Outsmart Hot Spots for Even Browning
Toaster ovens have hot spots. The side near the fan gets more airflow, and the element loops heat unevenly near the back. You have two tools to fix this: flipping and rotating.
Halfway through each batch, flip every wing with tongs. If you have a mesh basket, a good shake does the same job. If your toaster oven has two racks, swap their positions top to bottom once during the cook.
For machines with a rear fan, turn the tray 180 degrees at the halfway point. This evens out the browning between the front and back of the tray. The difference is subtle, but it's the difference between "mostly crispy" and "uniformly golden."
Understanding how convection cooking differs from standard bake mode helps explain why air fry mode behaves this way. The fan speed and element cycling are the two variables. Once you spot the quirks of your specific unit, you can adjust batches without second-guessing.
165°F Is the Law: How to Check Wings Without Guessing
The USDA sets the safe internal temperature for poultry at 165°F. That reading must come from the thickest part of the wing, with the probe not touching bone. Bone conducts heat differently and will give you a false reading.
Pull the wings out when they look done. Let them rest for 2 to 3 minutes on a clean plate before probing. Resting lets the residual heat finish the cook and lets the juices settle.
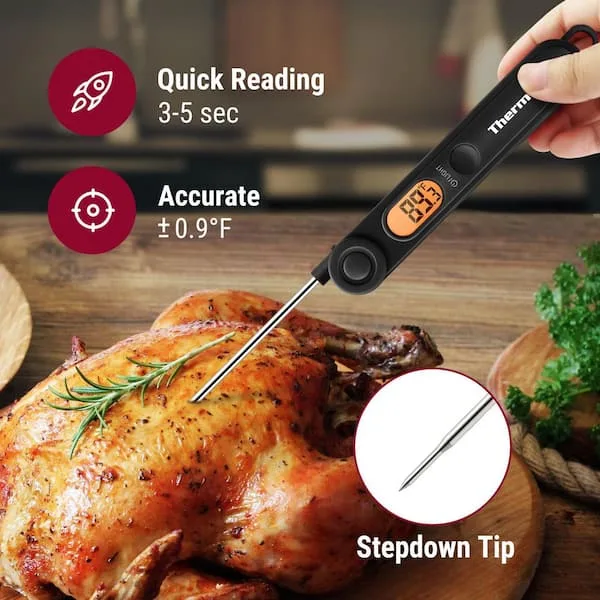
Image source: Web (Bing) / storage.googleapis.com (Web image (fair-use with source credit))
If a drumette reads 160°F, put it back in for another 3 minutes. If it reads 170°F, that's fine. Slightly overcooked dark meat is still juicy, unlike a dry chicken breast.
The 165°F number is a floor, not a ceiling.
Keeping Batch #1 Hot While Batch #2 Cooks
Your toaster oven is busy. You can't hold batch #1 at 200°F while cooking batch #2 at 400°F in the same appliance. So you need a simple strategy.
Option one is the "undercook and reheat" trick. Cook batch #1 to about 155°F, then rest it while batch #2 cooks fully. Once batch #2 is done, return both batches to the toaster oven at 400°F for 2 to 3 minutes to finish and re-crisp.
Option two is a sheet pan with a wire rack. Place the cooked wings on the rack, tent loosely with foil, and set them in a separate oven at 200°F if you have one. If you don't have a second oven, they'll stay warm on the rack for up to 15 minutes, but the skin will soften slightly.
Neither method ruins the wings. The foil tent traps just enough steam to soften the skin, so keep it loose and avoid stacking the wings on top of each other. That way they're still crunchy when you serve the final batch.
Common Mistakes That Steal Your Crisp (and How to Avoid Them)
Several screw-ups can ruin a good batch. Here's what to watch for.
| Mistake | Why it hurts | The fix |
|---|---|---|
| Overcrowding the tray | Steams the skin, stalls airflow | Keep wings in a single layer |
| Using baking soda instead of baking powder | Adds a bitter, metallic taste | Use plain baking powder |
| Flipping too early | Tears the skin before it releases | Wait 10-12 minutes before turning |
| Skipping the preheat | Slows crisping, makes skin tough | Always preheat for 5 minutes |
| Adding sauce before cooking | Sugar burns and sticks to the tray | Toss wings in sauce after cooking |
The most common offender is sauce. If you coat wings in Buffalo glaze before they hit the heat, the sugar chars and the skin turns tacky. Remove the wings from the toaster oven, toss them in sauce, then return them for 1 to 2 minutes if you want a sticky finish.
Another silent killer is wet seasoning. If you oil the wings too heavily, the oil pan-fries the skin instead of letting the fan crisp it. A light spray on the skin is fine.
A heavy drizzle is not.
Toaster Oven Air Frying vs. Standalone Air Fryer vs. Deep Frying
Here's the honest breakdown if you're weighing your options.
| Method | Crispiness | Oil needed | Total time (3 lbs) | Cleanup |
|---|---|---|---|---|
| Toaster oven air fry mode | High | Minimal | 45-60 min | Tray or basket |
| Standalone air fryer | Very high | Minimal | 40-50 min | Basket |
| Deep frying | Extremely high | 2-4 cups | 25-30 min | Oil disposal |
The toaster oven wins for versatility. It doesn't just air fry; it bakes, broils, and toasts. The standalone fryer wins for pure wing output and hot air velocity.
Deep frying wins on speed and texture but loses everywhere else. Oil cost, lingering smell, and hot grease cleanup are dealbreakers for weeknight cooking. If you want a middle ground between a toaster oven and a dedicated fryer, compare an air fryer vs an air fryer oven to see which shape fits your kitchen.
For most households, the toaster oven air fryer is the better swap because it replaces two appliances.
The Party Math: What 3 lbs Really Feeds in Servings
Let's do the quick math. A pound of whole chicken wings gives you around 4 to 5 individual pieces, depending on whether they're drumettes or flats. So 3 lbs equals roughly 12 to 15 pieces.
If wings are the main course, plan for 1 to 1.5 lbs per person. That means 3 lbs feeds two hungry adults with a couple of pieces to spare. If you're serving wings as an appetizer alongside dips and vegetables, the same batch stretches to 4 or 6 people.
Batch cooking fits that math well. Two people get two hot batches, sharing each one as it finishes. A crowd means you'll run all three batches and keep the first ones warm on a wire rack.
The Verdict: Should You Air Fry 3 lbs of Wings in Your Toaster Oven?
Yes, with one condition: you're willing to work in batches. If you expect to dump every wing in at once, skip the toaster oven and buy a standalone fryer. If you're fine with 45 to 60 minutes of total cook time, the toaster oven delivers wings that are close to deep-fried quality.
The compact size forces a better workflow. Single-layer cooking means every wing gets direct heat and airflow, which often yields crispier skin than a jam-packed standalone basket. The tradeoff is time, not flavor.
Our research shows most buyers are happy with this arrangement. The key is understanding the batch process before you start. If you're serving a group, stagger the batches or use the foil-tented rack method we covered earlier.
The wings stay crunchy, the beer stays cold, and nobody waits long.
Frequently Asked Questions
Can I cook frozen wings directly in a toaster oven air fryer?
Yes, you can. Add 6 to 8 minutes per batch and keep the temperature at 400°F. The thicker ice layer lowers the oven temp quickly, so let the toaster oven recover between batches.
Use an instant-read thermometer to confirm the meat hits 165°F near the bone.
Why are my wings not crispy?
The most common cause is overcrowding. When wings touch, air can't circulate and the skin steams. Pat the wings dry before seasoning, use baking powder, and keep them in a single layer.
A solid tray under the wings also blocks heat from below.
Do I need baking powder for crispy wings in a toaster oven?
Yes, for the crispiest results. Baking powder raises the pH of the skin, which speeds up browning and produces a drier, crunchier surface. It's optional if you're short on time, but it makes a real difference.
Just don't swap in baking soda, since it leaves a metallic taste.
How long does it take to air fry 3 lbs of wings in a toaster oven?
Expect 45 to 60 minutes total. That breaks down into 2 to 3 batches at 400°F, with 20 to 25 minutes per fresh batch and 26 to 33 minutes per frozen batch. Add a few minutes between batches for the oven to recover its heat.